Required User Role: View only, Active User, Cloud Connector Manager, or Business Administrator.
View Asset Attribution
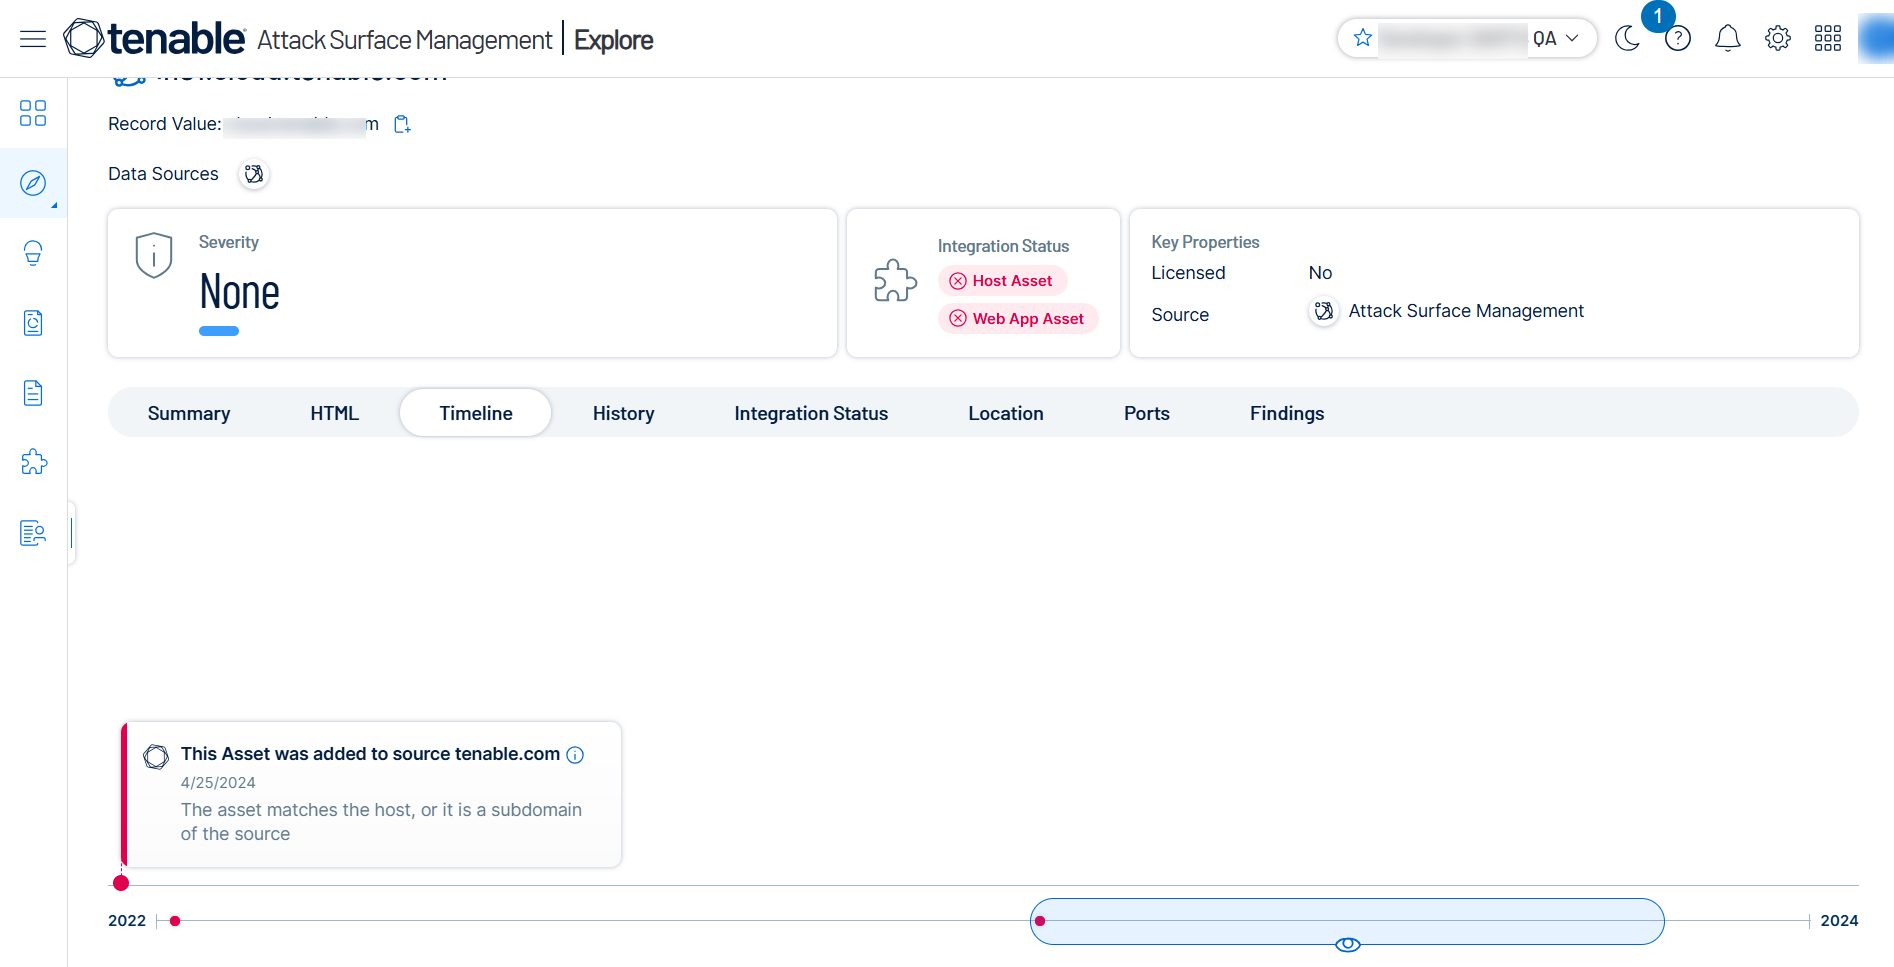
When analyzing exposed assets detected by Tenable Attack Surface Management, it is crucial to understand why each asset appears in the inventory. The asset details page provides origin attributions, offering key insights that enhance analysis by:
-
Clarifying asset relevance within the source and inventory context.
-
Minimizing manual asset attribution analysis.
-
Filtering or searching assets based on attribution events, such as assets linked to an inventory because the WHOIS registrant email of the asset is associated with a specific organization.
The
-
The ID of the user who initially added the source to the inventory and thereby directly or indirectly added the asset.
-
The timestamp when the source was added.
-
The timestamp when the asset was added to the source.
-
If Tenable Attack Surface Management adds the asset based on an automation rule, then the timeline shows the rule's creation time. For instance, an asset may be added when an automation rule accepts a suggested domain into the inventory. You can click the View automation rule link to open the Add Automation Rule window to view or modify the automation rule. If the automation rule was updated, you can click the View logs link to open the Activity Logs page to view the changes.
-
The type of source. For example, if the source is IP-based, domain-based, AWS, or Cloudflare.
-
If an asset belongs to multiple sources, each source is highlighted in a different color. For example, blue for an IP-based source and dark blue for a domain-based source.
-
A Find similar assets link to the assets list page that shows assets with similar origin.
NOTE or BULLET about asset attribution timeline. (feature enhancement)
To view the origin details for an asset in your inventory:
