Installation with No TLS
This installation type installs the following Tenable Identity Exposure components without TLS.
Order of installation
Install the components in the following order:
-
On the local machine, run the installation file Tenable.ad_v3.59.x.exe.
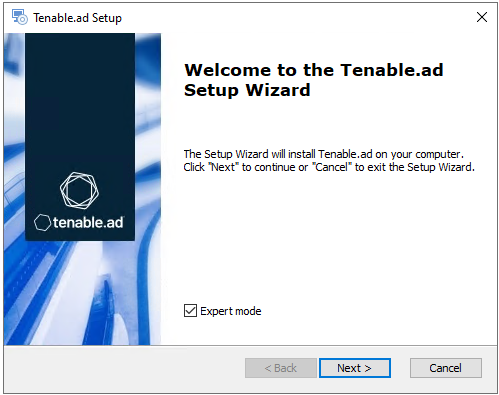
A welcome screen appears.
-
In the setup language box, click the arrow to select the language for the installation, and click Next.

The Setup Wizard appears.
-
Select the Expert Mode checkbox.


-
Click Next.
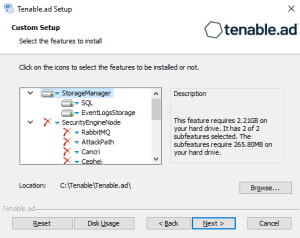
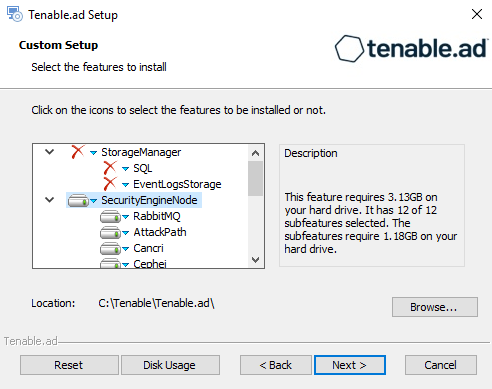
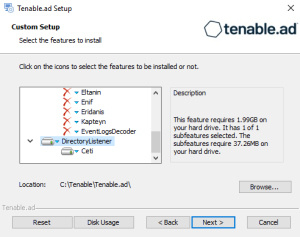
The Custom Setup window appears.
-
Deselect the Security Engine Nodes and Directory Listener components.

-
Click Next.
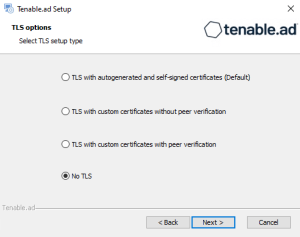
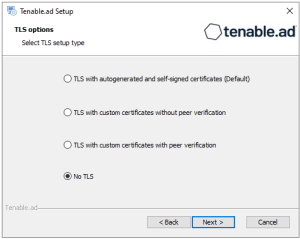
The TLS Options window appears.
-
Select the No TLS option.
-
Click Next.
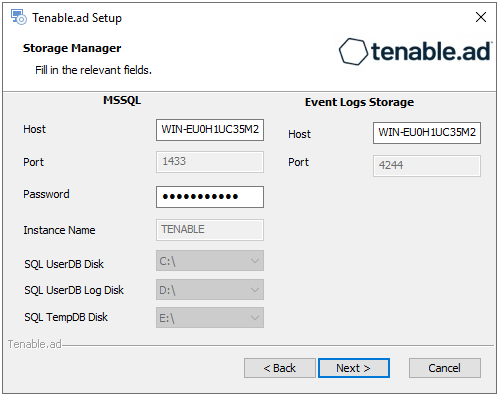
The Storage Manager window appears.

-
In the Password box, type a password for the MSSQL database.
Note: The installer requires an SA password with the syntax described in Strong Passwords for the SQL Server.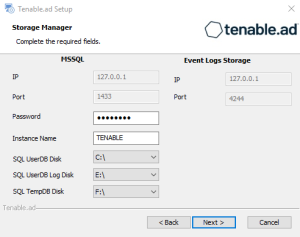
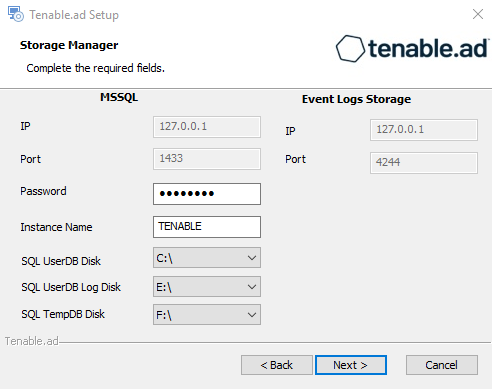
Note: Tenable strongly recommends that you keep the default TENABLE instance name.
-
Click Next.
The Ready to Install window appears.
-
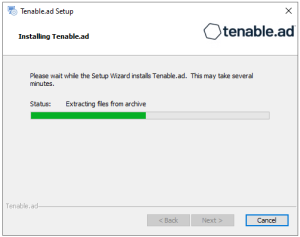
Click Install to begin the installation.
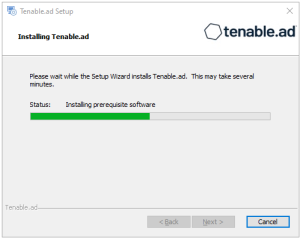
After the installation completes, the Completing the Tenable.ad Setup Wizard window appears.
-
Click Finish.
A dialog box asks you to restart your machine.
-
Click No.
Caution: Do not restart the machine now. -
Install the Security Engine Node.

-
On the local machine, run the installation file Tenable.ad_v3.59.x.exe.
A welcome screen appears.
-
In the setup language box, click the arrow to select the language for the installation, and click Next.
The Setup Wizard appears.
-
Select the Expert Mode checkbox.
-
Click Next.
The Custom Setup window appears.
-
Deselect the Storage Manager and Directory Listener components.
Note: To install SEN services over several machines, see Split Security Engine Node (SEN) Services.

-
Click Next.
The TLS Options window appears.
-
Select the No TLS option.

-
Click Next.
The Storage Manager window appears.
-
Provide the following information:
-
In the MSSQL box, type the IP address of the Storage Manager.
-
In the Password box, type the service account password for the MSSQL database defined in the Storage Manager installation.
Note: The installer requires an SA password with the syntax described in Strong Passwords for the SQL Server.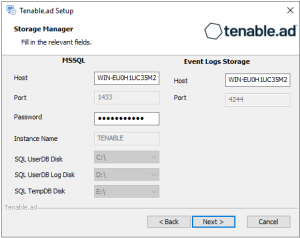
-
-
Click Next.
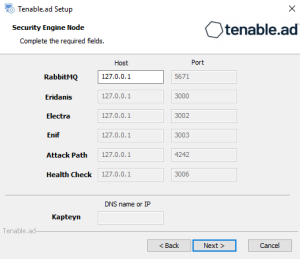
The Security Engine Node window appears.
-
In the DNS name or IP box, type the DNS name (preferred) or IP address of the web server that end users enter to access Tenable Identity Exposure.

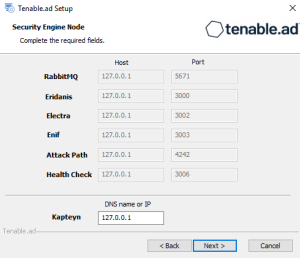 Note: By default, the installation process creates a self-signed certificate with the DNS name or the IP address that you entered. For more information, see Change the IIS Certificate.
-
Click Next.
The Directory Listener window appears.
-
In the Ceti box, type the IP address or configured FQDN for the machine hosting the service in charge of the initial collection of AD objects (crawling) and of subscribing to replication flows.
-
Click Next.
The Ready to Install window appears.

-
Click Install to begin the installation.
After the installation completes, the Completing the Tenable.ad Setup Wizard window appears.
-
Click Finish.
A dialog box asks you to restart your machine.
-
Click No.
Caution: Do not restart the machine now. -
Install the Directory Listener.

-
On the local machine, run the installation file Tenable.ad_v3.59.x.exe.
A welcome screen appears.
-
In the setup language box, click the arrow to select the language for the installation, and click Next.
The Setup Wizard appears.
-
Select the Expert Mode checkbox.
-
Click Next.
The Custom Setup window appears.
-
Deselect the Storage Manager and the Security Engine Nodes components.
-
Click Next.
The TLS Options window appears.
-
Select the No TLS option.


-
Click Next.
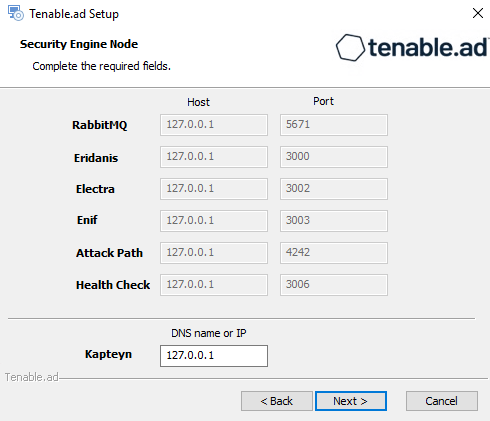
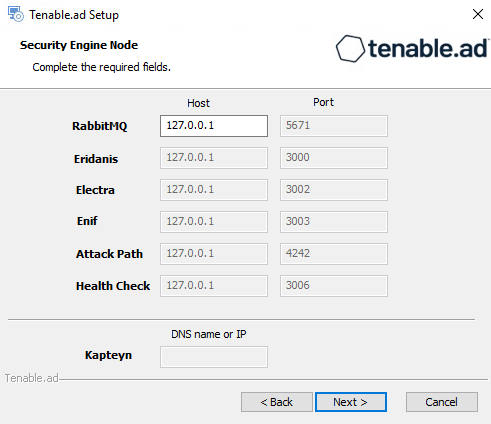
The Security Engine Node window appears.
-
In the Host box for RabbitMQ, type the hostname of the Security Engine Node hosting RabbitMQ.
-
Click Next.
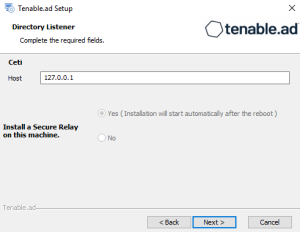
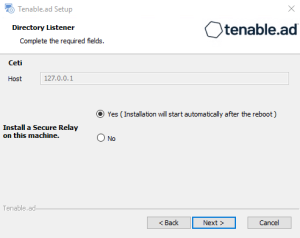
The Directory Listener window appears.
-
You have two options to install the Secure Relay on this Directory Listener:
-
Yes — After this installation completes, it launches the installer for the Secure Relay, which requires a linking key located in the Tenable Identity Exposure user interface under "Configuration > Relay". (See Secure Relay in the Tenable Identity Exposure Administrator Guide for more information.)
-
No — A message shows you the location of the Secure Relay installer to install it at a later time.
-

-
Click Next.
The Ready to Install window appears.
-
Click Install to begin the installation.
After the installation completes, the Completing the Tenable.ad Setup Wizard window appears.
-
Click Finish.
A dialog box asks you to restart your machine.
-
Click Yes.
The machine restarts.
-
Restart the SEN machine.
-
Restart the Storage Manager machine.
