Create an AWS IAM Role
Caution: This version of the AWS pre-authorized scanner has been removed and is no longer available to new customers.
-
Navigate to https://aws.amazon.com and log in.
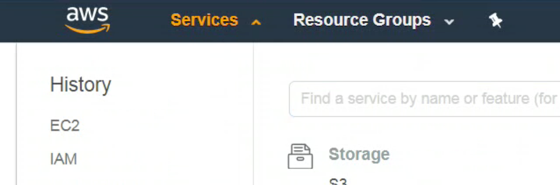
- In the top menu bar, click Services.
Note: Amazon is continually updating their service, so screenshots may differ from the AWS interface you see.

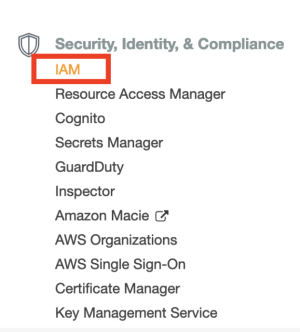
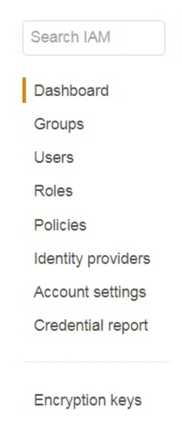
- In the Security, Identity, and Compliance section, click IAM.
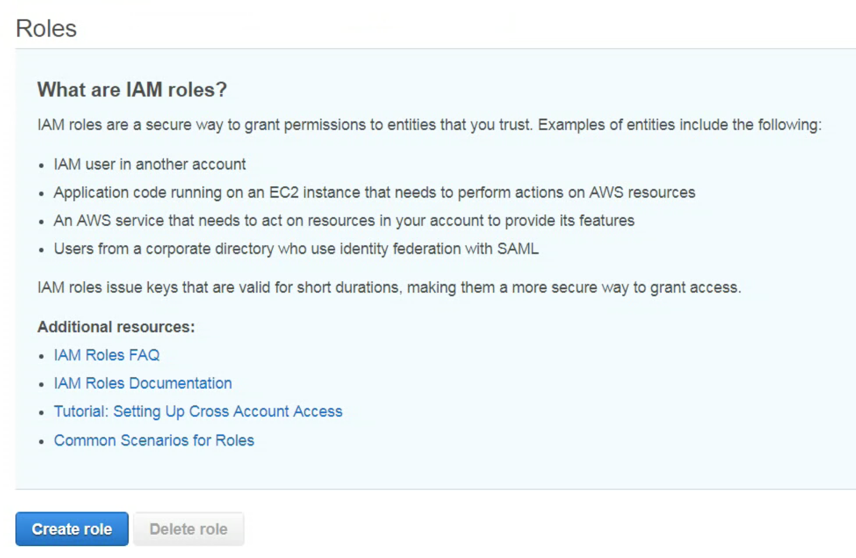
- In the left-hand menu, click Roles.
- Click Create Role.

- In the Select Type of Trusted Entity section, select AWS Service.
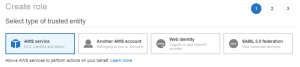
- In the Choose the service that will use this role section, click EC2.
Note: EC2 assets must be activated for your AWS license in order to scan them. If you are going to use the Pre-authorized scanner in AWS, you are required to activate your assets.
Note: The AWS acceptable scanning policy prevents scanning the m1.small, t1.micro or t2.nano instances.
- In the Select your use case section, click EC2.
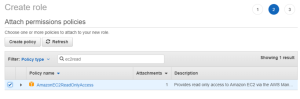
- Click Next: Permissions.
- Select the AmazonEC2ReadOnlyAccess check box.
- In the Set Permissions Boundary section, ensure the Create role without a permissions boundary radio button is selected.
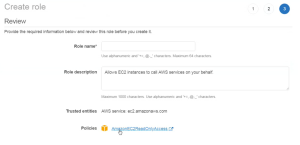
- Click Next: Review.
- In the Role Name field, enter a descriptive name for the role.
Note: The role name cannot be edited once it is created.
-
Once you have reviewed the the IAM information, click Create Role.
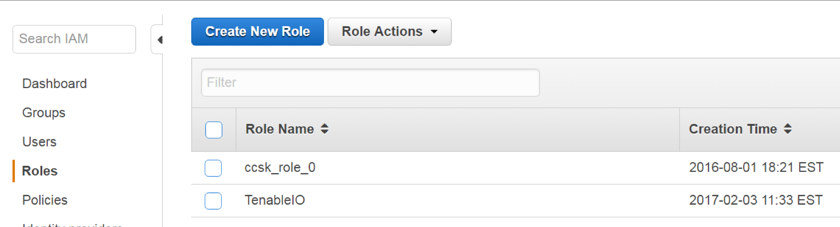
The newly created IAM role appears in the role list.