Privilege Escalation with CyberArk Credentials
Required User Role: Standard, Scan Manager, or Administrator
Tenable Vulnerability Management supports the use of privilege escalation, such as su and sudo, when using SSH through the CyberArk authentication method.
To configure SSH integration:
- Log in to Tenable Vulnerability Management.
-
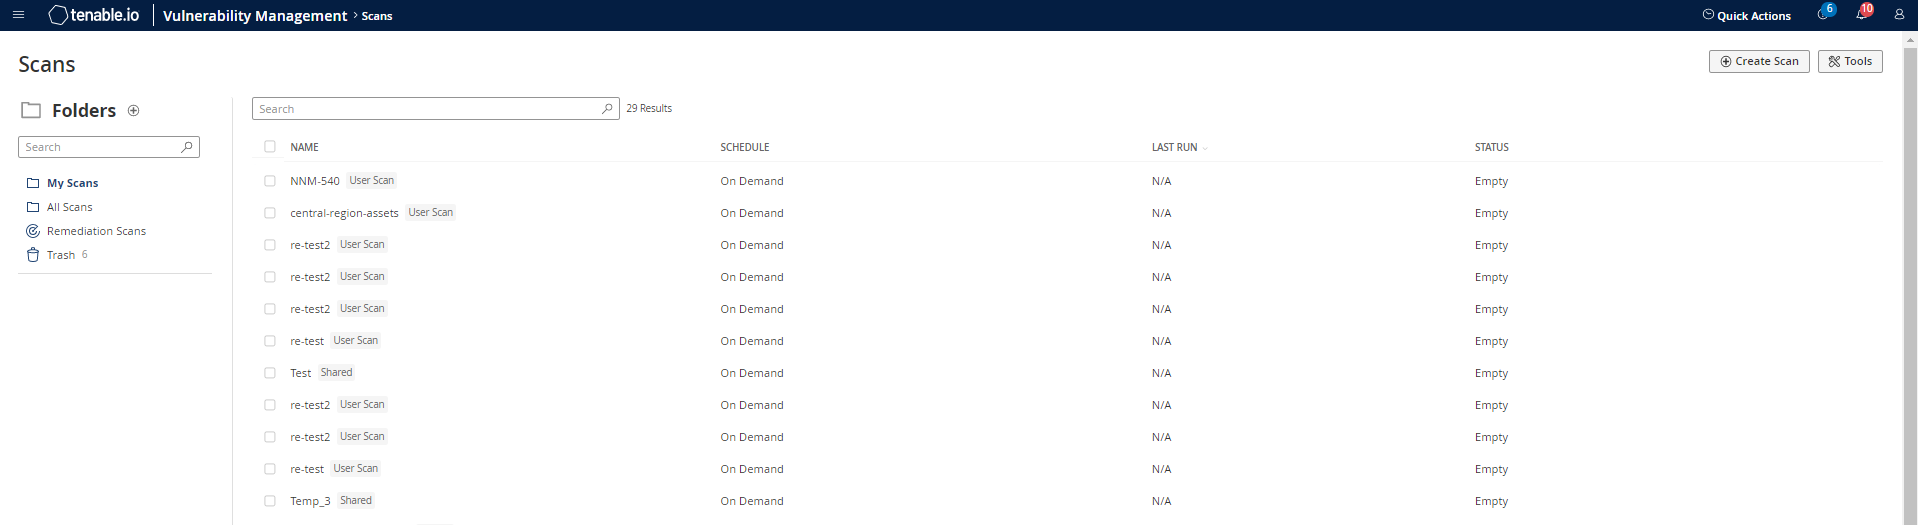
In the left navigation plane, click
 Scans.
The Scans page appears.
-
Click + New Scan.
-
Select a Scan Template.
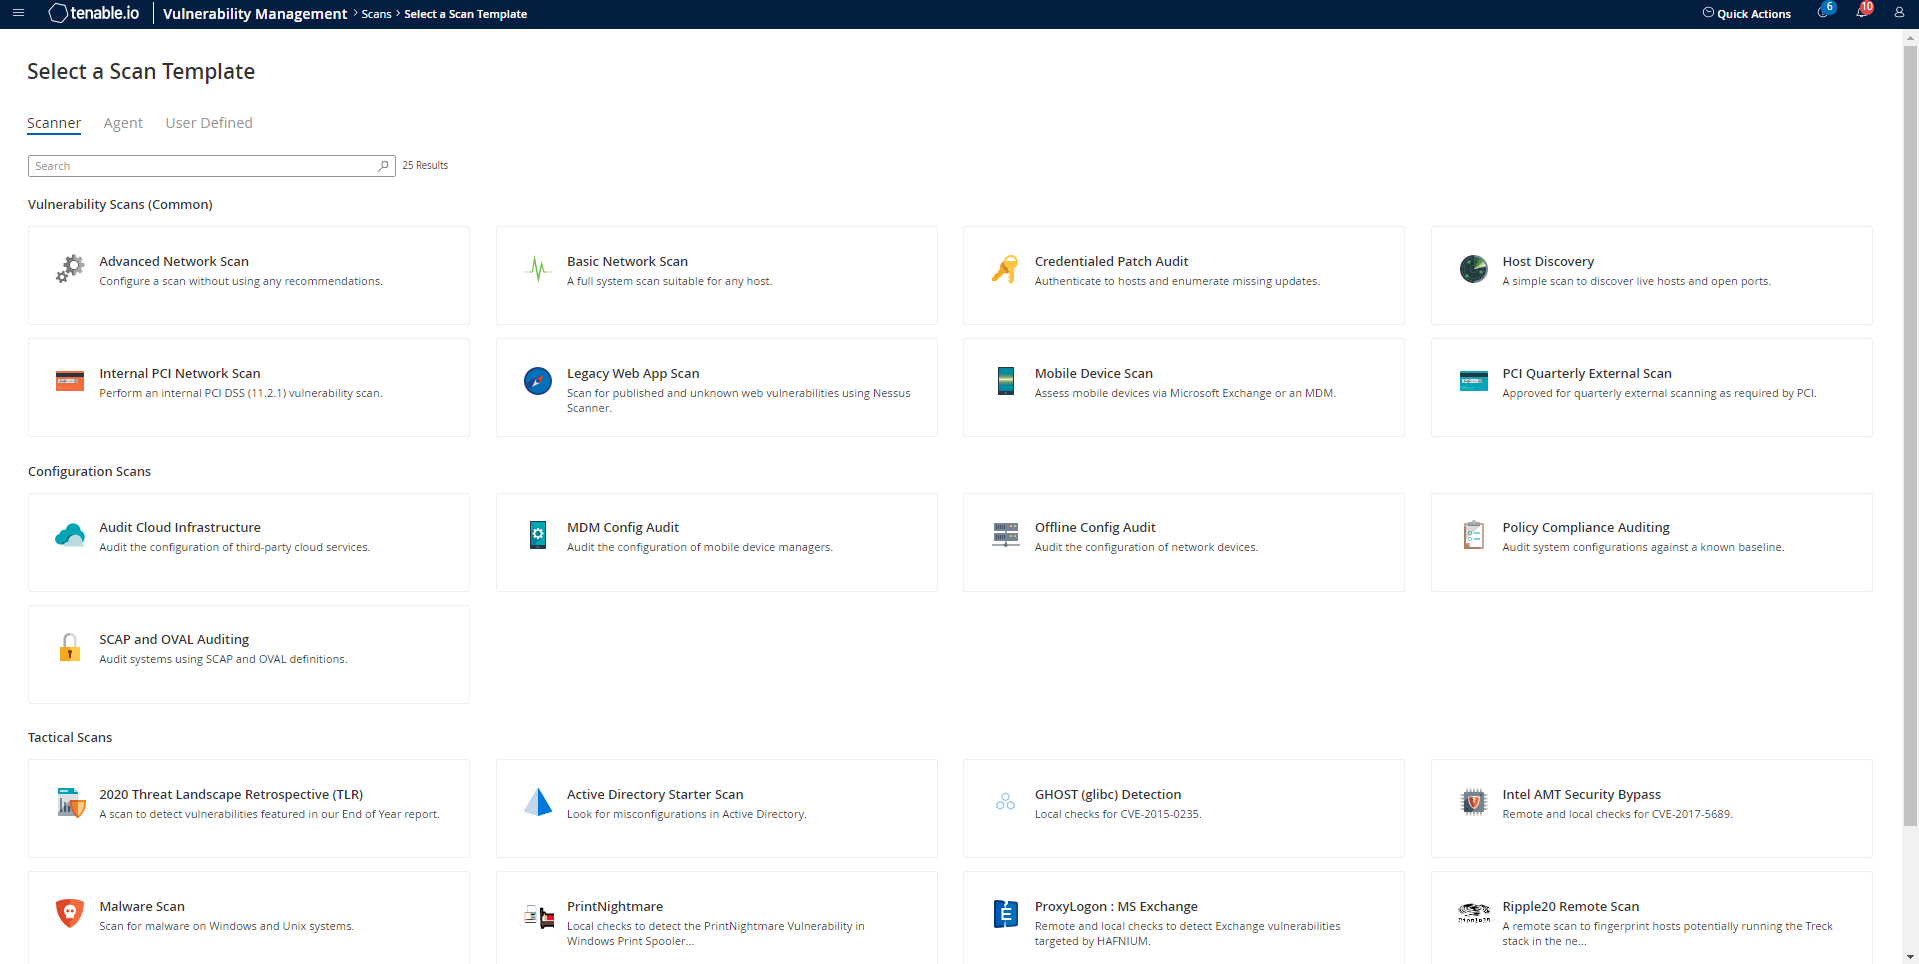
The scan configuration page appears.
-
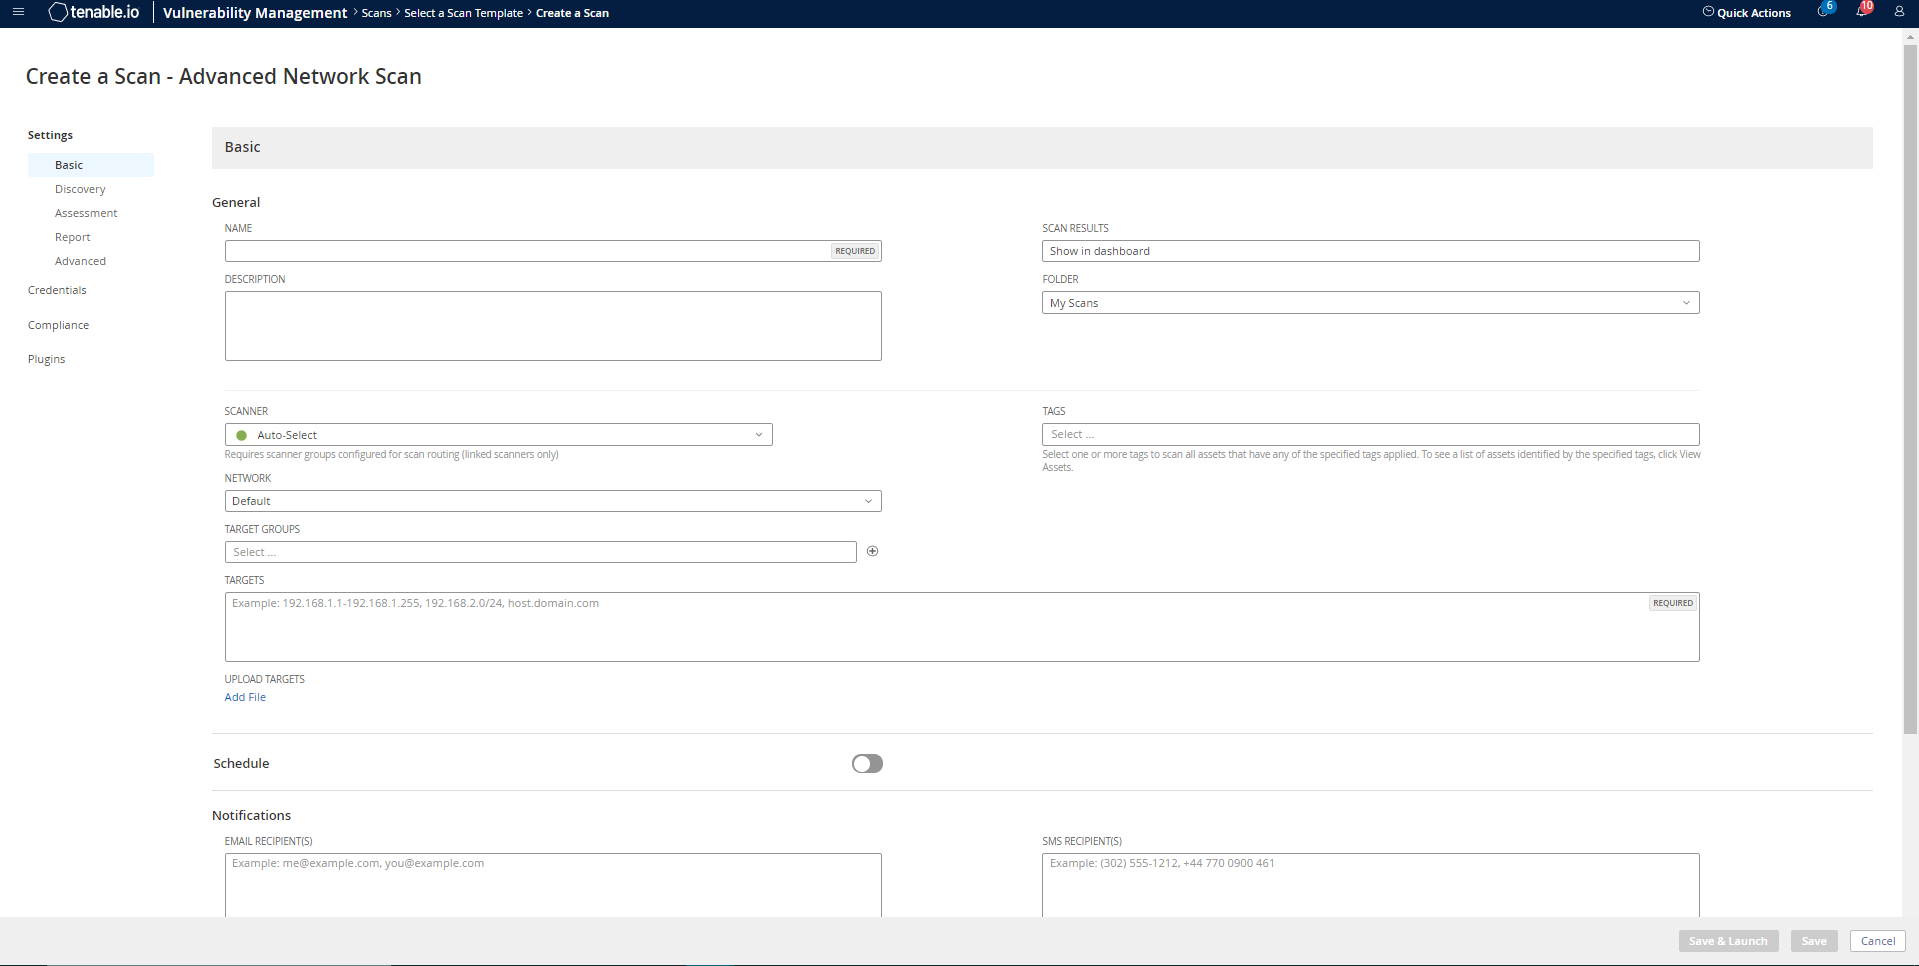
In the Name box, type a name for the scan.
- In the Targets box, type an IP address, hostname, or range of IP addresses.
- (Optional) Add a description, folder location, scanner location, and specify target groups.
-
Click the Credentials tab.
The Credentials options appear.
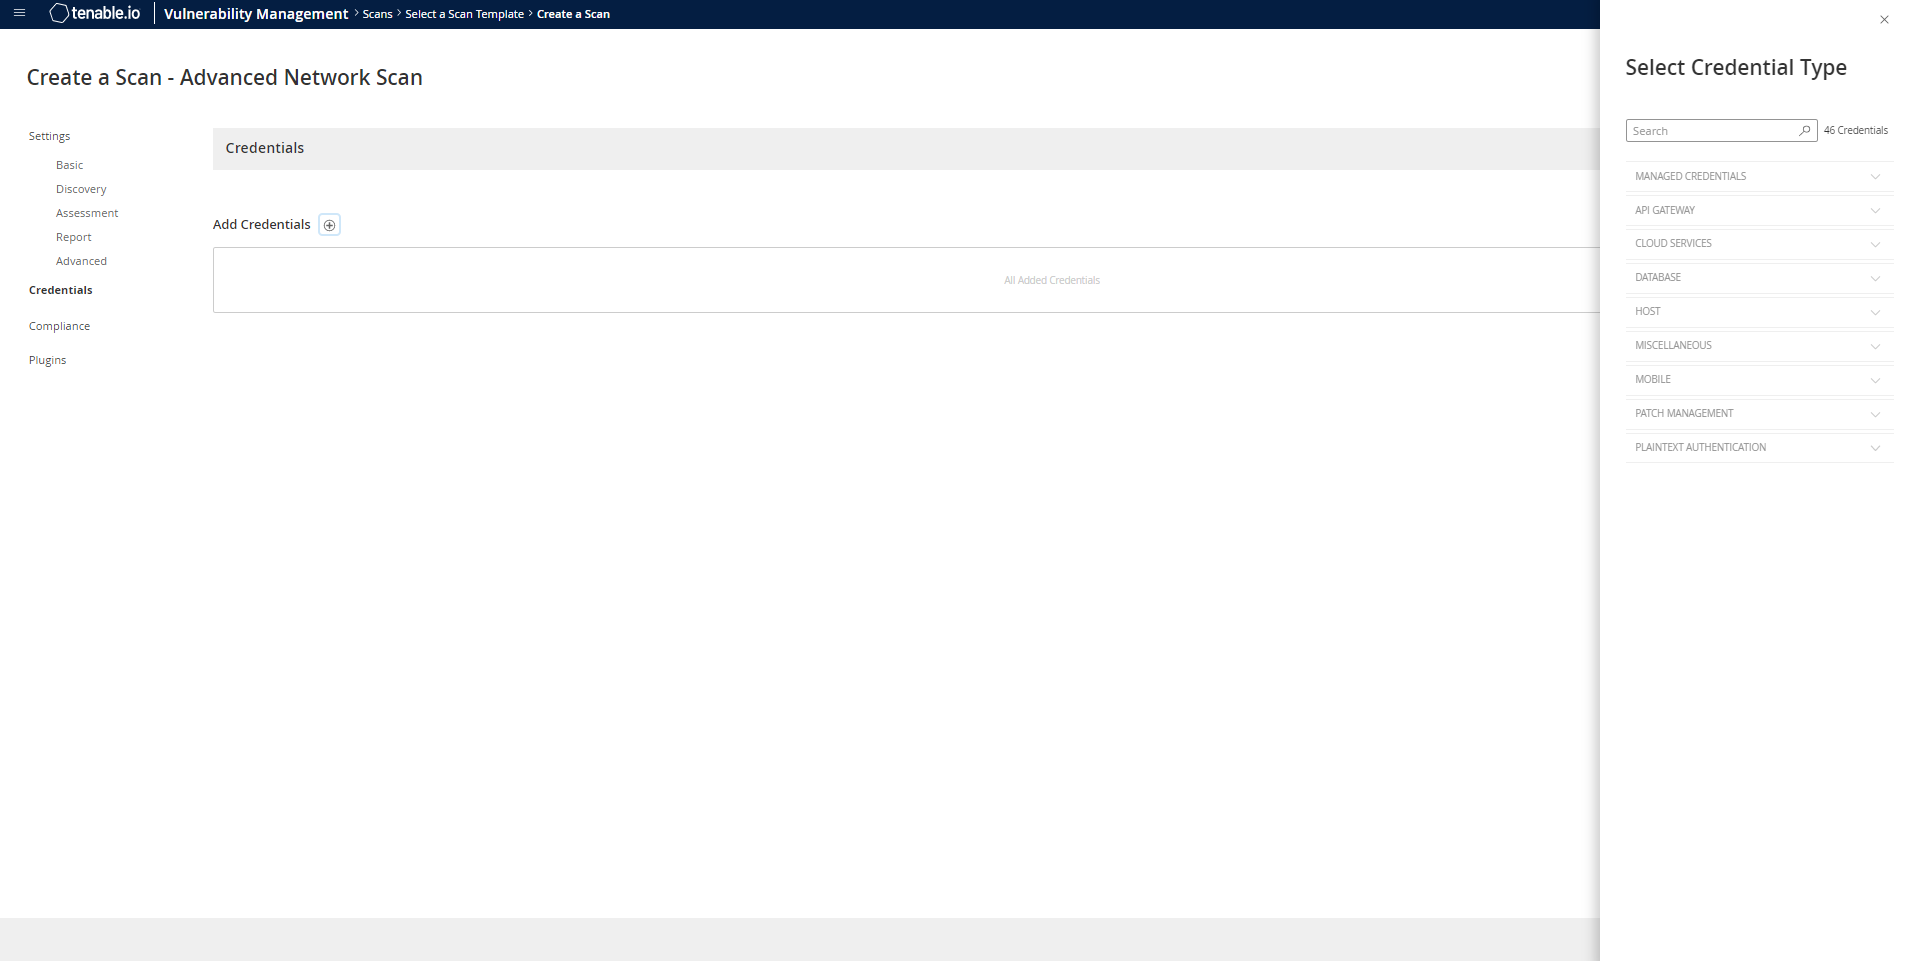
- In the Select a Credential menu, select the Host drop-down.
-
Select SSH as the Type and CyberArk as the Authentication Method.
-
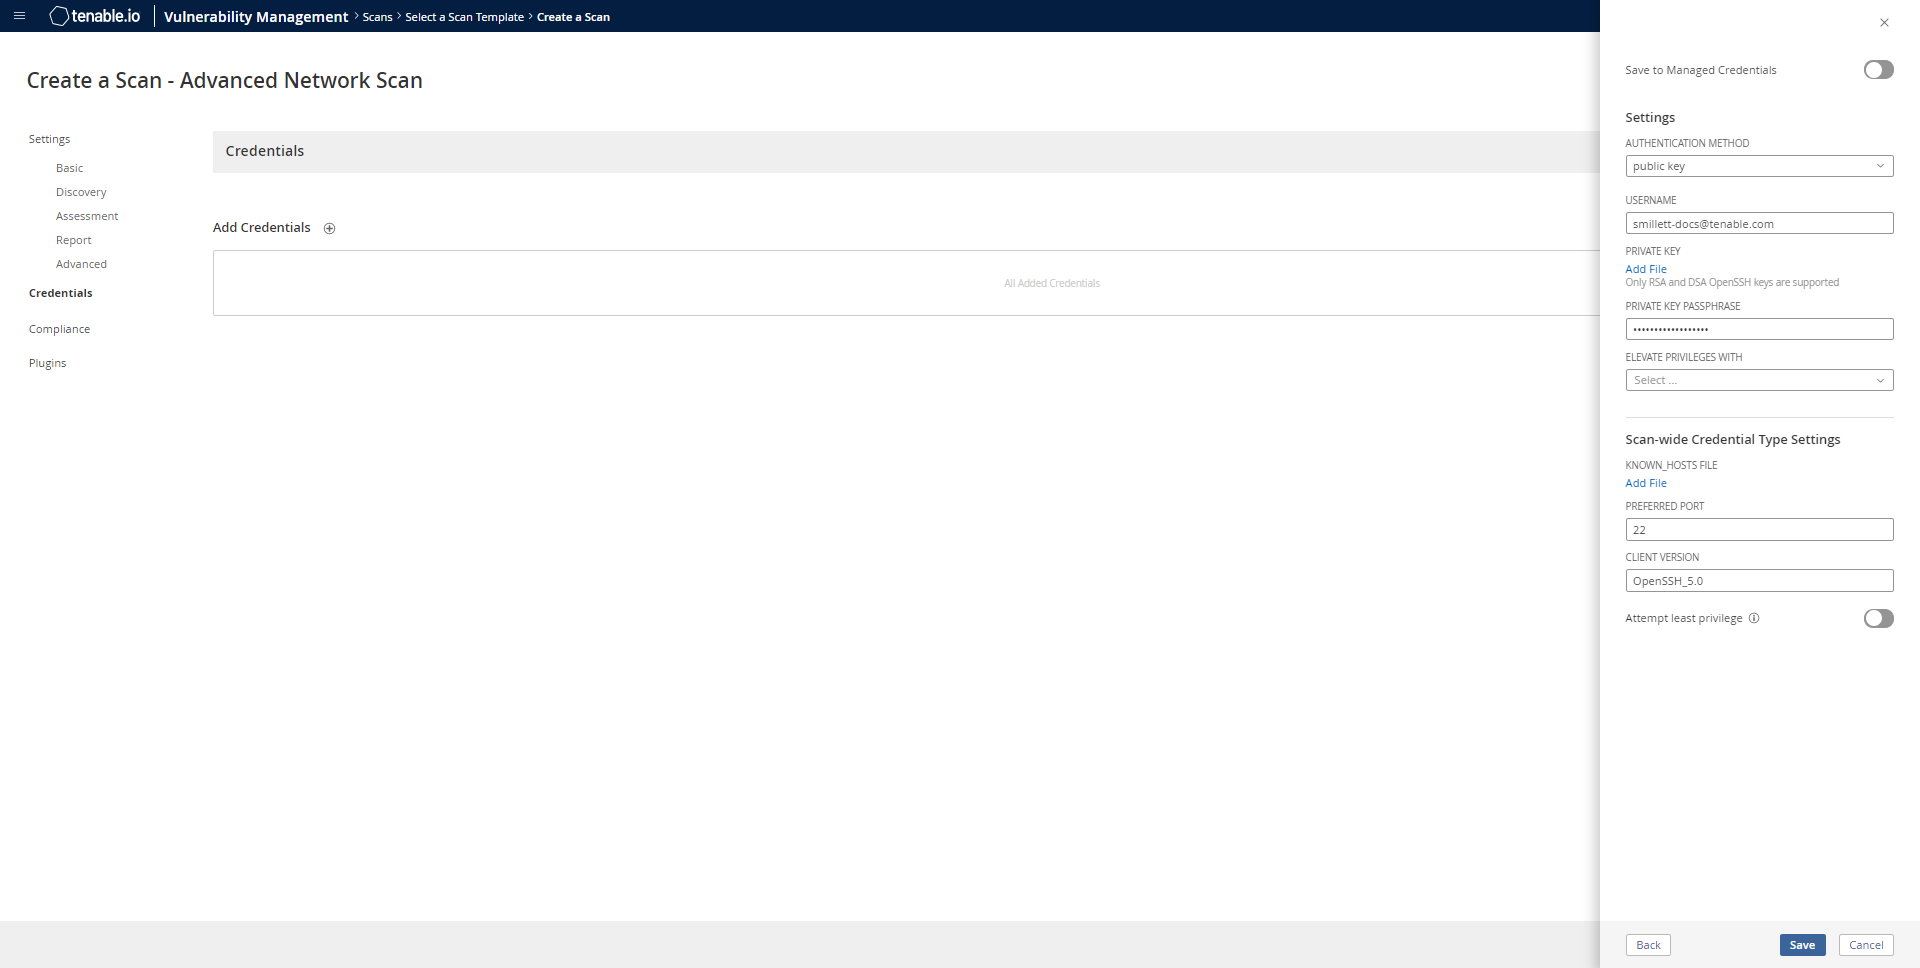
Select an option for the Elevate Privileges With field.
Note: Multiple options for privilege escalation are supported, including su, su+sudo and sudo. For example, if sudo is selected, additional fields for sudo user, Get Escalation Credential By, and Location of sudo (directory) are provided and can be completed to support authentication and privilege escalation through CyberArk Password Vault.
Note: Additional information about all of the supported privilege escalation types and their accompanying fields can be found in the Tenable Vulnerability Management User Guide.
-
Select an option for the Get Escalation Credential By field.
Note: The Escalation Credential may be obtained using the same query parameters as the login credential. Specifying an escalation credential identifier is optional. When no escalation credential is specified, the login credential is used for both login and escalation. If using a different password for login and escalation (for example, using su to “switch user”), it is required to enter both the login and escalation users.
- Complete the privilege escalation options and click Save.
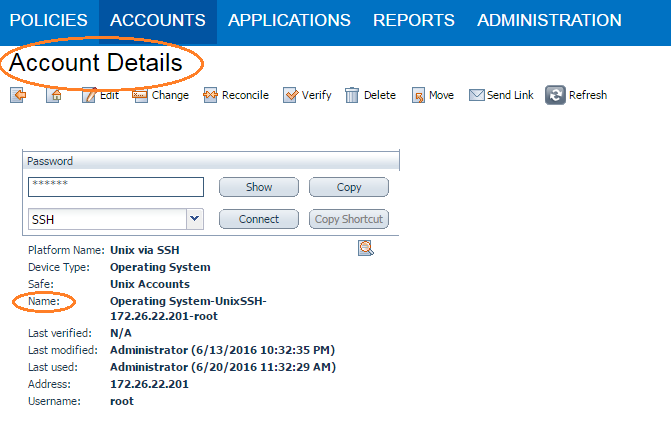
1. Log in to CyberArk Password Vault.
2. Choose the secret (password) you wish to use.
3. Look at the name parameter (such as in the image below) in the Account Details page; this is the value to supply in the CyberArk Account Details Name field.