Create a Connection Alias
Last Updated: July 17, 2026
You can create a connection alias with a guided setup.
Required User Role: Administrator
To create a connection alias:
-
Log in to your ServiceNow instance.
-
Navigate to Tenable Connector for Assets > Guided Setup.
-
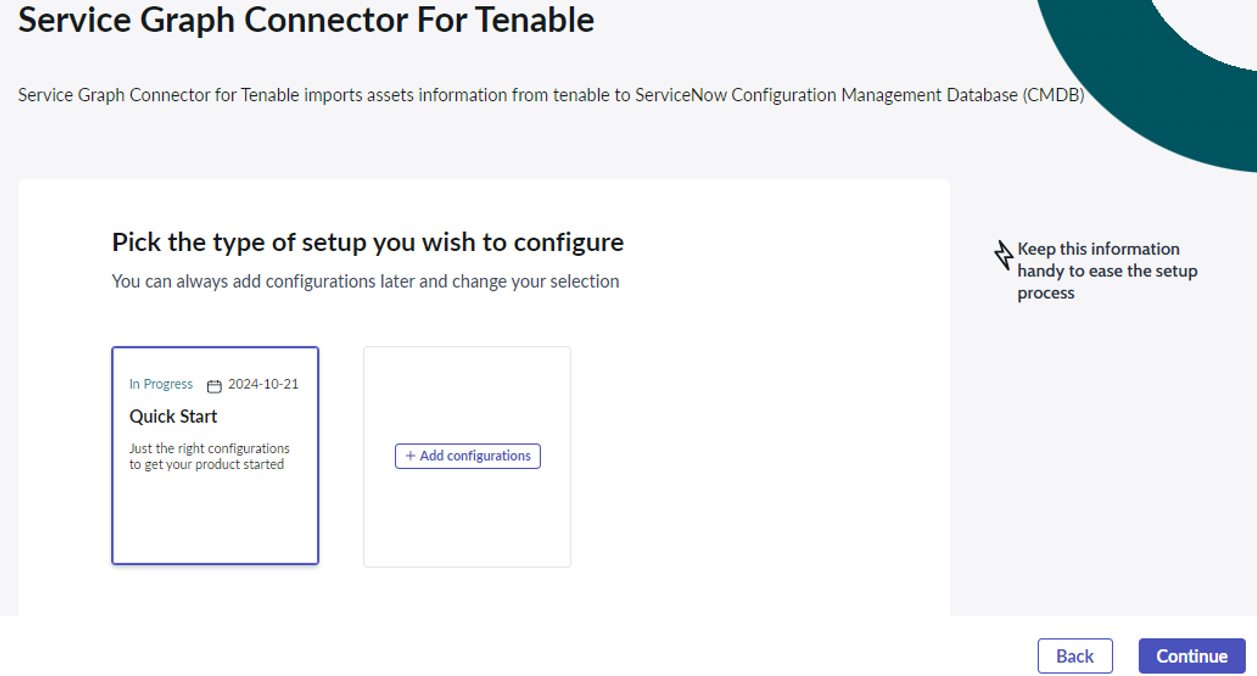
Select the setup type.
-
Click Continue.
-
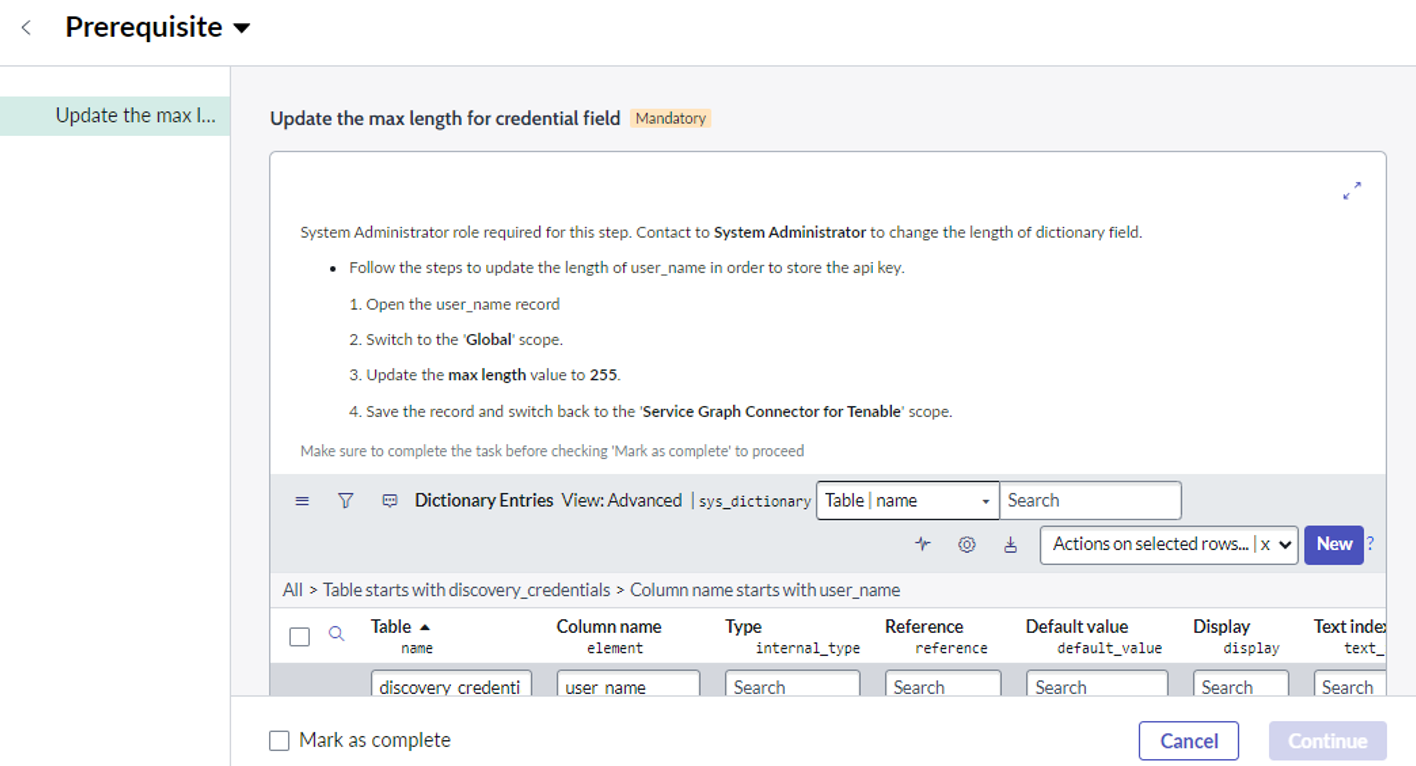
In the Prerequisite page, select the Update the max length of credential field tab and follow the steps in the user interface.
-
Check the Mark as Complete checkbox.
-
Click Continue.
-
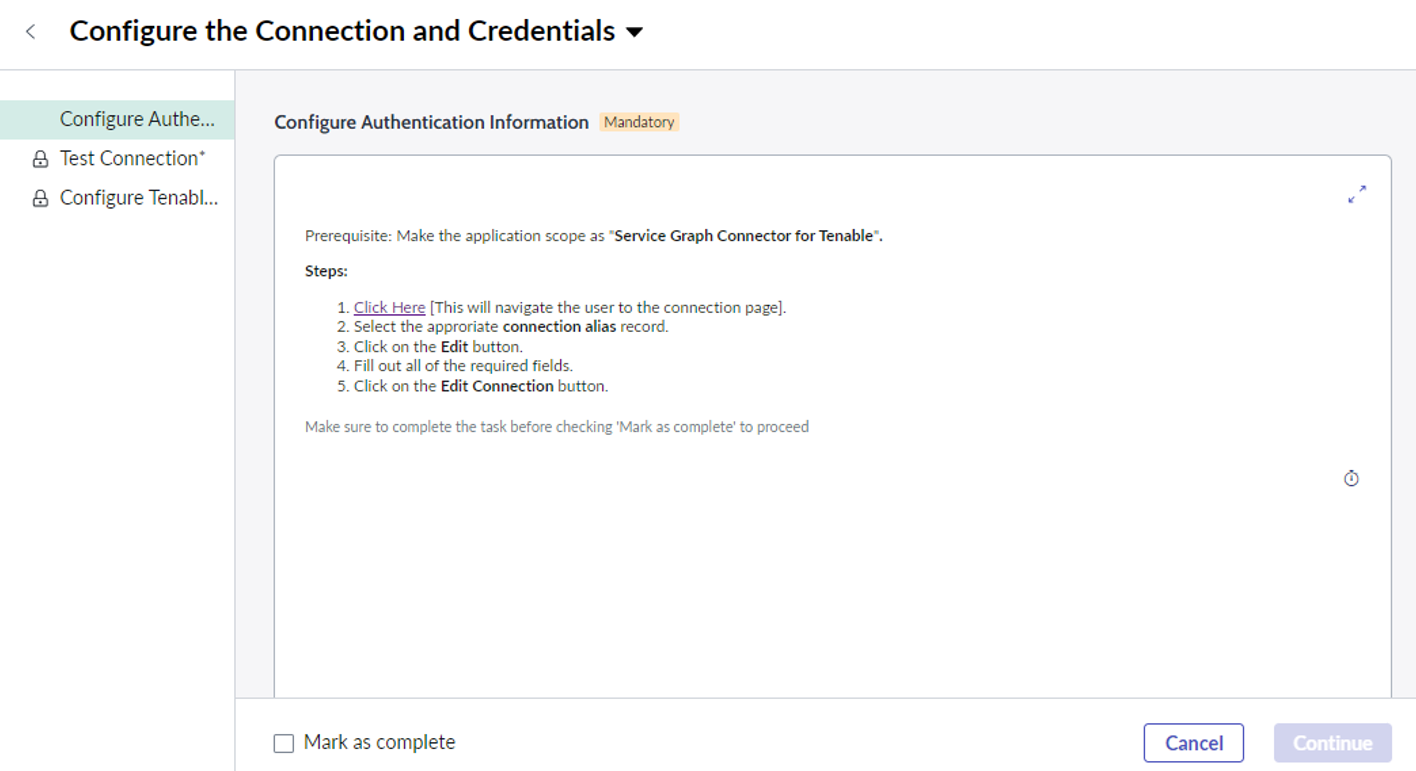
Select the Configure Authentication Information tab and follow the steps in the user interface.
-
Check the Mark as Complete checkbox.
-
Click Continue.
-
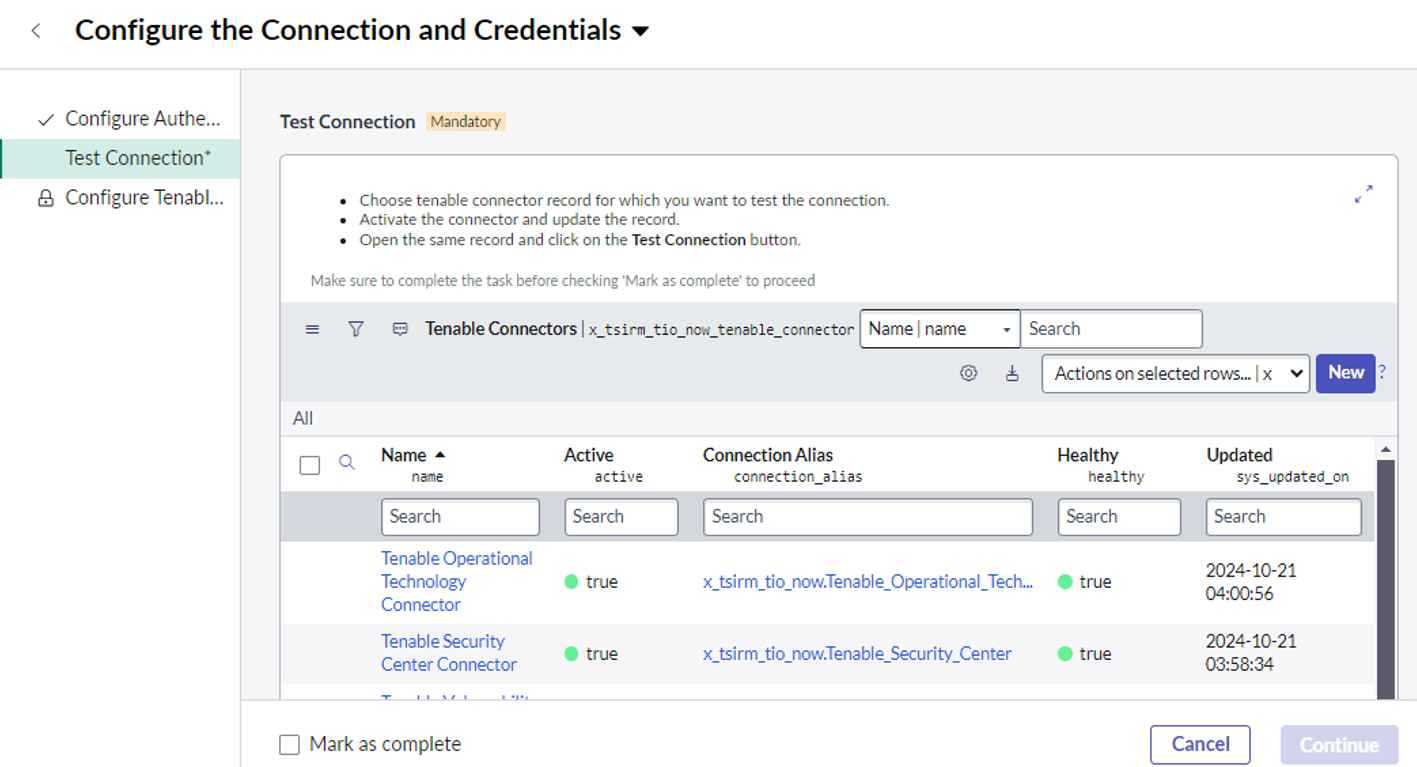
Select the Test Connection tab and follow the steps in the user interface.
-
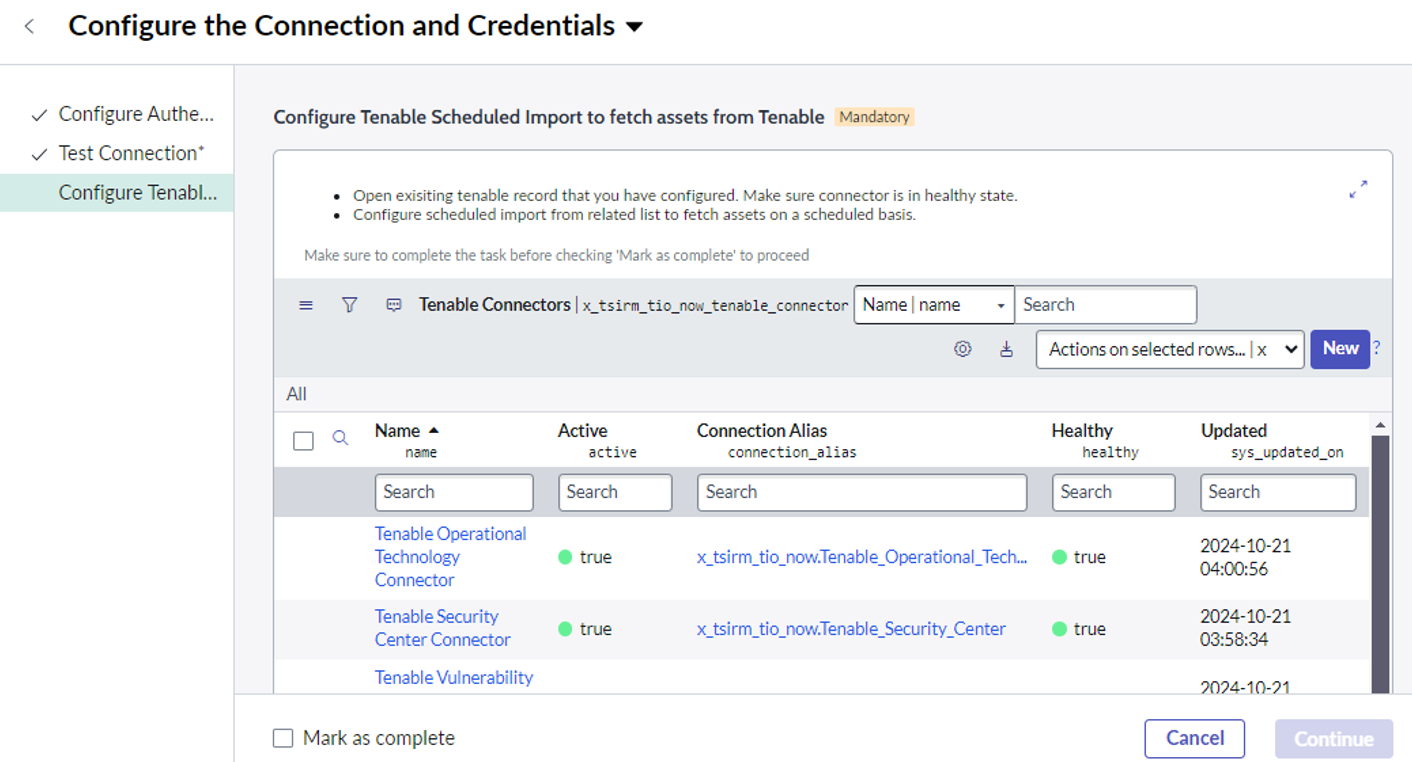
To fetch assets from Tenable, select the Configure Tenable Schedule Import tab and follow the steps in the user interface.
-
Check the Mark as Complete checkbox.
-
Click Continue.
Add Multiple Instances (Optional)
-
Navigate to Tenable Connector for Assets > Add Multiple Instances
-
Select the Add Another Connections tab and follow the steps in the user interface.
-
Check the Mark as Complete checkbox.
-
Click Continue.
-
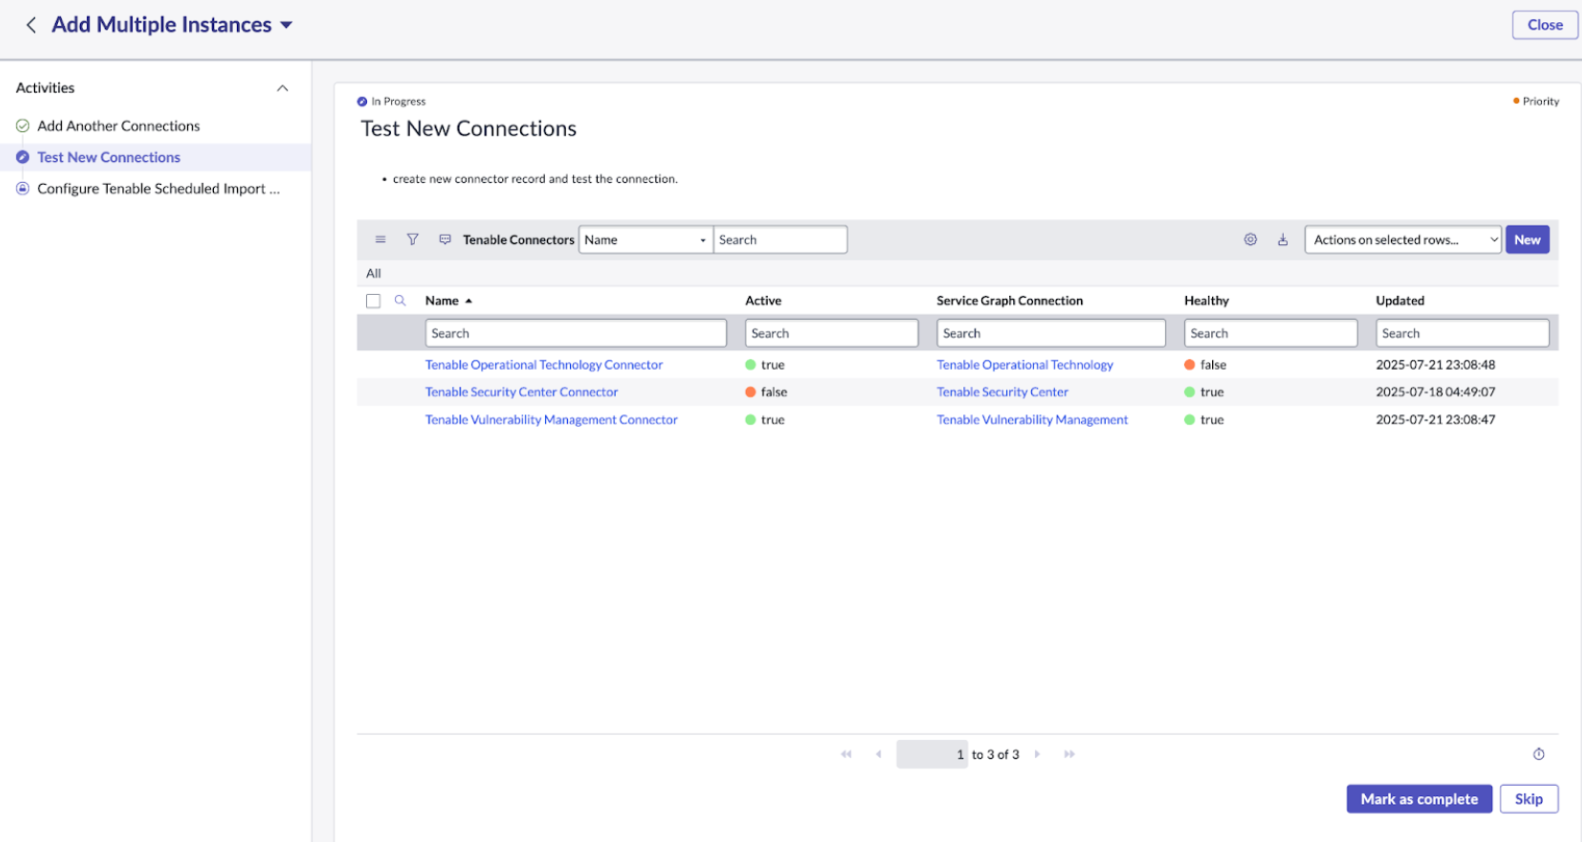
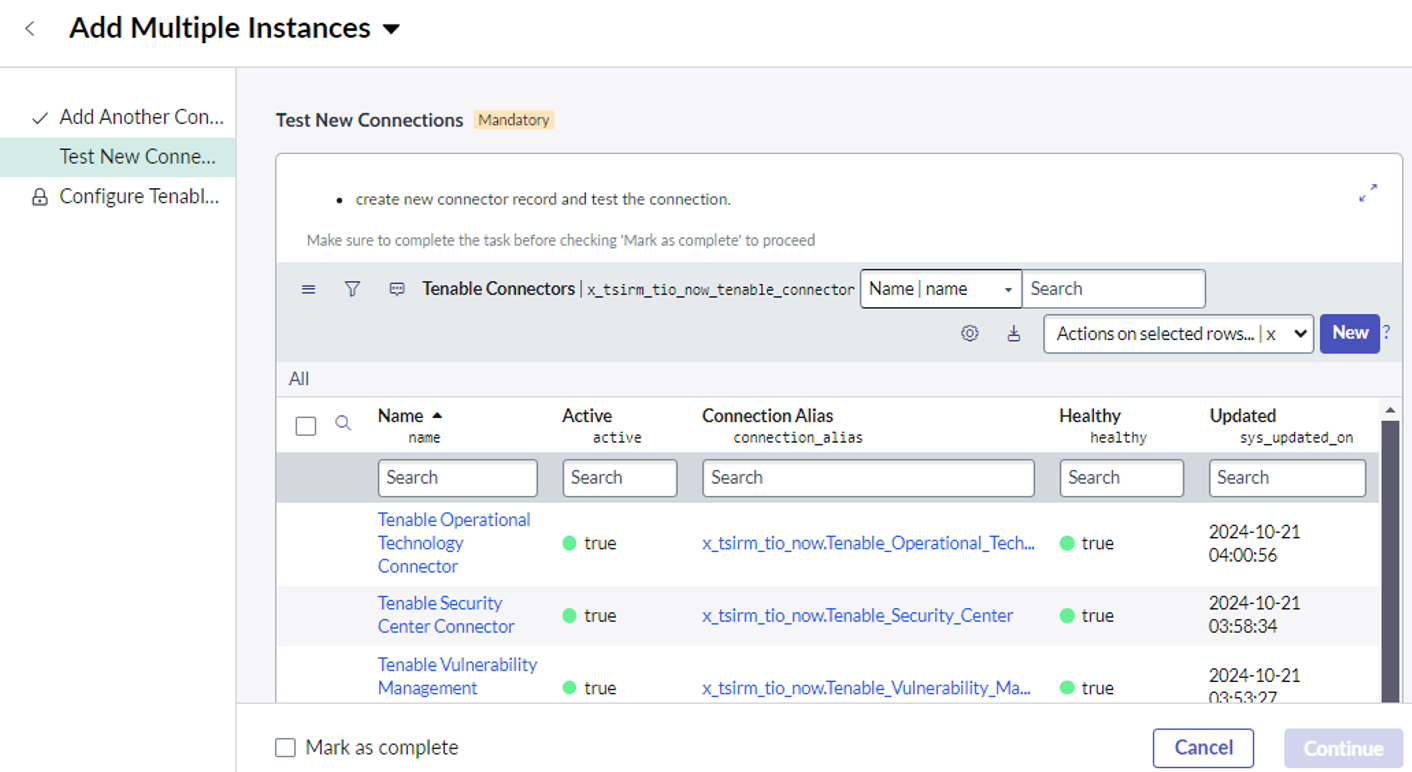
Select the Test New Connections tab and follow the steps in the user interface.
-
Check the Mark as Complete checkbox.
-
Click Continue.
-
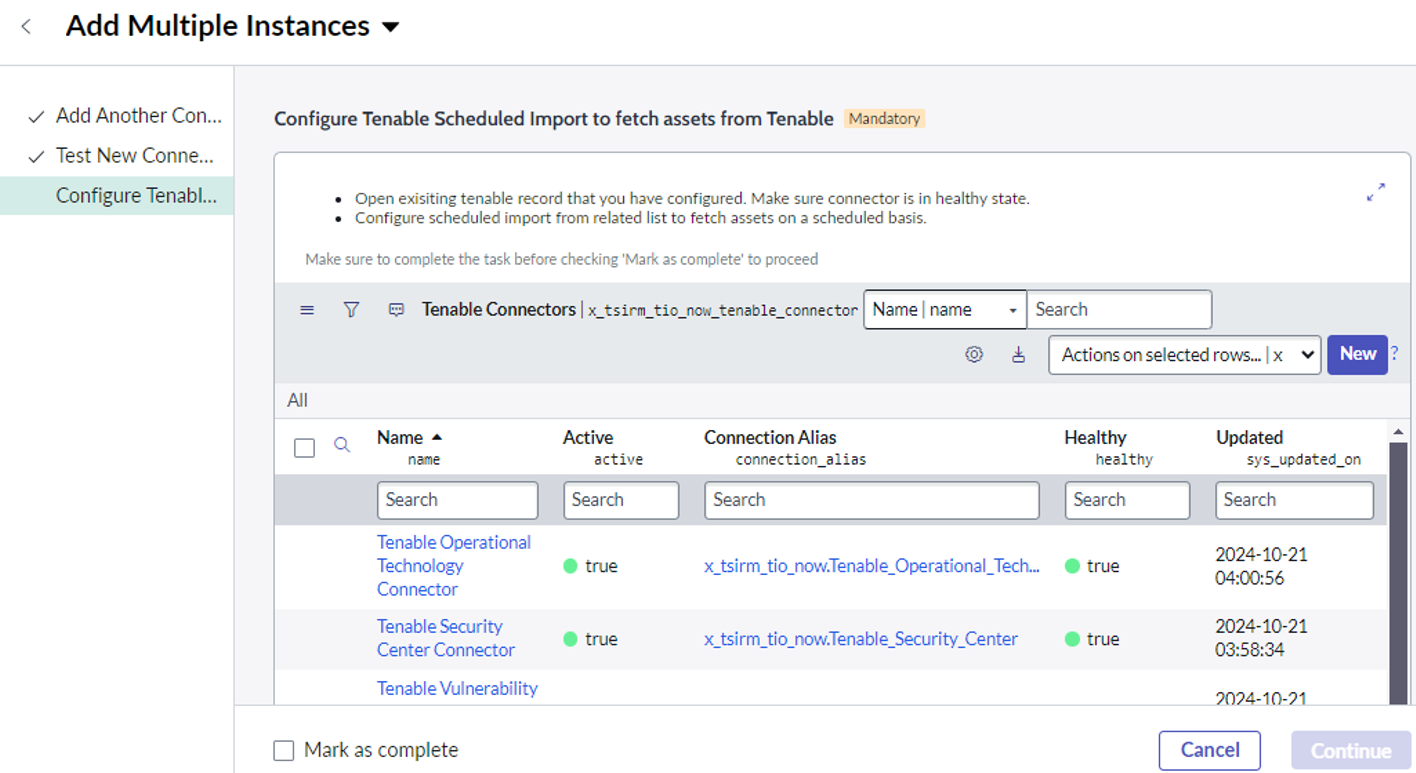
To fetch assets from Tenable, select the Configure Tenable Schedule Import tab and follow the steps in the user interface.
-
Check the Mark as Complete checkbox.
-
Click Continue.
Map Custom Aliases to the Connector (Optional)
Caution: When you create a new alias for your API keys, you may miss the step of mapping this alias to the Connector. This results in the connector defaulting to the wrong alias, causing connection failures and an "Unhealthy" connector status. The procedure to correct this scenario is in the following subsection.
If you have created a new Connection & Credential Alias (instead of using the default), you must manually map it to the Connector.
To map your custom alias to the connector:
-
Navigate to Connectors.
-
Select the relevant Tenable connector.
-
Locate the Service Graph Connection field.
-
Click the lookup icon.
-
Select your newly created Connection Alias.
-
Click Update.
The changes are saved.