Installation
Complete the installation and configuration of the Tenable applications for Splunk according to the following workflow.
Before you begin:
- You must have Splunk downloaded on your system with a Splunk basic login.
Note: See the Splunk Environments section for additional information about the different types of Splunk deployments and their requirements.
Note: If you install the Tenable App for Splunk on the search head, you must also install the Tenable Add-on.
To install Tenable Web App Scanning Add-on for Splunk for the first time:
- Log in to Splunk.
-
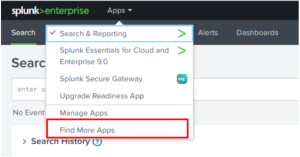
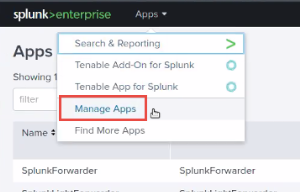
Go to Apps at the top of the screen.
A drop-down menu appears:
-
Click Find More Apps.
-
On the Browse More Apps page, type Tenable in the search bar.
-
Click the Install button next to Tenable Tenable Web App Scanning Add-on for Splunk.
-
Restart Splunk if a Restart Required prompt displays.
To upgrade Tenable Web App ScanningAdd-on for Splunk:

