Blocklisting
Tenable includes an extra level of protection for customer devices and patching processes called Blocklisting. The Tenable metadata team reviews all metadata that vendors provide for their new products and patches to verify relevance and integrity.
The Tenable metadata team reviews content and determines whether the patch has any issues that might cause unexpected behavior. The metadata team blocklists patches and products that have issues and automatically creates an exclusion for the patch on all clients. Blocklisting prevents the download and installation of potentially damaging content to customer devices.
Blocklist patches
You can view all of the blocked patches by navigating to Advanced Settings > Flex Controls > Blocklisting > Patches from the side navigation.
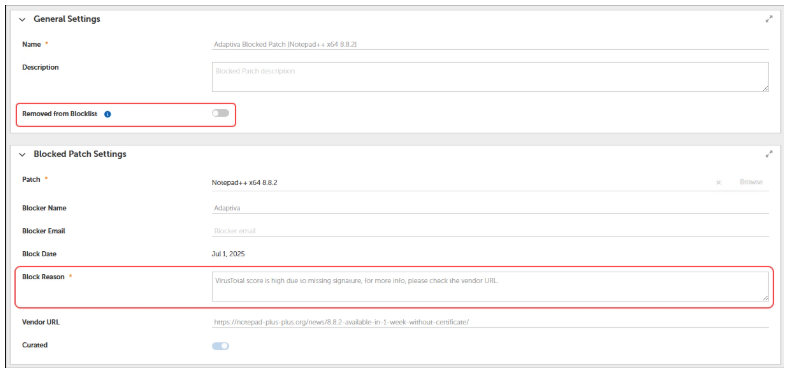
This displays a table of all curated (Tenable) and customer blocked patches. If you select one of the patches, you have the opportunity to see why it was blocked and to remove it from the blocklist if you believe it was blocked in error.
Blocklist settings
The Blocklist Settings workspace provides configuration options for Notifications and Communication Providers. The Notification Chains and Communication Providers configured from this workspace identify the process and delivery of communications related to blocklisted patches.
-
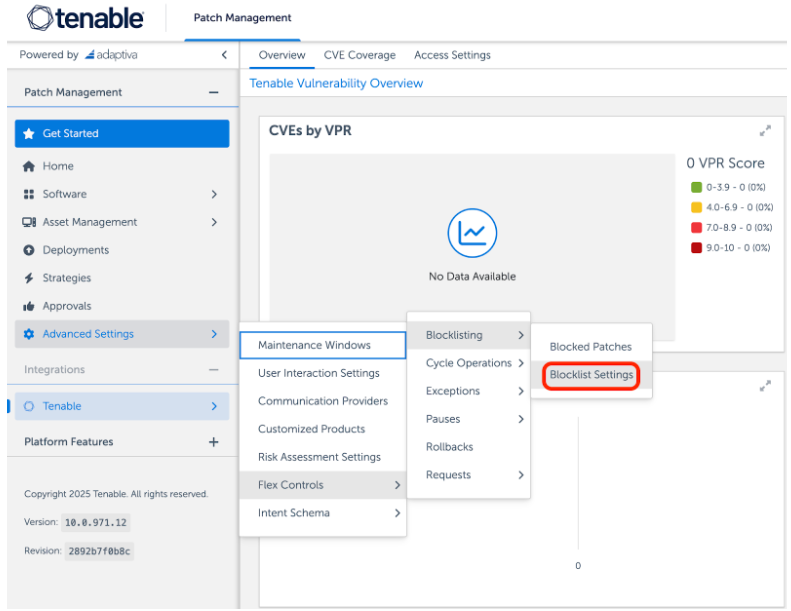
Select Advanced Settings > Flex Controls > Blocklisting > Blocklist Settings.
Notification Chain
-
Select Browse next to either Curated Chain or Customer Chain to list the available Notification Chains. If you need to create a new Notification Chain for these purposes, see Create a Notification Chain.
-
Select the desired notification chain from the list.
-
Select OK.
Communication Providers
-
Select + Add Communication Providers for either Curated Communication Providers or Customer Communication Providers from the Blocklist Settings.
-
Select one or more communication providers from the table.
If you need to add providers to the table, see Create a New Communication Provider.
-
Select OK.
