A Patching Preferences configuration applies a preferred maintenance window and user interaction settings to the target devices in a specified Business Unit. Administrators may create a different patching preference configuration for each Business Unit or for as many different Business Units as they choose. A Business Unit may belong to only one Patching Preferences configuration.
Each Patching Preference object creates its own Business Unit, which users may not edit. The Patching Preference Business Unit shares the same members (devices) as its target Business Unit, as well as any customized preferences.
Administrators can set preferences for Maintenance Window and User Interaction Settings and apply those preferences to a specific Business Unit. In Patching Preferences, you may set preferences for either a Maintenance Window or for Server User Interaction Settings, or both.
-
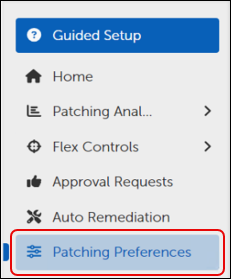
Select Patching Preferences on the left navigation menu.
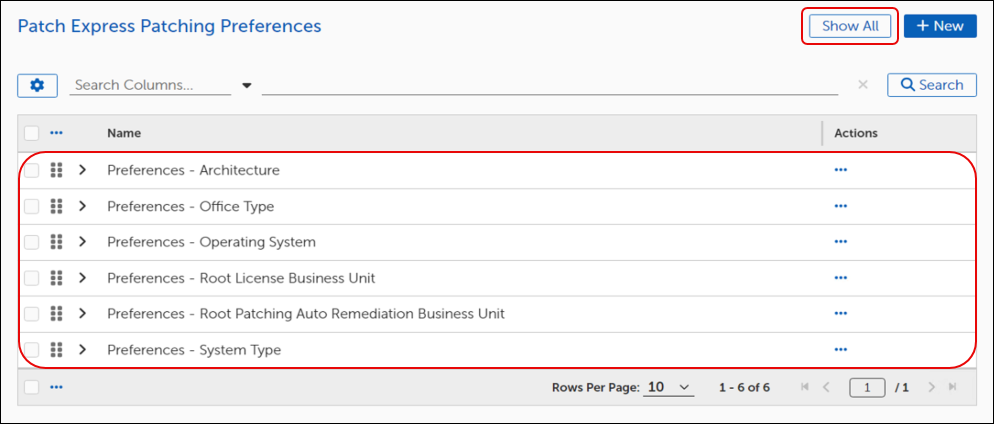
This opens the Patch Express Patching Preferences dialog.
Note: The table is empty until you create a Patching Preference.
-
Select Show All to view all available Patching Preferences:
-
Select a Patching Preference from the table.
-
To search for an existing Patching Preference, enter a search term, and then click Search.
-
Create a patching preference for each Business Unit that requires unique maintenance window or user interaction settings. At any time during these configuration steps, click Save in the upper-left corner of the template to save your changes.
-
In an open Patching Preferences template (+ New), enter a Description of the preference you are creating. The system automatically generates a Name based on the target Business Unit.
-
When you finish modifying and saving the new patching preferences, click Save at the upper-left corner of the template.
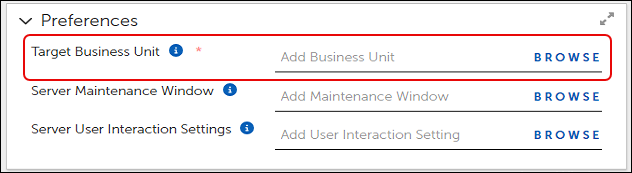
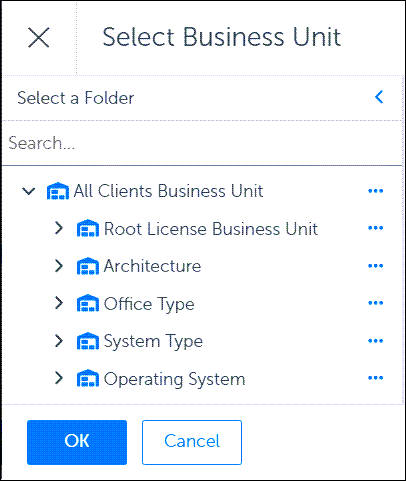
Add a Target Business Unit using the following steps:
-
Select Browse next to Server Maintenance Window.

This opens the Add Maintenance Window dialog.

-
Select Show All at the upper right to view the available Maintenance Window settings.
-
Select the checkbox aligned with the setting you want to use. To create a new Maintenance Window setting, refer to Maintenance Windows, then return and repeat this step.
-
Select Add Maintenance Window on the lower-left corner of the Add Maintenance Window dialog.
-
Select Browse at the far right of Server User Interaction Settings.
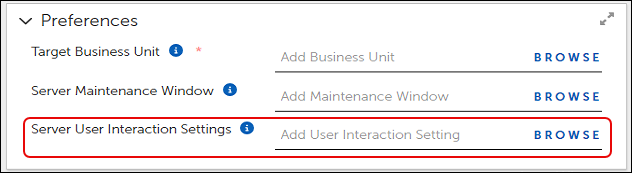
This opens the Add User Interaction Setting dialog.
-
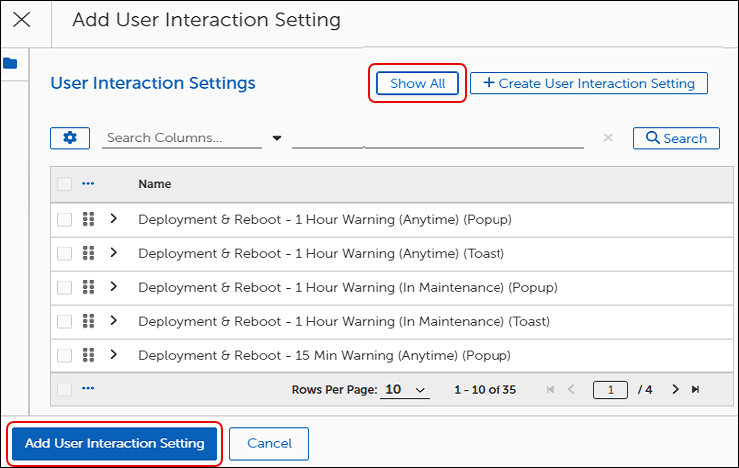
Select Show All at the upper-right corner to view the available options, and then select the checkbox aligned with the options you want to use. To create a new setting, refer to User Interaction Settings, then return and repeat this step.
-
Select Add User Interaction Setting on the lower-left corner of the dialog. This returns you to the Patching Exceptions template.
-
Select Save at the upper-left corner of the template.