Upload a Client Policy
It is recommended that you create and modify policies using the Client Policy Builder, but if desired, you can still download a policy in order to modify it and then upload the modified policy back into the Tenable Log Correlation Engine server.
To upload a client policy or upload a modified client policy:
-
Log in to Log Correlation Engine via the user interface.
-
In the top navigation bar, click Policies.
The Policies page appears, displaying the policy table.

-
In the upper-left corner of the policy table, click the Add policy button.
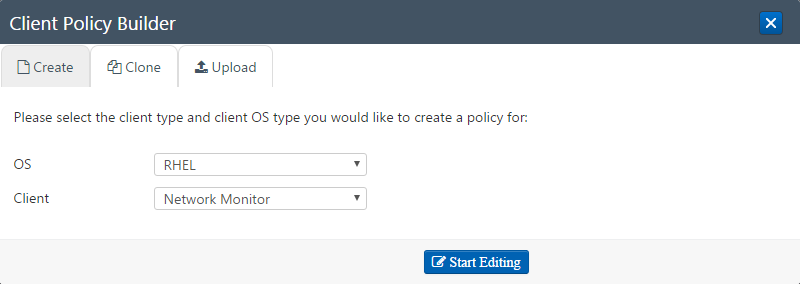
The Client Policy Builder window appears, displaying the Create section.

-
Click the Upload tab.
The Upload section appears.

-
In the OS list, select the operating system corresponding to the client policy you want to upload.
-
In the Client list, select the type of Tenable Log Correlation Engine client corresponding to the client policy you want to upload.
Note: The selected OS and Client must match the policy you want to upload, or the upload will fail and an error message will appear.
-
In the Policy Name box, type a name for the policy. A valid policy name cannot include the phrase default or TNS as a prefix, and cannot include spaces or underscores. Do not include a file extension. The operating system, client, and file extension will be appended to the name when the policy is saved.
For example, if you are uploading a policy for the Tenable Log Correlation Engine Tenable Network Monitor that supports Red Hat Enterprise Linux, and you type corpnet as the name, the policy will be uploaded with the following complete name: corpnet_rhel_networkmonitor.lcp.
- If you want to overwrite an existing policy that has the same name, select the Overwrite check box.
-
Click the Add Policy button.
The policy is uploaded and appears in the policy table.