Customized Reports
Required user role when using Tenable Nessus Manager: Standard, Administrator, or System Administrator
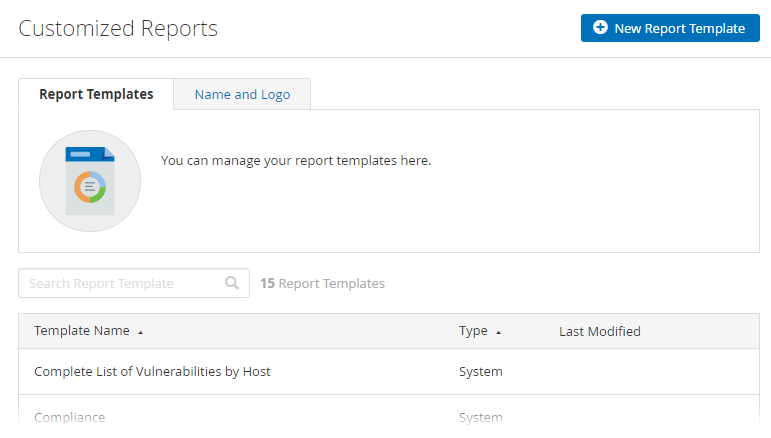
On the Customized Reports page, you can customize the title and logo that appear on each report and manage report templates.
Use the following procedures to manage customized reports:

In Tenable Nessus, you can customize the title and logo that appear on each report. This allows you to prepare reports for different stakeholders.
To customize the report title and logo:
-
In the top navigation bar, click Scans.
The My Scans page appears.
- In the left navigation bar, click Customized Reports.
- Click the Name and Logo tab.
- In the Custom Name box, type the name that you want to appear on the report.
-
To upload a custom logo, click the Upload button.
A window appears in which you can select a file to upload.
-
Click the Save button.
Tenable Nessus saves your custom title and logo.

Tenable Nessus allows you to create custom report templates on the Customized Reports page in addition to the standard system report templates.
To create a custom report template:
-
In the top navigation bar, click Scans.
The My Scans page appears.
-
In the left navigation bar, click Customized Reports.
The Report Templates page appears.
-
In the top-right corner, click New Report Template.
The New Report Template page appears.
-
In the Name texbox, enter the template name.
-
In the Description textbox, enter the template description.
-
Add report Chapters to the template. Chapters determine what information and statistics appear on the report.
-
Click Add a Chapter.
The Add a Report Chapter window appears.
-
Click the chapter you want to add to the template. A description of the chapter appears below the chapter list.
-
Click Add to add the selected chapter to the template.
The Add a Report Chapter window closes, and Tenable Nessus adds the new chapter to the Chapters section. Repeat steps a-c to add another chapter.
-
-
Edit the selected template chapters.
-
Depending on the chapters selected, edit the chapter details. This may involve selecting or clearing check boxes or changing values.
-
Click the
buttons to re-order the chapters.
-
Click
to remove a chapter from the template.
-
-
Click Save. Tenable Nessus saves your report template. You can select and edit the template from the Report Templates tab.

Tenable Nessus allows you to copy custom and system report templates to create a new report template.
To copy a custom report template:
-
In the top navigation bar, click Scans.
The My Scans page appears.
-
In the left navigation bar, click Customized Reports.
The Report Templates page appears.
-
In the row of the template you want to copy, click the
button.
The Copy Report Template window appears.
-
In the Template Name text box, enter the new template's name.
-
Click Copy. Tenable Nessus saves the new scan template. You can select and edit the template from the Report Templates tab.

To edit a custom report template:
-
In the top navigation bar, click Scans.
The My Scans page appears.
-
In the left navigation bar, click Customized Reports.
The Report Templates page appears.
-
Click the row for the custom template you want to edit.
The template's detail page appears.
-
Edit the Name, Description, and Chapters as needed.
-
Click Save.
Tenable Nessus saves your template changes.

-
In the top navigation bar, click Scans.
The My Scans page appears.
-
In the left navigation bar, click Customized Reports.
The Report Templates page appears.
-
In the report template table, in the row for the custom template you want to delete, click the
button.
The Delete Report Template window appears.
-
Click Delete.
Tenable Nessus deletes your custom template.