Scan Folders
Required user role when using Tenable Nessus Manager: Standard, Administrator, or System Administrator
On the Scans page, the left navigation bar is divided into the Folders and Resources sections. The Folders section always includes the following default folders that you cannot remove:
- My Scans
- All Scans
- Trash
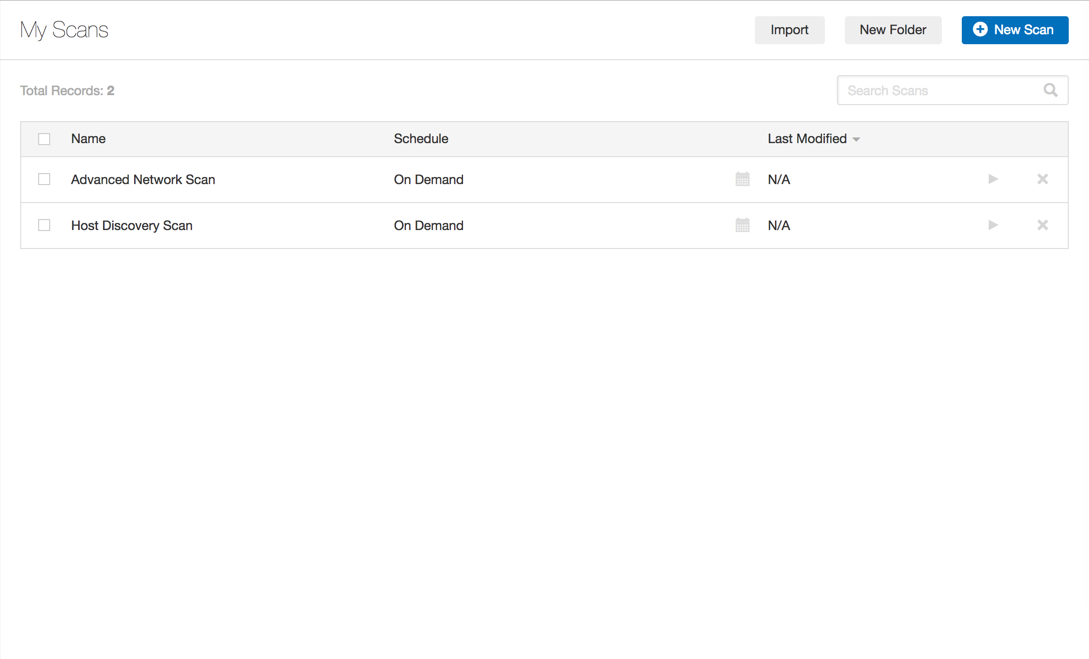
When you access the Scans page, the My Scans folder appears. When you create a scan, it appears by default in the My Scans folder.
The All Scans folder shows all scans you have created as well as any scans with which you have permission to interact. You can click on a scan in a folder to view scan results.
The Trash folder shows scans that you have deleted. In the Trash folder, you can permanently remove scans from your Tenable Nessus instance, or restore the scans to a selected folder. If you delete a folder that contains scans, Tenable Nessus moves all scans in that folder to the Trash folder. Tenable Nessus deletes the scans stored in the Trash folder automatically after 30 days.
Use the following procedures to manage scan folders:

-
In the top navigation bar, click Scans.
The My Scans page appears.
-
In the upper-right corner, click the New Folder button.
The New Folder window appears.
- In the Name box, type a name for the folder.
-
Click the Create button.
Tenable Nessus creates the folder and shows it in the left navigation bar.

-
In the top navigation bar, click Scans.
The My Scans page appears.
- If the scan you want to move is not in the My Scans folder, on the left navigation bar, click the folder that contains the scan you want to move.
-
On the scans table, select the check box on the row corresponding to the scan that you want to configure.
In the upper-right corner, the More button appears.
-
Click More. Point to Move To, and click the folder that you want to move the scan to.
The scan moves to that folder.

-
In the top navigation bar, click Scans.
The My Scans page appears.
-
In the left navigation bar, next to the folder that you want to rename, click the
button, and then click Rename.
The Rename Folder window appears.
- In the Name box, type a new name.
-
Click the Save button.
The folder name changes.

-
In the top navigation bar, click Scans.
The My Scans page appears.
-
In the left navigation bar, next to the folder that you want to rename, click the
button, and then click Delete.
The Delete Folder dialog box appears.
-
Click the Delete button.
Tenable Nessus deletes the folder. If the folder contained scans, Tenable Nessus moves those scans to the Trash folder.