Profile
The Profile page within the Tenable Account Management portal lets you view and manage your personal account settings, including multi-factor authentication and your Support PIN.
To access the Profile page:
-
In the upper-right corner of any page within the Tenable Account Management portal, click the gray user circle.
A menu appears.

-
Click
 Profile.
The Profile page appears.
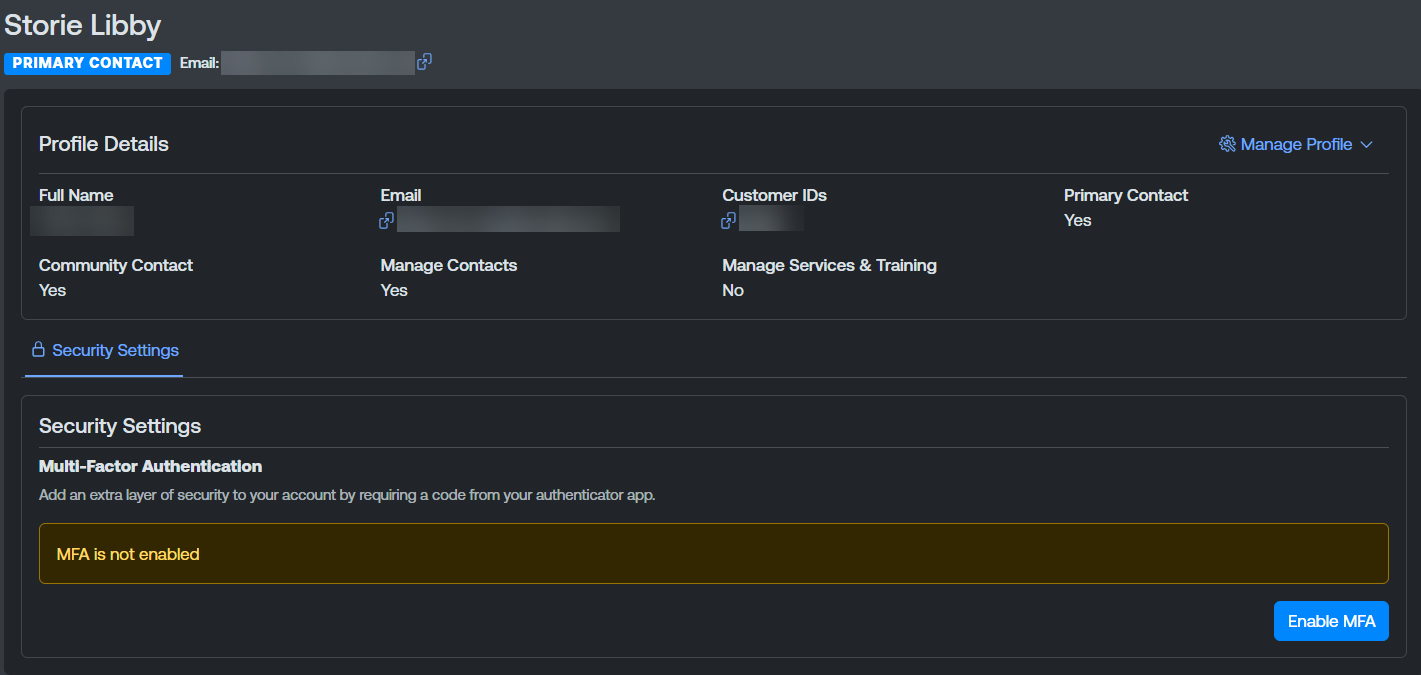
The Profile page includes the following information:
-
Full Name — The full name associated with your user profile.
-
Email — The email address associated with your user profile.
Tip: Click the button to copy the email directly to your clipboard.
 -
Customer IDs — The customer ID associated with your user profile.
Tip: Click the button to copy the ID directly to your clipboard. -
Support PIN — A short, per-user identifier used to verify your identity when you contact Tenable Support. Provide this PIN to the support agent when prompted.
Note: This value only appears for accounts with a service level of Advanced or higher. For more information, see Technical Support Plans.Tip: Click the button to copy the pin directly to your clipboard. -
Primary Contact — Indicates whether or not you are a primary contact.
-
Community Contact — Indicates whether or not you are a community contact.
-
Manage Contacts — Indicates whether or not you can manage other contacts within the Tenable Account Management portal.
-
Manage Services & Training — Indicates whether or not you can manage services and trainings within Tenable Professional Services.
Security Settings
The Security Settings section of the Profile page lets you enable, manage, and disable multi-factor authentication (MFA) for your Tenable login.
Multi-factor authentication adds an extra layer of security to your account by requiring a six-digit code from an authenticator app, in addition to your password, when you sign in. Codes are generated by a time-based one-time passcode (TOTP) authenticator app such as Google Authenticator, Microsoft Authenticator, Authy, or 1Password, installed on your smartphone.
Here, you can:
Enable MFA
Before you begin, install a TOTP authenticator app on your smartphone.
To enable multi-factor authentication (MFA) for your account:
-
In the Security Settings > Multi-Factor Authentication section, click Enable MFA.
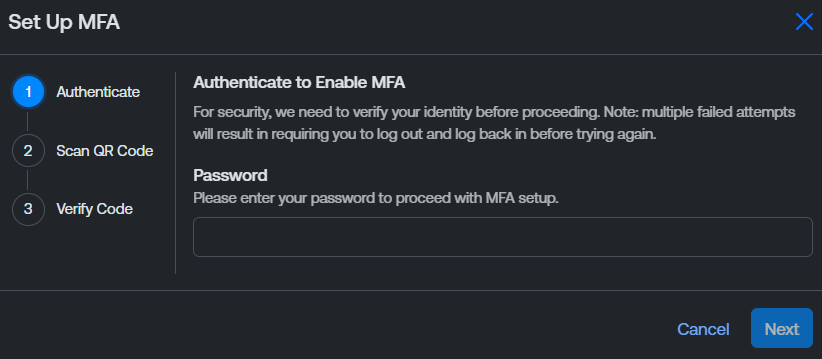
The Set Up MFA window appears.
-
In the Password text box, type your user password.
-
Click Next.
-
Use the QR code to authenticate on the application of your choice (for example, Google Authenticator, Microsoft Authenticator, or Authy).
-
Click Next.
-
In the Verification Code text box, type the code provided by your authentication application.
-
Click Verify & Enable MFA.
Tenable enables multi-factor authentication for your account.
Once two- factor authentication is configured for your account, you must log out and log back in to Tenable Account Management to utilize the authentication method.
Disable MFA
You can disable MFA on your account at any time. Disabling MFA removes the requirement to enter a verification code when signing in.
To disable multi-factor authentication (MFA) for your account:
-
In the Security Settings > Multi-Factor Authentication section, click Remove MFA.
A confirmation message appears.
-
Click Remove MFA.
Tenable disables multi-factor authentication for your account.
To re-enable MFA later, sign out and sign back in, then follow the steps to Enable MFA.
Manage Profile
You can also manage your profile in the following ways:
Change Appearance
You can select the lighting theme in which you want the Tenable Account Management portal to appear.
To change the appearance of the Tenable Account Management portal:
-
In the upper-right corner of the Profile page, click Manage Profile.
A menu appears.
-
Click Appearance.
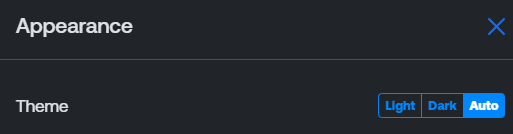
The Appearance window appears.
-
In the Theme section, select the lighting theme in which you want the Tenable Account Management portal to appear.
Tenable saves your changes and applies the selected theme to the portal.
Change Password
You can change or reset your password directly via the Profile page.
To change or reset your own password:
-
In the upper-right corner of the Profile page, click Manage Profile.
A menu appears.
-
Click
 Change Password.
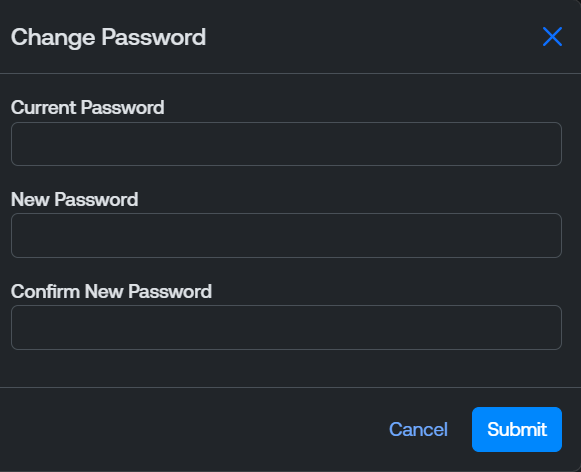
The Change Password window appears.
-
In the Current Password text box, type your current password.
-
In the New Password text box, type the new password to which you want to change.
-
In the Confirm New Password text box, re-type the new password.
-
Click Submit.
The Tenable Account Management portal saves your changes.
Reset Support PIN
The Support PIN is a short, per-user identifier used to verify your identity when you contact Tenable Support. Provide this PIN to the support agent when prompted.
You can reset your support personal identification number (PIN) at any time. You can use this PIN to identify yourself when contacting Tenable support.
To reset your support pin:
-
In the upper-right corner of the Profile page, click Manage Profile.
A menu appears.
-
Click
 Reset Support PIN.
A confirmation message appears.
-
Click Reset.
Tenable resets your support PIN.
Configure Privacy Preferences
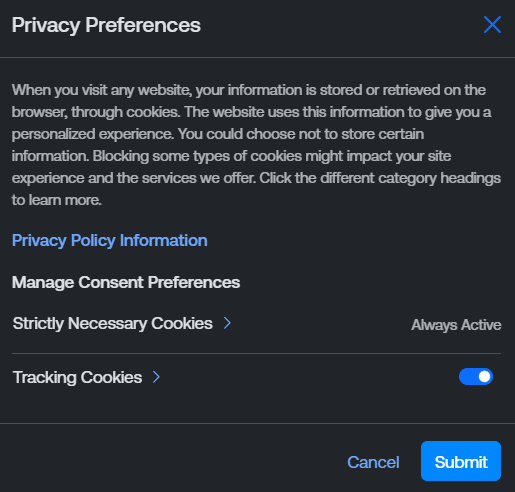
When you visit any website, your information is stored or retrieved on the browser, through cookies. The website uses this information to give you a personalized experience. You could choose not to store certain information. Blocking some types of cookies might impact your site experience and the services we offer.
To configure your privacy preferences:
-
In the upper-right corner of the Profile page, click Manage Profile.
A menu appears.
-
Click Privacy Preferences.
The Privacy Preferences window appears.
-
In the Tracking Cookies section, enable/disable the toggle based on your privacy preferences.
-
Click Submit.
Tenable saves your changes for the Tenable Account Management portal.