Tenable Agents
Enable Plugin Debugging and Audit Trails
Use this section when troubleshooting false positives, authentication errors, or compliance checks. Apply these settings before running the scan.
To enable plugin debugging and audit trails for Tenable Agents:
-
Navigate to Scans and edit the agent scan policy.
-
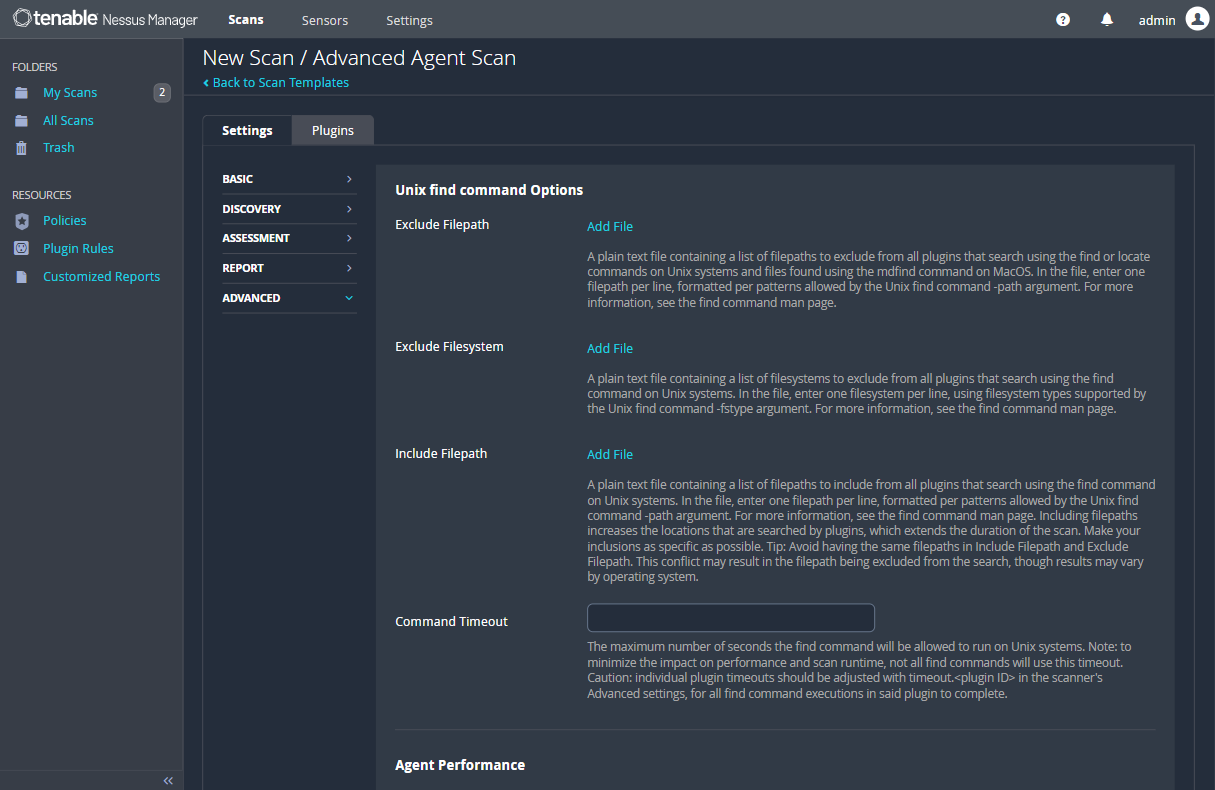
Go to Advanced (set Scan Type to Custom if needed).
-
Under Debug Settings:
-
Select Enable plugin debugging.
-
Set Debug Log Level to Level 3.
-
Set Audit Trail to All audit trail data.
-
Set Include the KB to Include KB.

-
-
Save and run the scan.
Collect Scan Results
Use this section after the scan has finished. These files allow support to replay the scan results with full diagnostic data.
To collect scan results for Tenable Agents:
-
Ensure the scan has finished with Plugin Debugging and Audit Trails enabled.
-
Select the scan, and in the upper right corner, click Export.

-
Select the Nessus DB format.
Note: Set a secure password when prompted. You must provide this password to Tenable Support.
-
Download the file and submit it to your support case.
Collect Debug Logs
Use this section when troubleshooting software crashes, service failures, or installation errors.
-
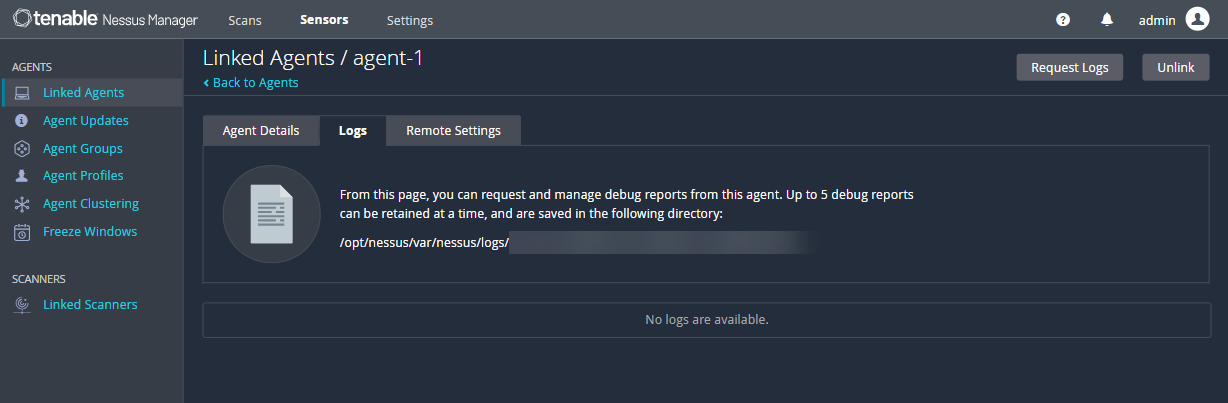
GUI Method (via Nessus Manager): Go to Sensors, select the agent, click The Log, then Request Logs.
-
CLI (Windows): Run as Admin: "C:\Program Files\Tenable\Nessus Agent\nessuscli.exe" bug-report-generator.
-
CLI (Linux): Run as Root: /opt/nessus_agent/sbin/nessuscli bug-report-generator.
-
CLI (macOS): Run as Root: /Library/NessusAgent/run/sbin/nessuscli bug-report-generator.