Upload a Certificate for a Trusted Certificate Authority
You can upload a trusted certificate authority (CA) certificate for any of the following purposes:
- You want to use certificate authentication for user accounts on Tenable Nessus.
- You want to configure Tenable Nessus Manager to use your custom certificates when communicating with Tenable Agents.
You do not need to upload a trusted CA certificate for any other reasons. You can upload any number of trusted CA certificates to Tenable Core.
Note: By default, Tenable Core uses the same certificates for Tenable Core as well as Tenable Nessus.
If you decouple the certificates, Tenable Core disregards the custom CA certificate configuration on the System Certificate tab. Tenable Core does not use custom CA certificates for reasons other than the application use.
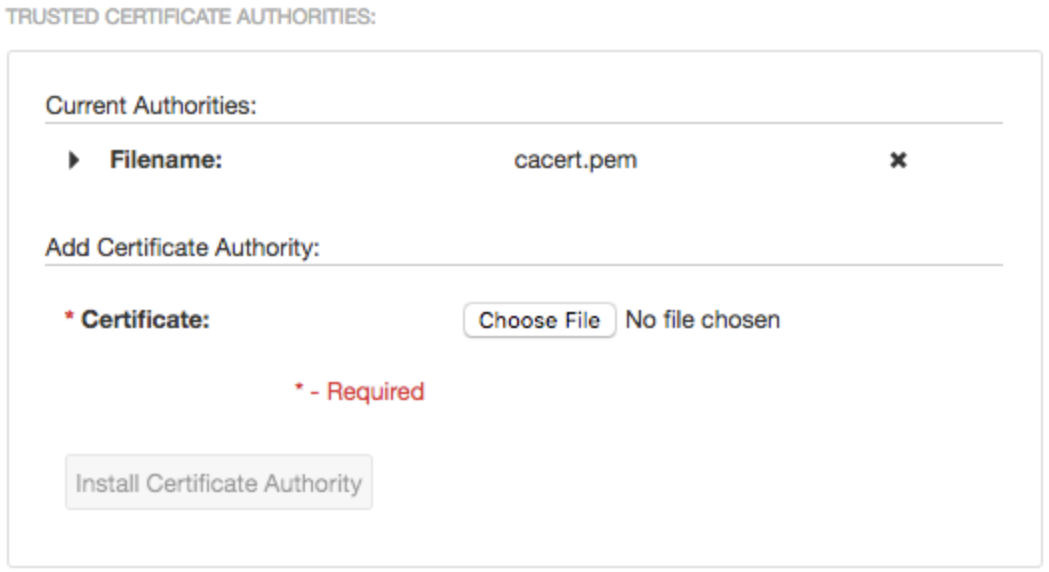
To view details about an existing certificate, click to expand the Filename section for a certificate. To remove an existing certificate, select the certificate and click the Delete button.
Before you begin:
- Confirm the trusted CA certificate is in .der, .pem, or .crt format.
- Move the trusted CA certificate to a location accessible from your Tenable Core server.
Upload a trusted CA certificate:
-
Log in to Tenable Core via the user interface.
The Tenable Core web user interface page appears.
-
In the left navigation pane, click SSL/TLS Certificates.
The SSL/TLS Certificates page appears.
- Click the System Certificate tab.
-
In the TRUSTED CERTIFICATE AUTHORITIES section, in the Add Certificate Authority section, next to Certificate, click Choose File.
The upload window appears.
-
Browse to and select the certificate file.
Tenable Core uploads the certificate file.
-
Click Install Certificate Authority.
A success message appears to confirm the upload succeeded.
