Add or Expand Disk Space
If you need more space in Tenable Core to meet the requirements, add space to your machine by expanding an existing disk or adding a new disk. For general information about Tenable Core disk management, see Disk Management.
Caution: You cannot reassign disk space after you have assigned the space to a file system.
To add or expand existing disk space on your Tenable Core machine:
- Power down your machine, as instructed by your local administrator or the documentation for your local environment.
-
Add a new disk or expand an existing disk in your machine configuration, as instructed by your local administrator or the documentation for your local environment.
- Power up your machine, as instructed by your local administrator or the documentation for your local environment.
-
Log in to Tenable Core.
The System page appears.
-
In the left navigation bar, click Storage.
The Storage page appears.
-
In the Storage section, locate the filesystem with /opt as the location and note the containing volume group (typically vg0).
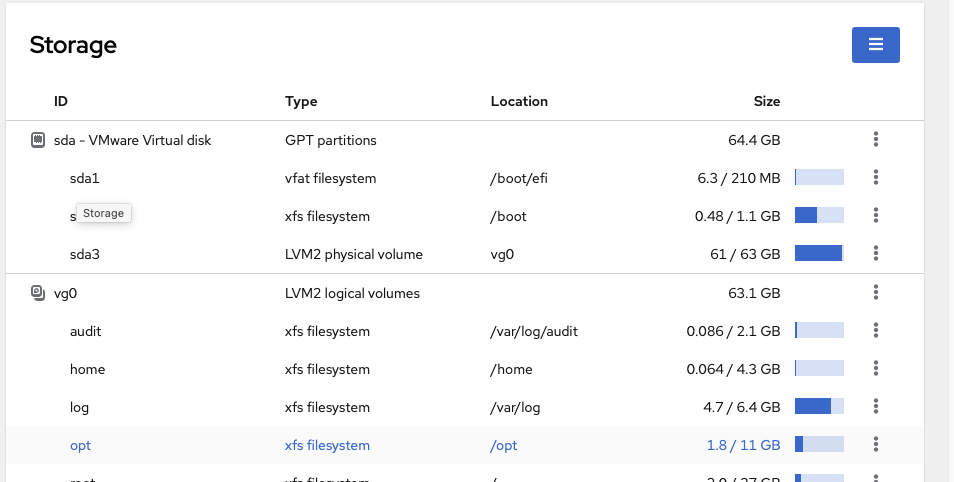
Tip: Typically, you want to add space to /opt. To add more storage space to a less common partition (for example, / or /var/log), locate the file system for that partition.
-
Click the row for the volume group that includes your preferred partition as the mount point.
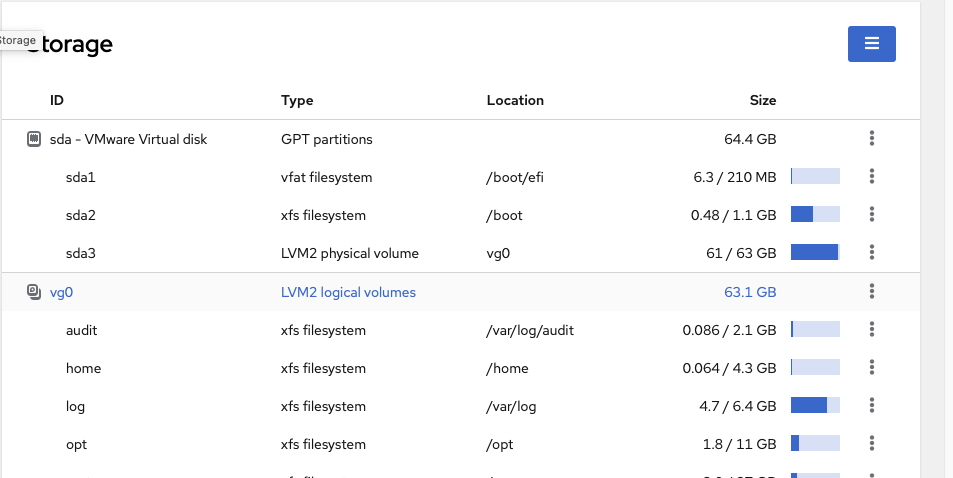
The LVM2 Volume Group page appears:
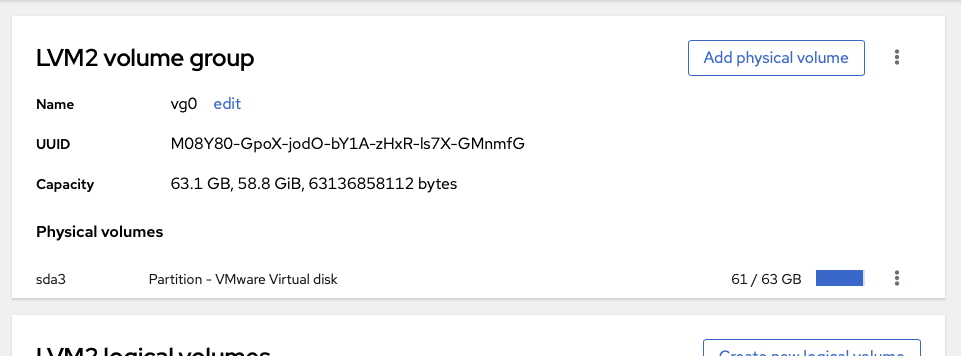
-
Click the Add Physical Volume button.
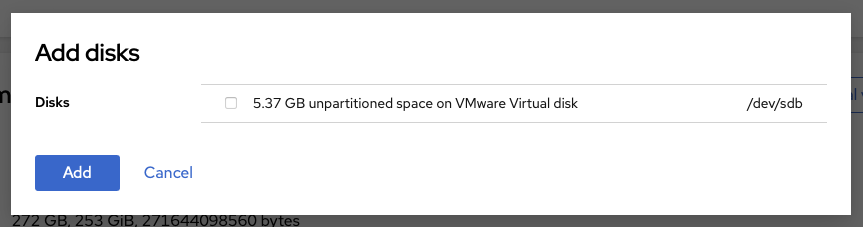
-
Click the checkbox for the space you added.
Note: If the disk does not show up in this list, you need to expand it from the terminal. Run sudo pvs -o pv_name,pv_size,dev_size . If you see a disk with dev_size larger than pv_size, run sudo pvresize /dev/<the disk> then continue from step 11 of this page.
-
Click Add.
The Volume Group page appears, updated to show the added space in the Physical Volumes section.
-
In the LVM2 Logical Volumes section, click the context
 button for the file system Name that includes your preferred partition as the Mount Point.
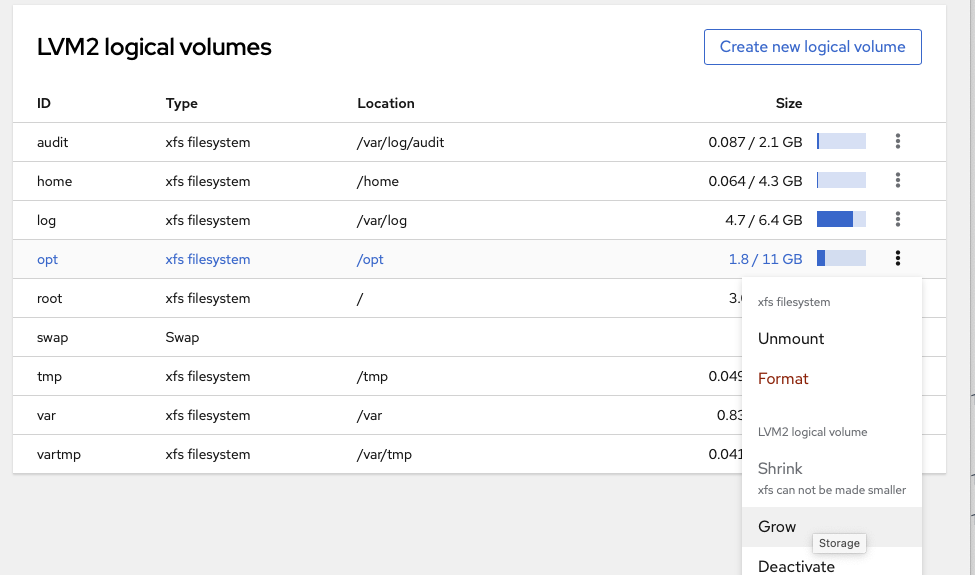
-
Click Grow.
The Grow Logical Volume window appears.
- Use the slider to increase the size of the file system to your desired size (typically, to the new maximum).
-
Click Grow.
The system expands the logical volume and the file system.
The Volume Group page appears, refreshed to reflect the new size.