Configure Sensor Proxy in Tenable Core
The Sensor Proxy page displays summary information about your Tenable Core + Sensor Proxy configuration. From here, you can configure ports or use your linking key to link to Tenable platforms.
Note: Linking also allows you to use FIPS mode. For more information on FIPS mode, refer to Configure FIPS Mode.
Before you begin:
-
Find and copy your linking key:
-
For Tenable Vulnerability Management you can find your linking key in the following Tenable Vulnerability Management menu: Settings > Sensors > Linked Scanners >
 Add Nessus Scanner.
 -
For your Tenable Security Center linking key, refer to Sensor Proxies in the Tenable Security Center User Guide.
-
- In the Configuration: section, click the number in the Web Server Port: field.

- Enter the applicable port.
- Click Save Configuration.
-
In the Link to Tenable Management Platform section, select either Tenable Vulnerability Management, or Security Center in the What platform do you want to link to? dropdown menu.
Depending on your selection, parameter options appear:
Tenable Vulnerability Management:
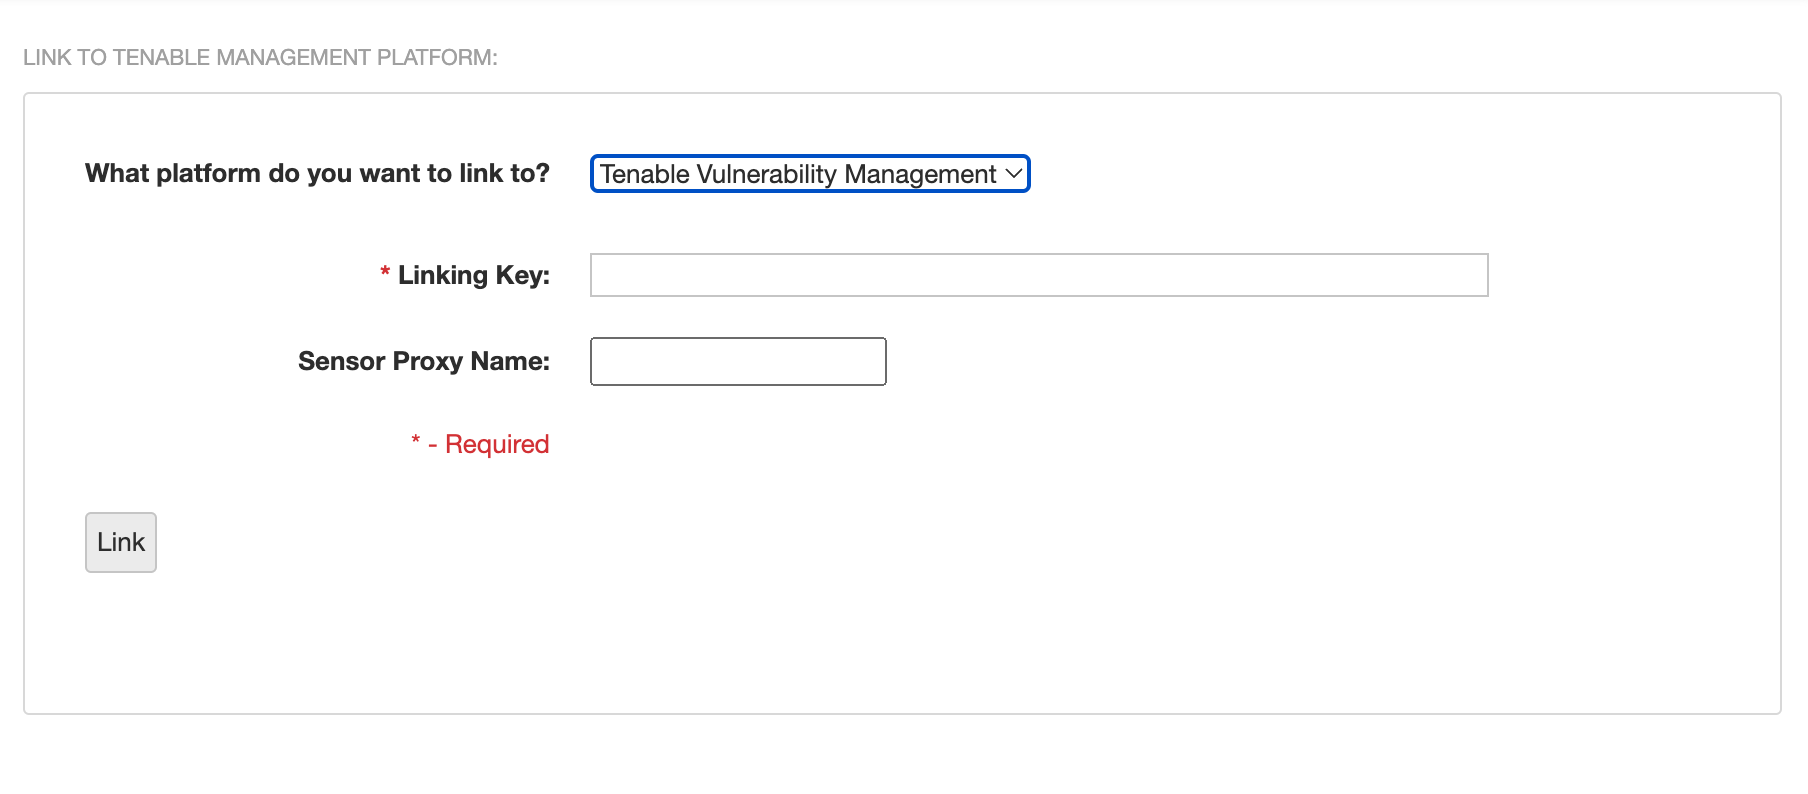
Parameter Description Linking Key Your Tenable Vulnerability Management linking key. Sensor Proxy Name (Optional) Name of the Sensor Proxy.
Tenable Security Center:
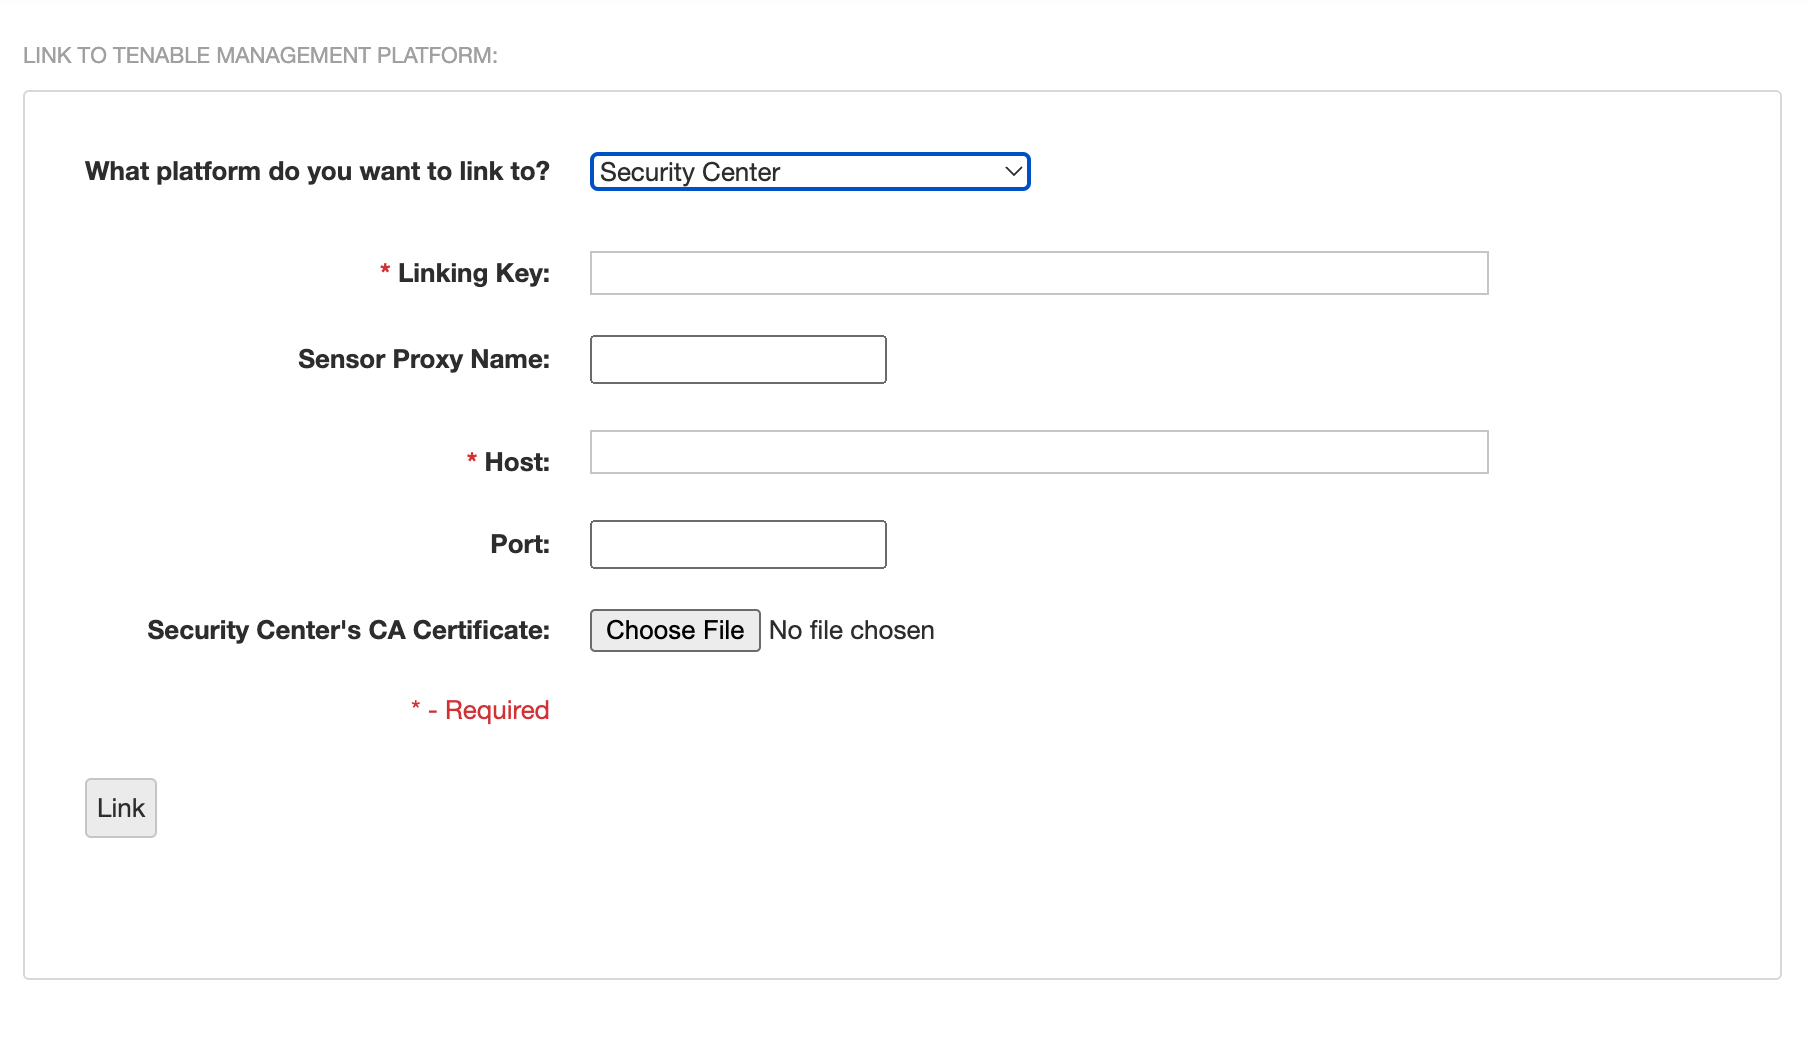
Parameter Description Linking Key Your Tenable Security Center linking key. Sensor Proxy Name (Optional) The name you add here shows up on Tenable Security Center's Sensor Proxies page.
Host Can be the IP address, or the host name of the Tenable Security Center instance.
Port (Required) This is the port that Tenable Security Center listens for sensor proxies by default. Tenable recommends this be set to 8837.
Security Center's CA Certificate (Optional) Use the correct CA cert for the certificate Tenable Security Center is using. The default CA cert is /opt/sc/data/CA/TenableCA.crt.
- After completing the required fields, click Link.
A success message appears.
- Select the desired log from the drop-down box.
- Click View Log.
The log appears in the text box.