Configure Google Cloud Platform (GCP)
The following is not supported in Tenable FedRAMP Moderate environments. For more information, see the Tenable FedRAMP Product Offering.
Required User Role: Administrator
Before you can use Tenable Vulnerability Management GCP connectors, you must configure GCP to support your connectors.
To configure GCP to support Tenable Vulnerability Management connectors:
- Log into Google Cloud Platform.
- In the left navigation bar, select IAM & Admin.
- In the Select a project drop-down box in the upper-left, select the applicable GCP project.
- In the left navigation bar, select Service accounts.
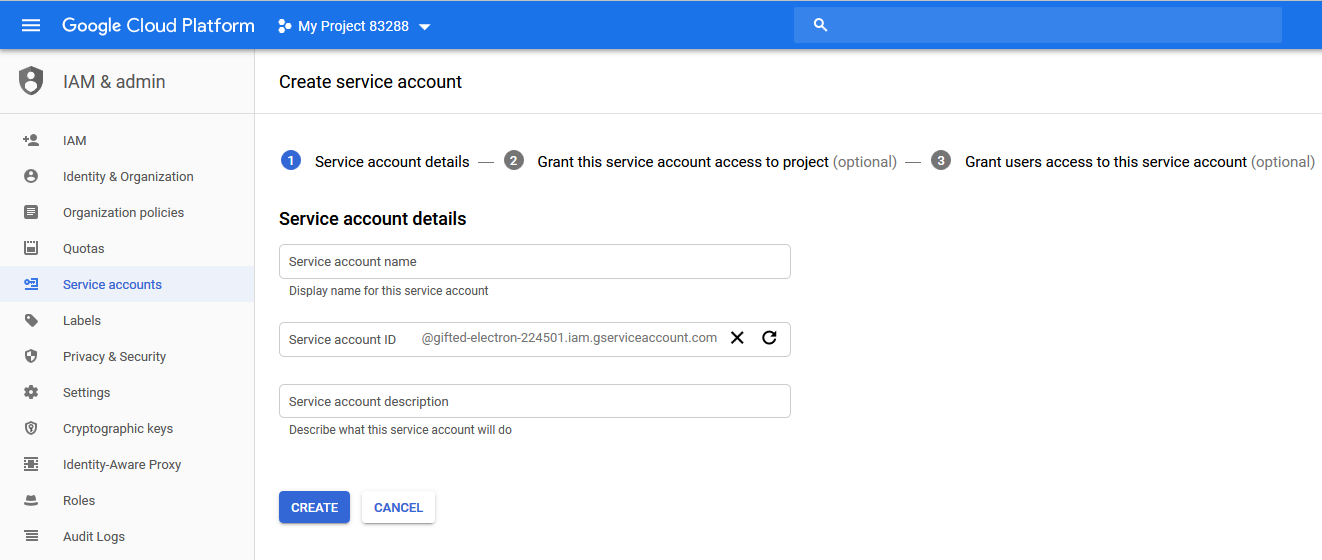
- Click + CREATE SERVICE ACCOUNT.
- In the Service account name box, type a display name for your service account.
- In the Service account ID box, type a unique service account ID.
- In the Service account description box, describe what the service account will do.
- Click CREATE.
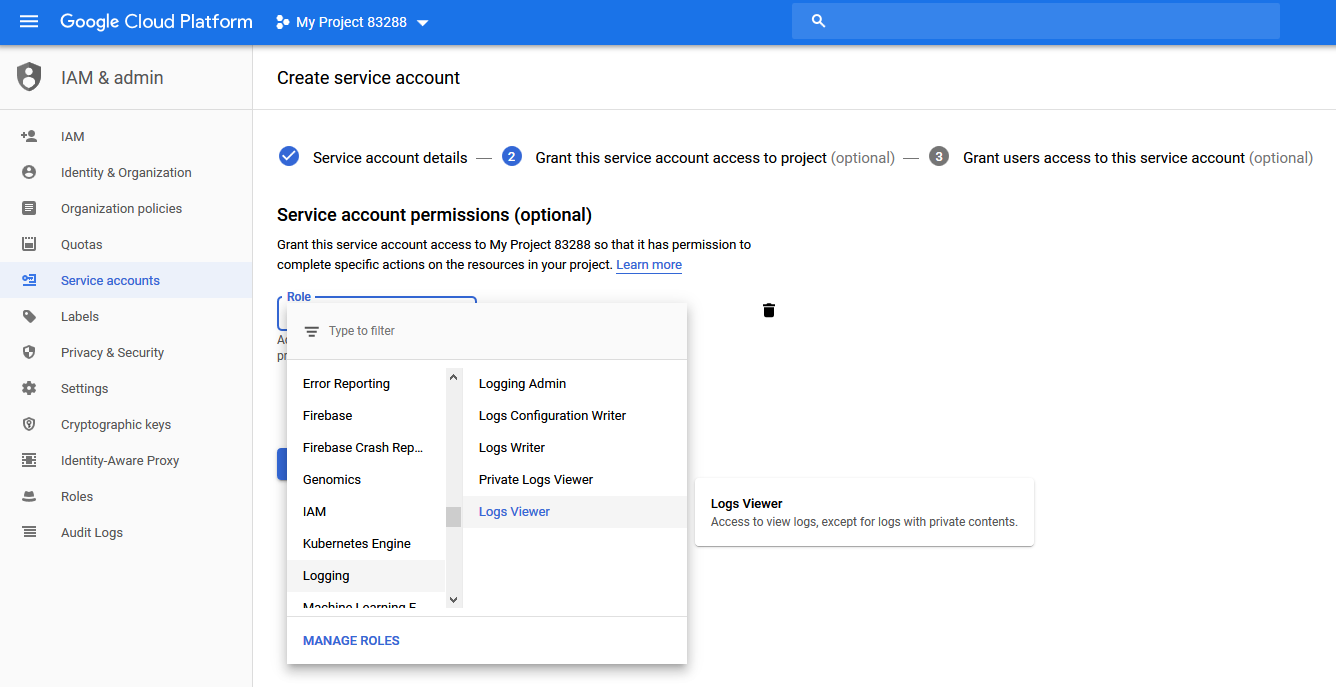
- In the drop-down box on the Service account permissions (optional) page, add the Logging > Logs Viewer role.
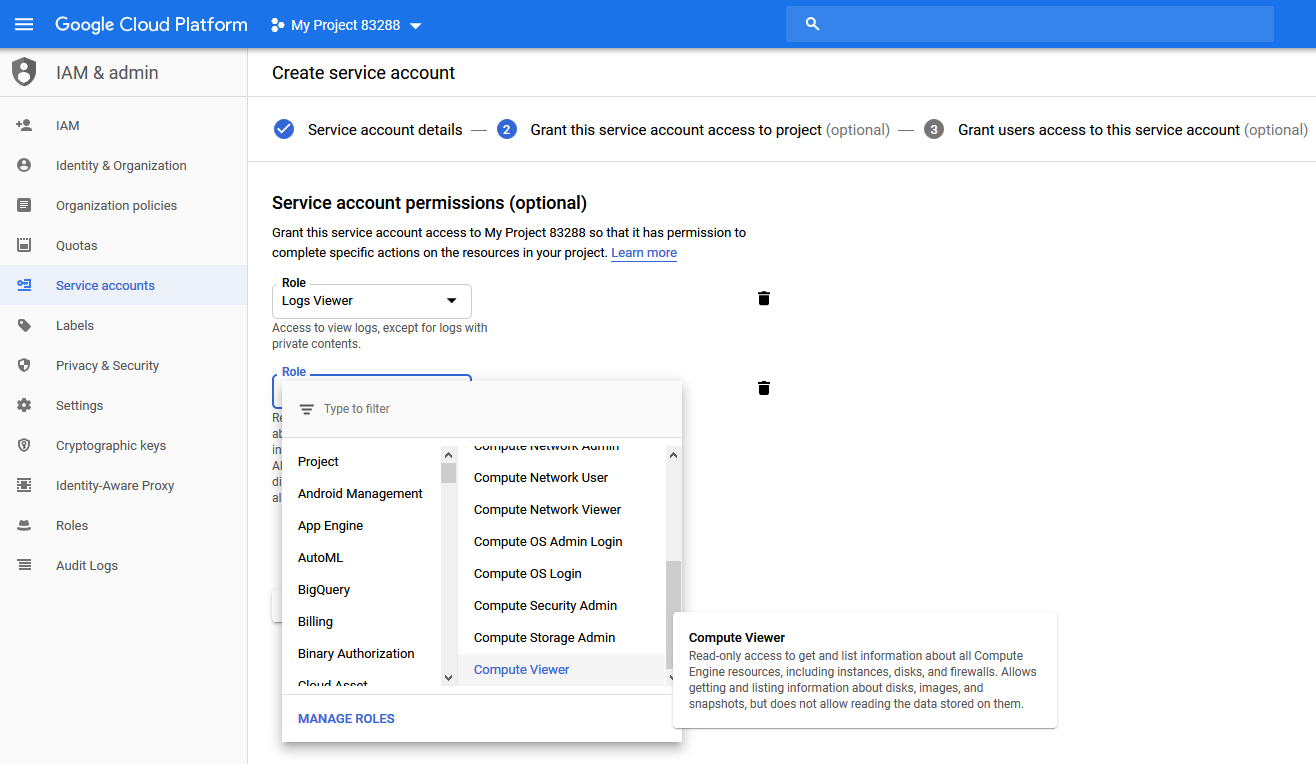
- Click + ADD ANOTHER ROLE on the Service account permissions (optional) page.
- Add the Compute Engine > Compute Viewer role.
- Click Continue.
- In the Create key (optional) section, click +CREATE KEY.
- Under Key type, select JSON to create a key in JSON format.
- Click CREATE.
Your browser downloads the key in JSON format.
The IAM page appears.
The Service accounts page for your GCP project appears.

The Create service account page appears.
The Grant this service account access to project page appears.
The Grant users access to this service account page appears.
The create key (optional) pane appears.
(Optional) To configure a GCP service account that can access multiple projects:
You may have multiple GCP accounts that you add and remove regularly. Instead of adding each GCP account as a different connector, you can configure the top-level service account to access multiple projects. The GCP connector automatically discovers all linked projects and pulls assets from those projects.
Note: The top-level service account must have the Cloud Resource Manager API enabled in order to access multiple projects.
- Log into Google Cloud Platform.
- In the left navigation bar, select IAM & Admin.
- In the drop-down menu in the upper-left corner, select the second GCP project.
- In the IAM menu bar, click + ADD.
The Add members to project pane appears.
- In the New Members box, type the name of the top-level service account you created in step 6 of the first section.
- In the Select a role drop-down box, select the Logging > Logs Viewer role.
- Click the + ADD ANOTHER ROLE button.
- In the Select a role drop-down box, select the Compute Engine > Compute Viewer role.
- Click the + ADD ANOTHER ROLE button.
- In the Select a role drop-down box, select the Service Account Token Creator role.
- Click the + ADD ANOTHER ROLE button.
- In the Select a role drop-down box, select Workload Identity User role.
- (Optional) Click the + ADD ANOTHER ROLE button to add additional roles.
The IAM page appears.
What to do next: