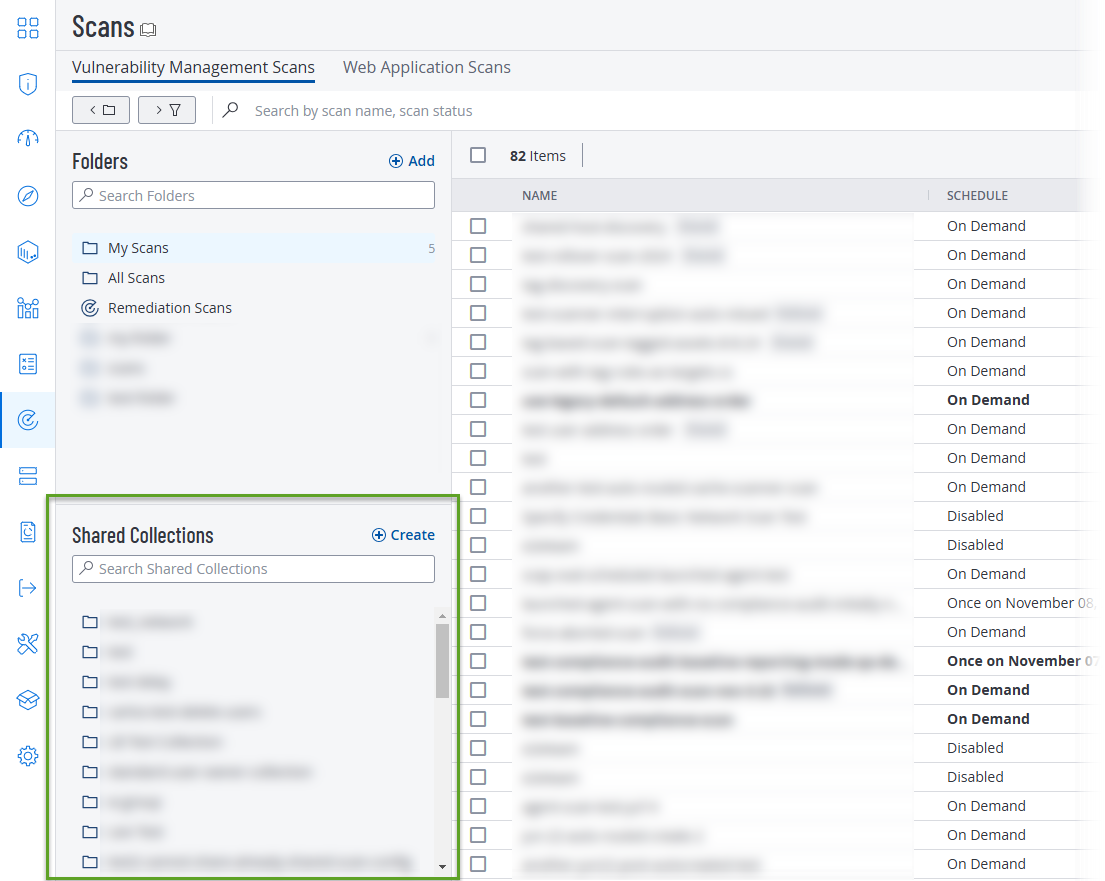
Shared Collections
On the Scans page in Tenable Vulnerability Management, you can create and manage shared collections. Shared collections allow you to quickly and conveniently share scan configurations with specific groups and other Tenable Vulnerability Management users.
Note: Shared collections are only available for vulnerability management scans.

-
In the left navigation, click
Scans.
The Scans page appears.
-
In the Shared Collections section, click
Create.
The Create Shared Collection pane opens.
-
Enter the following information for the shared collection:
Setting Description Name (Required) The name of the shared collection. Description The description of the shared collection. Add Users or Groups Determines what users and groups have access to the shared collection. To add a new user or group:
-
Click the Select Users or Groups dropdown.
A list of your organization's users and groups appear.
Note that your user account is already listed as Owner. Each shared collection can only have one Owner, but ownership can be transferred by the current owner or by an administrator.
-
Search for and select the user or group that you want to add permission for.
Tip: You can scroll to the bottom of the dropdown and select All Users to set global permissions.
The selected user or group appears below the dropdown.
-
Select the Can View dropdown next to the selected user or group.
-
To give the user or group view access, select Can View.
-
To give the user or group editing access, select Can Edit.
Note: Users with the Administrator role automatically have Can Edit access to all shared collections.
Note: To give a group Can Edit access to a shared collection, every user in the group must have the Scan Operator privilege or higher for shared collections (or a custom role with the Manage Shared Collections privilege). After you give a group Can Edit access, you can add users with lower privileges to the group, but those users are not able to modify the shared collection.
-
-
Repeat steps a-c to add your desired users and groups.
-
-
Click Save.
Tenable Vulnerability Management creates the new shared collection. You can view the new collection under the Shared Collections header on the Scans page.

Note: To add a scan configuration to a shared collection, you must have Can View permission or higher for the scan configuration you are adding and Can Edit or Owner permission for the shared collection you are adding to.
-
In the left navigation, click
Scans.
The Scans page appears.
-
Search for the scan or scans that you want to add to a shared collection.
-
Do one of the following:
-
To add a single scan to a shared collection:
-
In the scan row of the scan table, right-click or click
in the Actions column.
A list of actions appears.
-
Click
Add to Shared Collection.
The Add to Shared Collection pane appears.
-
-
To add multiple scans to a shared collection:
-
In the scans table, select the checkboxes of each scan that you want to add.
-
Right-click in the scans table or click
More in the table header.
A list of actions appears.
-
Click
Add to Shared Collection.
The Add to Shared Collection pane appears.
-
-
-
Select the shared collection to add the scan or scans to.
-
Click Save. Tenable Vulnerability Management adds the scan or scans to the shared collection.

Note: To remove a scan configuration from a shared collection, you must have Can View permission or higher for the scan configuration you are removing and Can Edit or Owner permission for the shared collection you are removing from.
-
In the left navigation, click
Scans.
The Scans page appears.
-
In the Shared Collections section, open the shared collection you want to remove scans from .
-
Do one of the following:
-
To remove a single scan to a shared collection:
-
In the scan row of the scan table, right-click or click
in the Actions column.
A list of actions appears.
-
Click
Remove from Shared Collection.
The Remove Scans from Shared Collection window appears.
-
-
To remove multiple scans to a shared collection:
-
In the scans table, select the checkboxes of each scan that you want to remove.
-
Right-click in the scans table or click
More in the table header.
A list of actions appears.
-
Click
Remove from Shared Collection.
The Remove from Shared Collection pane appears.
-
-
-
Click Continue. Tenable Vulnerability Management removes the scan or scans from the shared collection.

-
In the left navigation, click
Scans.
The Scans page appears.
-
In the Shared Collections section, hover over the shared collection you want to edit.
-
Click
to edit the shared collection.
The Edit Shared Collection pane opens.
-
Edit the following settings as needed:
Setting Description Name (Required) The name of the shared collection. Description The description of the shared collection. Add Users or Groups Determines what users and groups have access to the shared collection. To add a new user or group:
-
Click the Select Users or Groups dropdown.
A list of your organization's users and groups appear.
-
Search for and select the user or group that you want to add permission for.
Tip: You can scroll to the bottom of the dropdown and select All Users to set global permissions.
The selected user or group appears below the dropdown.
-
Select the Can View dropdown next to the selected user or group.
-
To give the user or group view access, select Can View.
-
To give the user or group editing access, select Can Edit.
Note: Users with the Administrator role automatically have Can Edit access to all shared collections.
-
-
Repeat steps a-c to add your desired users and groups.
-
-
Click Save. Tenable Vulnerability Management updates the shared collection.

-
In the left navigation, click
Scans.
The Scans page appears.
-
In the Shared Collections section, hover over the shared collection you want to delete.
-
Click
to delete the shared collection.
A confirmation window appears in the upper-right corner.
-
Click Delete to confirm the deletion.
The shared collection is deleted. The scan data in the deleted shared collection is still available in your standard folders.