Workbench Tables
Required User Role: Basic, Scan Operator, Standard, Scan Manager, or Administrator
Workbench tables facilitate day-to-day operational management. They provide a familiar interface for sorting, organizing, and acting on rows of data.
Standard Workbench Table Elements
This table shows the elements that are in all Tenable Vulnerability Management workbench tables.
| Element | Functionality |
|---|---|
|
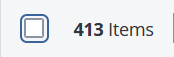
Item Count |
Located in the table header. Displays the total number of items currently in the table based on the applied filters or search criteria.
|
| Search Bar |
Located at the top of the table. Allows you to search for specific strings (like hostnames, IP addresses, or CVE IDs) within the current dataset.
|
| Column Management |
|
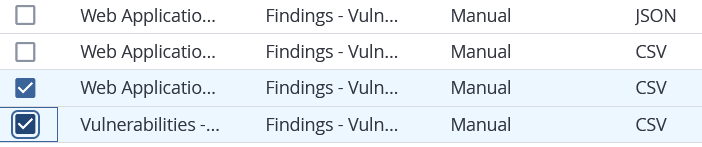
| Row Selection |
Individual check boxes on each row allow you to select one or more items. Right-clicking on single any item shows a menu of options for that row or prepares multiple rows for bulk operations.
|
| Select all on the page |
A header-level check box that selects all rows currently visible on the page. Your "Items Per Page" setting determines the number of rows selected.
|
| Select All |
A link that appears after you select all rows on the current page. Clicking this link selects all rows in the dataset, including those not currently shown on the page.
|
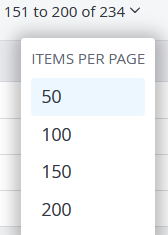
| Items Per Page |
A dropdown menu in the header that lets you choose how many rows the table displays (e.g., 50, 100, etc.).
|
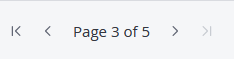
| Pagination |
Navigation controls in the table header to move between different pages of results.
|


Common Workbench Actions
All Tenable Vulnerability Management workbench tables allow for more per-row data details, table searching, column management such as resizing and hiding or showing columns, and contextual actions on table data, including bulk actions such as Export and Delete.
The Details Page (Drill Down)
Clicking any row item (such as an Export Schedule, Vulnerability Scan, or Remediation Goal) opens a Details page or panel. This allows you to view deep-dive context without losing your filtered list in the main table.
Search the Table
To search for data in the table:
-
In the Search box, type your search term.
Your search criteria depends on the type of data in the table you want to search. For example, in Scans you can search by Scan Name or Scan Status. See Scan Filters for more information.
-
Click the
 button.
Tenable Vulnerability Management filters the table by your search term.
Tip: The search bar displays the search criteria.

Actions per Table Item
When working with a single row in a table, you can access a contextual menu of actions specific to that data type, for example, an export, a scan, or a report.
To see a menu of actions, do one of the following:
-
Right-Click — Right-click anywhere on a row.
-
Action Bar — Click the check box for a single row.
An action bar appears in the table header.
Select an action from the buttons shown or click
 More to see additional actions.
 -
Action Column (
) — Click the vertical ellipsis in the last column of the row.
The specific actions available depend on the table you are viewing. For example, right-clicking a scan result may allow you to Launch or Schedule a new scan.
Other examples of workbench tables with context-specific actions are:
-
Sensors — Add a Web Application Scanner to a network.
-
Reports — Download a report.
-
Remediation Projects — Activate or Suspend a project to manage its status and tracking.
-
Exports — Disable or Enable a scheduled export.
Column Management
You can customize what columns are shown, adjust column width and order and sort rows by column data.
To show or hide columns:
-
Hover over any column.
The menu
 button appears in the header.
 -
Click the menu button
.A column selection box appears.
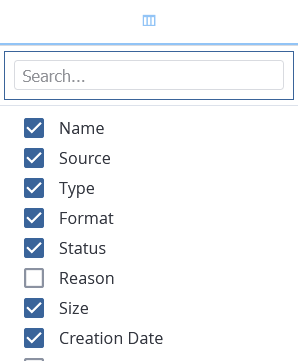
-
Select the column(s) to show or de-select columns to hide from the table.
Tip:Use the search box to quickly find a column name.
The table view updates based on your selections.
To change the column ordering:
-
Hover over any column header until the
icon appears. -
Drag-and-drop columns to change their order.
To adjust column width:
-
Hover over any column header until the resize cursor (double arow) appears.
-
Drag and drop column to the desired width.
Tip: To automatically resize a column to the width of its content, double-click the right side of the column header.
To sort rows by a specific column:
-
Click on any column header.
An up
 or down
  arrow appears indicating if the rows are sorted in increasing or decreasing order.
 -
Click again on that column header to toggle the row sort order.
Bulk Operations
When you select multiple rows via check boxes, an Action bar appears in the table header that allows for a bulk operation. While specific actions vary based on the data in the table, two bulk operations are common to almost all tables:
Export — Download the data from the selected rows to a file (typically CSV or PDF).
Delete — Permanently remove the selected items (e.g., deleting a scan result, a tag, or an export schedule).
Filterable Workbench Tables
To manage large volumes of data, many workbench tables also include an integrated filtering system that you can toggle on or off.
The Filter Panel typically appears as a sidebar on the left side of the table. It contains pre-defined, categorized filters relevant to that specific table.
Note: Nessus Agents and Solutions use drop-down filters that appear above the table rather than a sidebar.
Using a Filter Panel
Filter panels help you narrow the scope of displayed data to focus on high-priority items. By applying logic-based constraints to specific data attributes, you can quickly isolate specific scan results, remediation goals, export activities, or sensor details that meet your exact criteria.
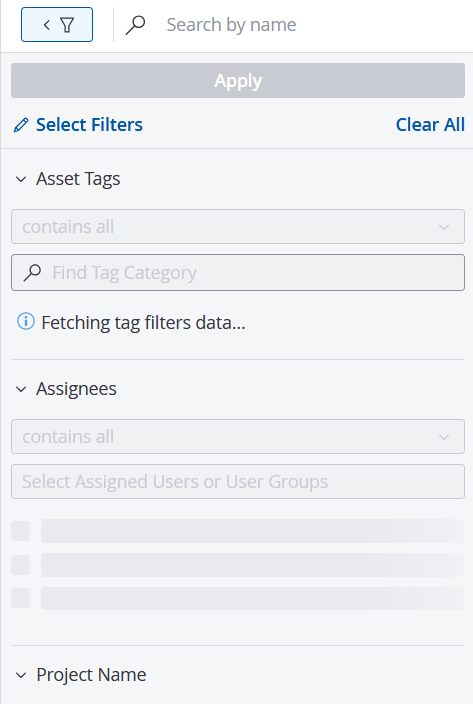
To use a filter panel in Tenable Vulnerability Management, do the following:
-
At the top of the table, click the
 button.
A filter panel appears.
-
Click
 Select Filters.
A Select Filters panel appears.

-
Select the filters that you want to apply.
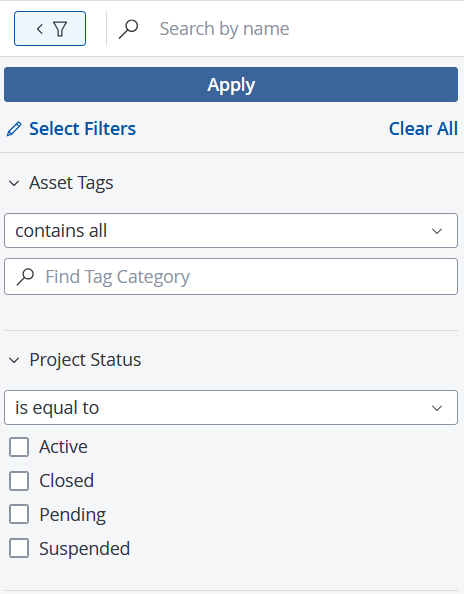
-
Select logical operators from the drop-downs.
-
Do one or both of the following:
-
Select one or more values by clicking the check boxes.
-
Type values in the text box.
-
-
Click Apply.
The table data updates based on the filters chosen.
Note: The selected filters are shown to the right of the
button:
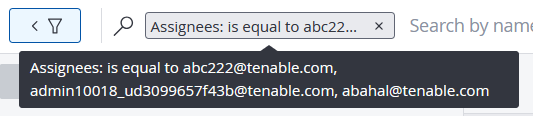
Note: To remove any filter, click the
 button.
Workbench Table Types by Product Area
| Workbench Type | Tenable Vulnerability Management Product Area / Feature |
|---|---|
| Basic Workbench Tables |
|
| Filterable Workbench Tables |
|