Findings
A finding is an AI security problem that needs to be addressed (for example, "Agent contains sensitive information and open to the web" or "Agent contains a risky tool"). The Findings page in Tenable AI Exposure highlights the violations found within your organization's usage of AI applications. Here, you can view information about how critical these violations are and which users are creating the most findings, ultimately enabling you to mitigate the risks these users pose quickly and effectively. Then, you can drill-down even further by clicking on any issue in the findings list to view individual Finding Details.
To access the Findings page:
-
In the left navigation menu, click Findings.
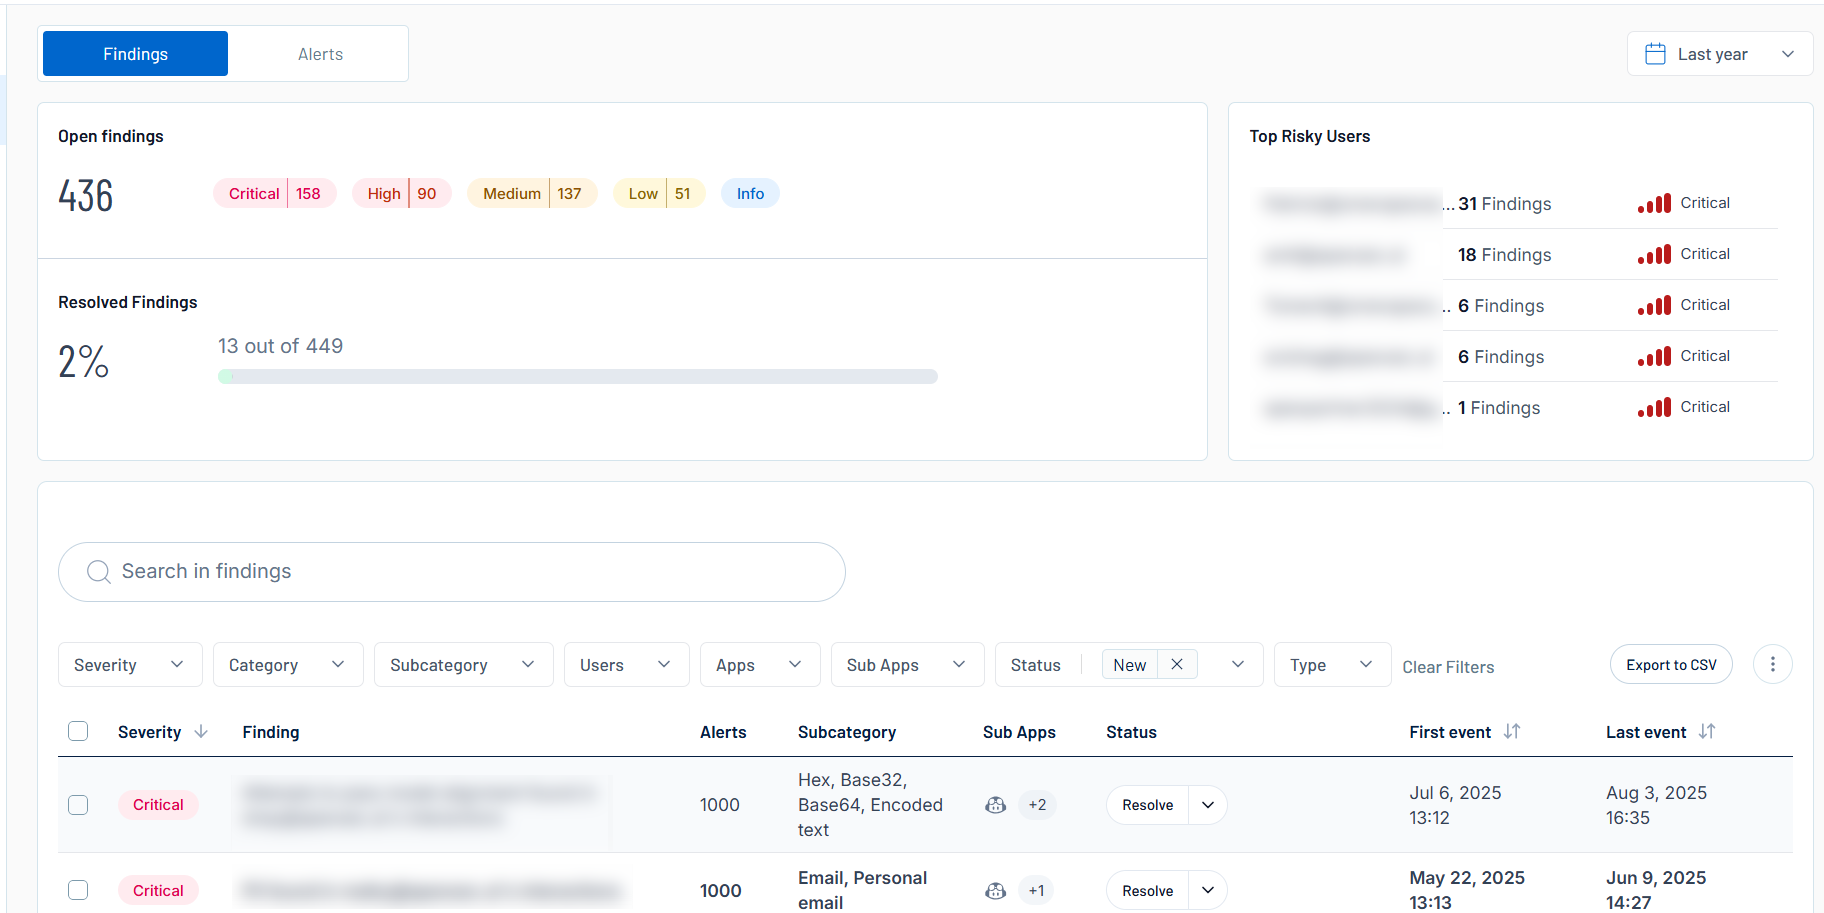
The Findings page appears. By default, the Findings tab is selected.
-
(Optional) In the upper-right corner of the page, from the drop-down menu, select a time frame by which you want to filter all data on the Findings page.

The data on the page updates automatically based on your selection.
The Findings page includes the following sections:
Open/Resolved Findings
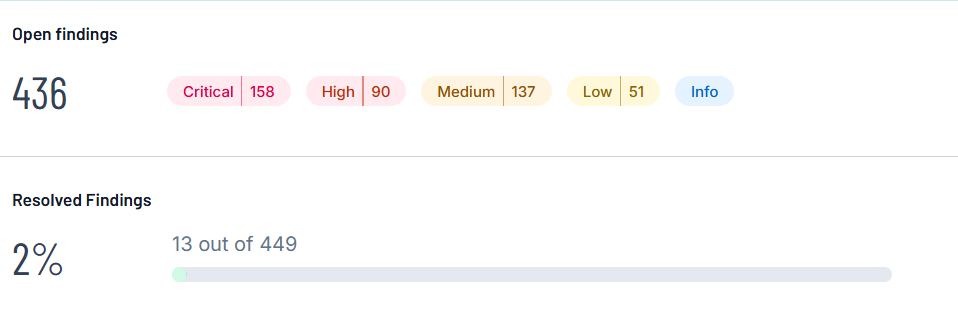
The Open Findings and Resolved Findings section indicates the number of open and resolved findings within your Tenable AI Exposure container.
-
The Open Findings section shows the total number of open findings, as well as the number of findings that fall under each color coded severity category.
Tip: Click on a severity to filter the Findings List by the selected severity. -
The Resolved Findings section shows the percentage of findings that have been resolved, as well as the total number of resolved findings as compared to the total number of open findings.
Top Risky Users
The Top Risky Users section highlights the Tenable AI Exposure users in your container that are responsible for the highest number of findings.
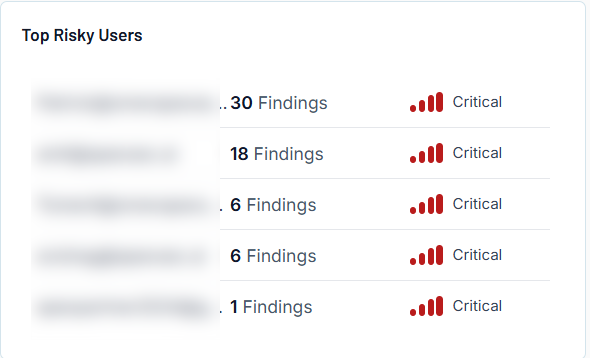
Here, you can view the following information about these users:
-
The user's name.
-
The number of findings for which the user is responsible.
-
Color coded severity categories that indicate how critical the open finding is, for example, Critical or Medium.
Tip: For more information about these severity categories, see User Risk.
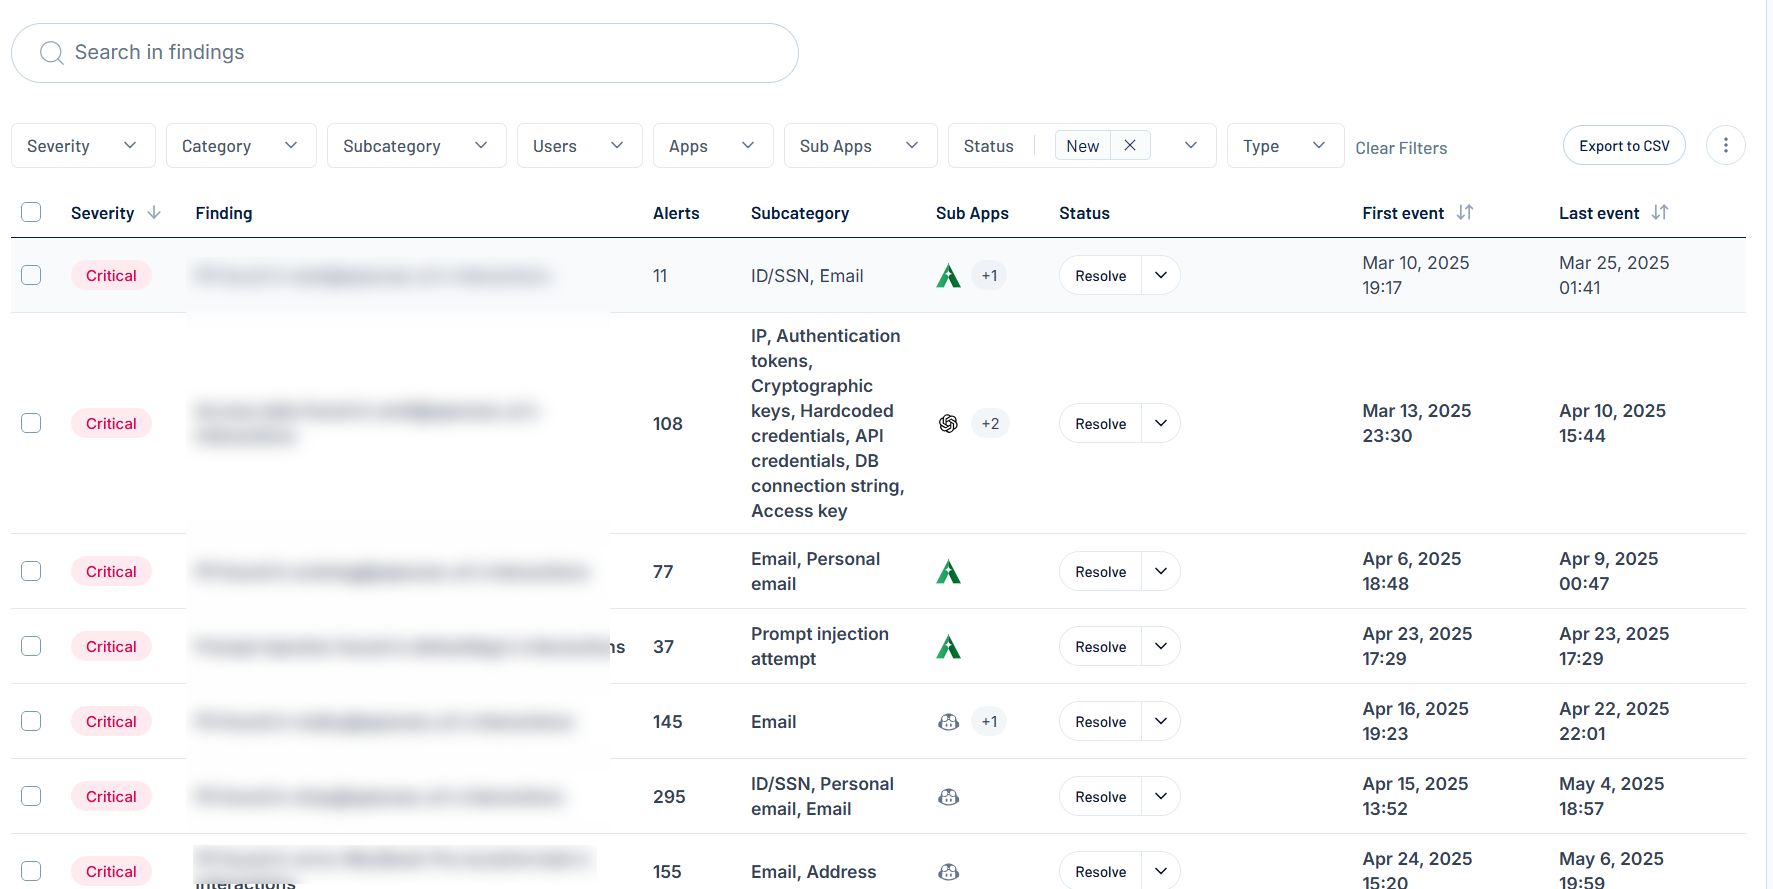
Findings List
At the bottom of the page, you can view a list of all open findings within your Tenable AI Exposure container.
Here, you can:
-
Use the search bar to search for a specific finding in the list.
-
Filter the list:
-
Above the list, use one or more of the following filters to adjust the data displayed in the list:
-
Severity
-
Category
-
Subcategory
-
Users
-
Apps
-
Status
-
Type
Tenable AI Exposure updates the list based on your selection.
-
-
Click Clear Filters to clear any filters applied to the list.
-
-
Export the list:
-
In the upper-right corner, click Export to CSV.
Tenable AI Exposure exports the list in CSV format and saves it to your local downloads folder.
-
-
Manage the columns in the list:
-
In the upper-right corner, click the
 button.
A menu appears.
-
Select or deselect columns to show or hide them within the list.
-
-
Resolve one or more findings in the list:
-
In the list, select the check box next to each finding you want to resolve.
The Resolve Selected button appears at the bottom of the page.
-
Do one of the following:
-
To resolve the finding(s) as a true positive, click Resolve Selected.
-
To resolve the finding(s) another way, click the
 button.
A menu appears.
-
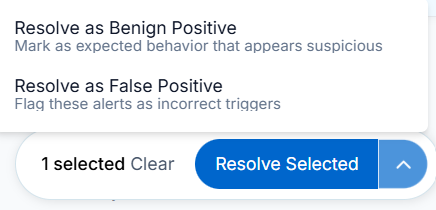
Select one of the following options:
-
Resolve as Benign Positive — Mark the finding(s) as expected behavior that appears suspicious, but is actually benign.
-
Resolve as False Positive — Mark the finding(s) as alerts that were triggered incorrectly, and are not an actual risk.
-
-
A confirmation dialog appears.
-
-
(Optional) In the Add a reason text box, type a brief description of why you're resolving the finding.
-
Click Save.
-
-
Click on an finding within the list to navigate directly to the Finding Details for that finding.
-
View the following information about your findings:
-
Severity — The color coded severity category that indicates how critical the open finding is, for example, Critical or Medium.
-
Issue — The name of the finding.
-
Alerts — The number of alerts that have been sent as a result of this finding.
-
Subcategory — The subcategory to which the finding belongs, for example Email, Access Key, or Hardcoded credentials.
Tip: For more information, see Tenable AI Exposure Policies and Detection Rules. -
Apps — Icons indicating the AI application(s) on which the finding was found.
Tip: Hover over an icon to view the full name of the application. -
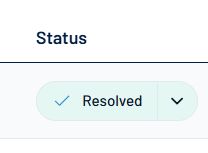
Status — The status actions you can take on the finding:
-
Click the Resolve button.
A menu appears.

-
Select one of the following options:
-
Resolve as True Positive — Mark the finding as a legitimate violation that has been resolved.
-
Resolve as Benign Positive — Mark the finding as expected behavior that appears suspicious, but is actually benign.
-
Resolve as False Positive — Mark the finding as an alert that was triggered incorrectly, and is not an actual risk.
The status updates to Resolved.
-
-
-
First event — The date and time at which the finding was first seen.
-
Last event — The date and time at which the finding last alerted.
-