Configure Tenable Attack Surface Management
Required User Role: Administrator
Connect to Tenable Attack Surface Management by creating the account configuration.
Before you begin:
-
Generate an API key in Tenable Vulnerability Management to complete the configuration. See the Tenable Attack Surface Management User Guide for instructions on how to generate an API key. Do not use this API key for any other third-party or custom-built application or integration. It must be unique for each installed instance of the integration.
To configure your account for Tenable Attack Surface Management:
- Navigate to Tenable Add-on for Splunk > Configuration
-
Under the Account tab click on Add.
-
In the Tenable Account Type dropdown, select TASM.
The Add TASM window appears:
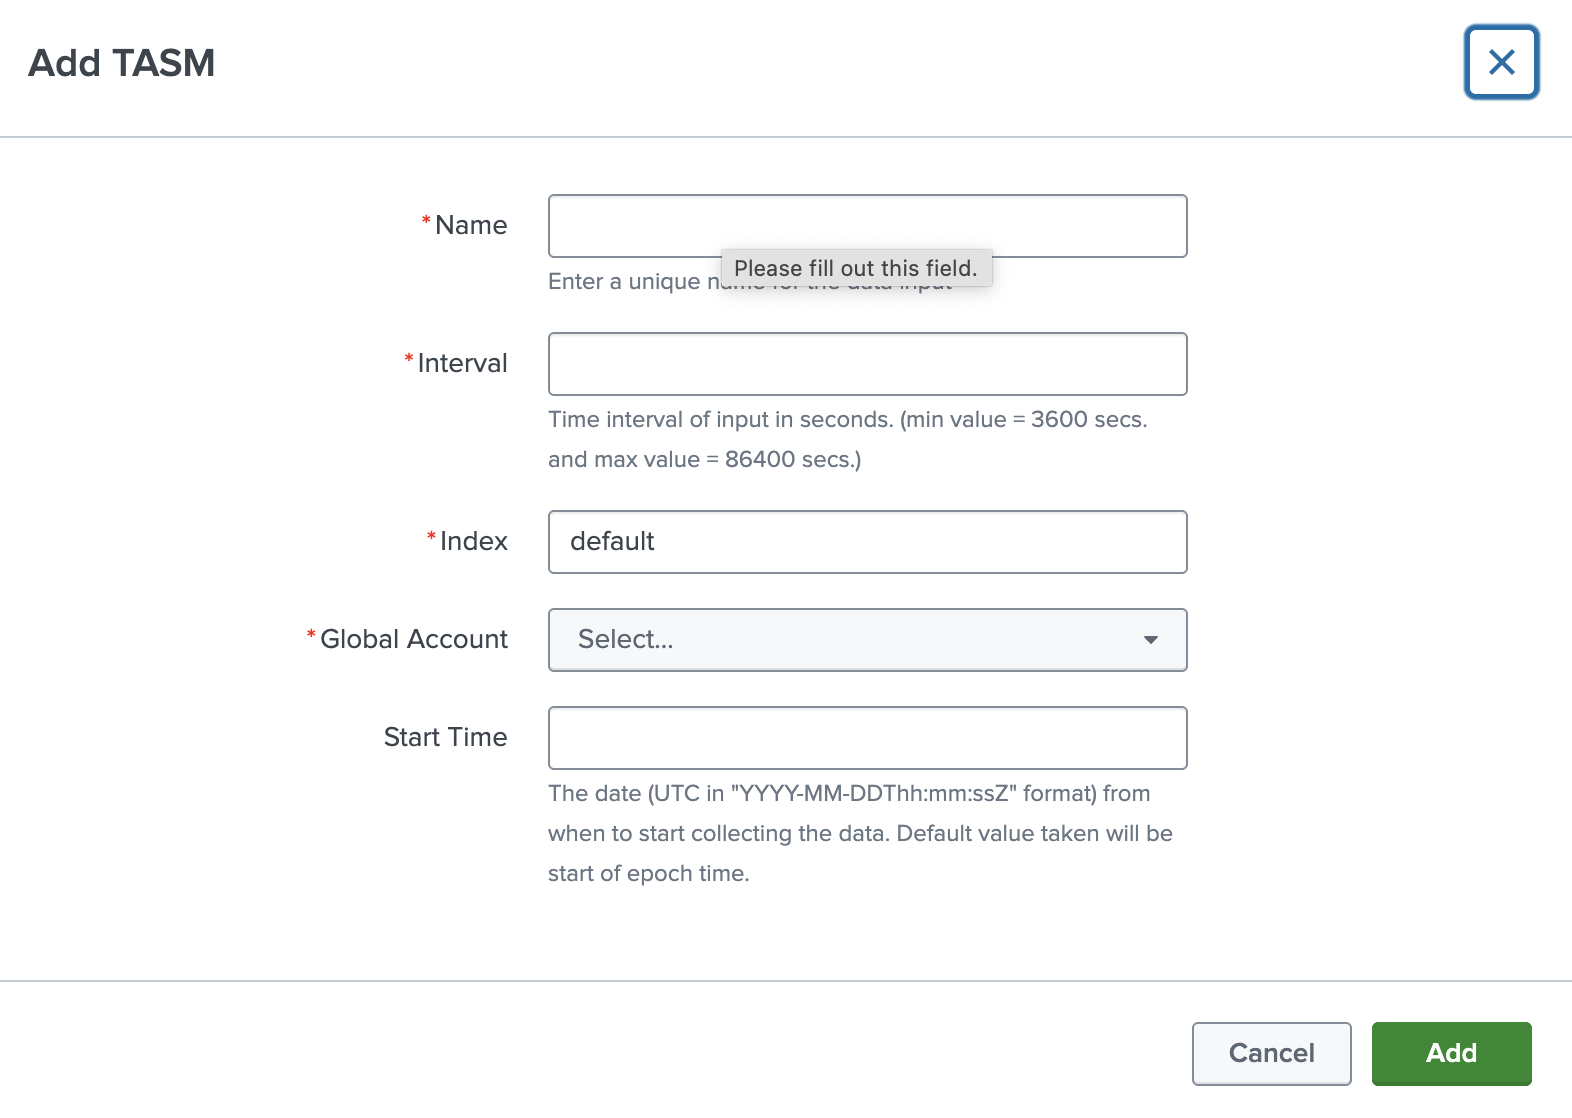
-
Provide any desired name in Account Name field.
- Enter the FQDN, or IP, of your server for this account without scheme (i.e., http:// or https://) in the TASM field.
-
Enter your TASM API Key.
-
If using a proxy server, click the Proxy Enable checkbox and provide proxy fields.
-
To complete the configuration, click Add.
Parameters Reference Table
| Input Parameters | Description |
|---|---|
| Account Name | (Required) The unique name for each Tenable data input. |
| Tenable Account Type | (Required) The type of Tenable account. Select TASM. |
| TASM Domain | (Required) The FQDN, or IP, of your server for this account without scheme (i.e., http:// or https://) in the TASM field. (e.g., asm.cloud.tenable.com) |
| TASM API Key | (Required) Tenable Attack Surface Management API access key. |
| Proxy Enable |
Enables the plugin to collect Tenable Attack Surface Management data via a proxy server. If you select this option, the plug- in prompts you to enter the following:
|
Next steps
- Create an Input for the Tenable Add-On for Splunk.