Windows Client Installation
Manual Attended Installation
Use this method on a one-off basis during testing, initial rollout or to supplement automatic deployment.
-
Execute the tenable-patch-client-<version>-windows.exe as Administrator, found in the installation source folder.
-
At the Tenable Patch Management Client Installer dialog, verify or change the following installation options, and then select Install.

Client Install Path
Directory where you install the Tenable Client.
Server Bindings
Specify one of the following:
-
Server Host Name or IP Address: The fully qualified domain name or IP address of the TPM server.
-
Optional – Client Authorization Password: Check the Use Password For Installation checkbox and enter the password provided by your TPM Administrator.
Note: You can find the password in the Admin Portal under Settings > Client Authorization.
Server’s GUID
Enter the Server GUID provided by your TPM Administrator. This option is required for Tenable Patch Management.
Note: You can find the password in the Admin Portal under Settings > Server Activation.
Enable Wake On LAN
Allows the client to be woken up using peer-to-peer WOL.
Add/Remove Programs Entry
Adds an entry allowing for uninstallation of the client agent from the Control Panel.
Add Windows Firewall Exception
Adds exceptions to the local Windows Firewall for the default client ports, refer to Communication and Network Requirements for a list of these ports.
-
-
Click Install.
The client is installed and then the installer runs the Client Validator Tool. The Client Validator tool verifies the connectivity requirements for the client. If all checks pass (or are not applicable), then the client is fully online and ready to be managed. If any of the checks fail, you can make the appropriate firewall or network configurations and then rerun the Client Validator tool from the Tenable client installation location. Refer to Client Validator Tool for more details.
Unattended Installation EXE Command Line Parameters
In some cases, an administrator may want to use an unattended method to install the Patch Client. The table below describes the command line parameters available for the Windows client installer.
| Parameters | Usage |
|---|---|
| Required |
- |
| -cleaninstall | -installorupgrade | -uninstall |
-cleaninstall uninstalls the existing client installation and cleanly installs a new copy of the client. -installorupgrade installs the client or upgrades the existing client. -uninstall uninstalls the client. |
| -servername <servername> | -serverIP <server IP> |
FQDN or IP Address of the Tenable Patch Management Server.
|
| -serverguid <GUID> |
The GUID of the TPM Server can be provided by the TPM administrator. This property is required when specifying the -cloudrelay.
|
| -cloudrelay |
This property is required for Tenable Patch Management server installations. It enables the client to use the Cloud Relay Service to connect when off-premises.
|
| Optional |
- |
| -custompacurl <URL of PAC file> |
The installer will access the PAC file to gather the proxy information. |
| -customproxy <server>:<port>:<scheme> |
The installer will use the information to access the proxy when trying to contact Cloud Services. (e.g., -customproxy 10.10.10.1:9000:http) |
| -customproxybypass <server1>;<server2>;<server3> |
When -customproxy is used the servers included in the custom proxy bypass list will be excluded from using the proxy. |
| -delay <seconds> |
Delays the starting of the installation executable. This is useful during a client self-upgrade using content push allowing workflows to complete before the Patch Client service is stopped. |
| -folder <folder path> |
The desired installation path. By default, the Patch Client is installed under: %ProgramFiles%\Tenable\PatchClient |
| -mem <memorysize> |
Maximum Java heap size, in MB (defaults to 256). |
| -noarp |
The installer will not create an entry in Add/Remove Programs. |
| -nocachedel |
This parameter can be used with the -uninstall or -cleaninstall. If this parameter is used the Adaptiva cache will not be deleted. |
| -nofirewall |
The installer will not create Windows Firewall rules for the Patch Client. |
| -nomif |
The installer will not send ConfigMgr MIF status in the case of any errors found during installation. |
| -nowol |
Specify this option to disable Wake on LAN. By default, the Patch Client enables Windows Wake on LAN settings on all the network cards installed in the machine. |
| -password <provided password> |
Provides additional security. Enter the password that was created on the TPM Server. |
| -preferuserproxy true | false |
When preferuserproxy is true the proxy settings will be obtained from the Internet Explorer settings. Defaults to false. |
| -serverurl <server-url:port> |
Tells the client to communicate to the TPM Server with HTTP instead of using UDP. |
| -tenantguid <GUID> |
Use this to access the Managed Services Provider (MSP) functionality and create and maintain multi-tenant environments. The Tenant GUID can be provided by the TPM Administrator. |
Installation command line examples
This command line should be for a self-hosted environment (Tenable Patch Management Server)
tenable-patch-client-<version>-windows.exe -INSTALLORUPGRADE -SERVERNAME serverfqdn -CloudRelay -servergui enter_server_guidPeer-to-Peer (P2P) MSI
The Patch Client P2P MSI installer reduces the bandwidth required for the distribution of the Patch agent. Using the Patch Client P2P MSI installer, the Patch Client can be pushed using a group policy, a startup script, SysInternals psexec, or any other remote execution method available.
Once executed, the Patch P2P Client MSI installs the full Patch Client. The MSI does not contain the full client installation. Instead, the MSI – which is specific to a particular version of the Patch Client agent – first looks for the Patch Client on a peer system in the same subnet with the correct version. If a device is found with the correct version, it retrieves the setup executable tenable-patch-client-<version>-windows.exe from that local client and installs the Patch Client from that executable. If a peer is not found with the correct version, the MSI retrieves the executable tenable-patch-client-<version>-windows.exe from a UNC or URL path specified on the command line. If multiple systems run the MSI simultaneously and none of them find the correct version of the client locally, an election takes place among those clients. Only the winner of the election downloads the executable from UNC or URL path, and it then makes the executable available to the other client systems.
Note: Ensure that the installation account executing the MSI has read and execute access at the destination UNC path.
The Patch P2P Client MSI can be used interactively or as a silent installer with no user interaction. The P2P installer is named tenable-patch-client-p2p-<version>-windows.msi and is in the compressed .zip product download source.
Manual Attended Installation
-
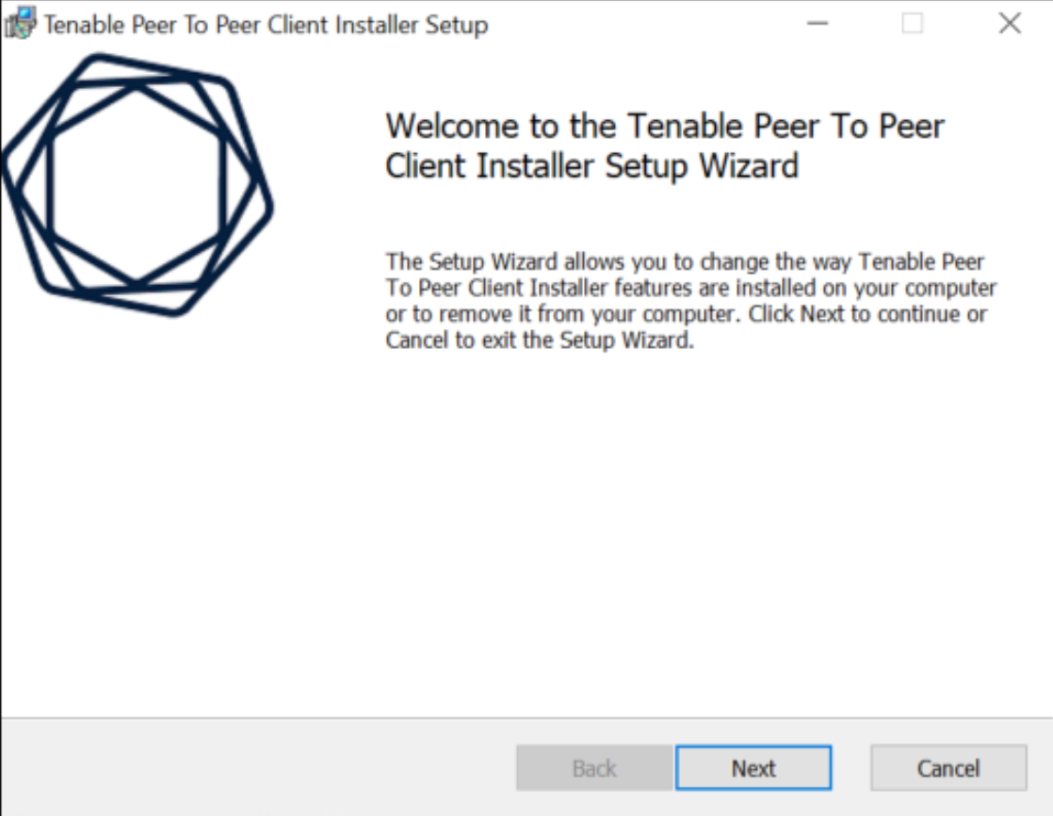
Locate the tenable-patch-client-p2p-<version>-windows.msi executable file on your machine and double-click it to execute. The Patch Peer To Peer Client Installer Setup dialog appears:
-
Click Next.
The Install, update, clean, or remove installation dialog appears:

-
Click Install or Upgrade.
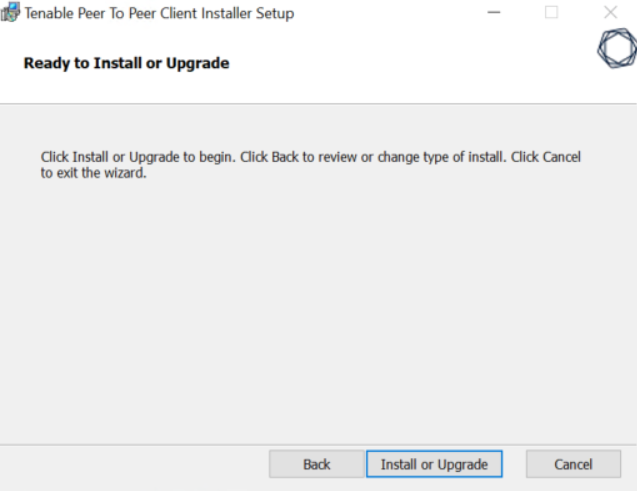
The Ready to Install or Upgrade dialog appears:
-
Click Install or Upgrade.
-
Click Finish.
The other options perform the following tasks:
-
Update: Upgrades the existing client to the version of the p2p client installer.
-
Clean: Uninstalls the existing client and then installs the Windows client.
-
Uninstall: Uninstalls the Windows client.
Unattended Installation MSI Command Line Parameters
The table below contains the MSI properties valid for the P2P client installer.
Note: Be sure to enter these properties on the command line as <PROPERTY>=<Value>.
| Property | Value | Description |
|---|---|---|
| Required | - |
- |
| SERVERIP | SERVERNAME | IP address of server or server name. |
The TPM Server to which this client reports. SERVERIP takes precedence over SERVERNAME if both are specified. |
| SOURCEUNCPATH | SOURCEURLS |
<UNC path of source>\tenable-patch-client-<version>-windows.exe or URL address of tenable-patch-client-<version>-windows.exe |
SOURCEUNCPATH: The location to download the client installer from if it cannot be found in the local office.
The account executing the installation must have at least read access to the UNC path. SOURCEURLS: The list of Source CDN URLs (where each SOURCE URL is separated by '<' character) from where the P2P installer downloads the tenable-patch-client-<version>-windows.exe by HTTP protocol in case it is not available in the local office.
|
| CLOUDRELAY |
1: Use the cloud relay feature 0: Do not use the cloud relay feature |
The CLOUDRELAY=1 property is required for Tenable Patch Management. When enabled, it allows the client to communicate with the Cloud Relay server. This property requires the SERVERGUID property.
|
| SERVERGUID | GUID of the TPM Server |
The GUID of the Tenable Patch Management server can be provided by your TPM administrator. You can find the Server GUID in the Admin Portal, under Settings | Server Activation. Required when the client is on the internet. This property is required when specifying CLOUDRELAY=1.
|
| Optional |
|
|
| ARPSYSTEMCOMPONENT |
1: suppresses creation 0: does not suppress creation (default) |
Suppresses the creation of an Add/Remove Program entry for the actual Patch Client. The P2P MSI creates a hidden Add/Remove Program entry for itself named Patch Peer to Peer Client Installer. |
| CLEANINSTALL |
1: performs a clean installation 0: perform an InstallOrUpgrade installation (default) |
Uninstalls the existing client installation and cleanly installs a new copy of the client. If not specified, the InstallorUpgrade option is used by default. |
| MEM | <memory in MB> |
The amount of memory in MB to be used by the Patch Client. Defaults to 256 MB |
| CUSTOMPACURL | <URL of PAC file> |
The installer will access the PAC file to gather the proxy information. |
| CUSTOMPROXY | <server>:<port>:<scheme> |
The installer will use the information to access the proxy when trying to contact Patch Cloud Services. (e.g., -customproxy 10.10.10.1:9000:http) |
| CUSTOMPROXYBYPASS | <server1>;<server2>;<server3> |
When -customproxy is used the servers included in the custom proxy bypass list will be excluded from using the proxy. |
| NOCACHEDEL |
1: cache is preserved 0: cache is deleted during uninstallation (default) |
Preserves the Patch Client cache after uninstallation. This property is only valid when used in conjunction with the UNINSTALL property. |
| NOFIREWALL |
1: does not create any firewall exceptions 0: creates firewall exception (default) |
This parameter can be used with the -uninstall or -cleaninstall. If this parameter is used the Adaptiva cache will not be deleted. |
| NOLOGGING |
1: only FATAL errors are logged, but no other logging is done 0: normal INFO logging (default) |
Controls the logging level during the client install. Only logging fatal errors is helpful if the client system uses shared storage and to minimize logging. |
| NOWOL |
1: disables WoL 0: enables WoL (default) |
Disabled Wake-on-LAN |
| PASSWORD | Password provided by TPM administrator. |
The password is entered by TPM administrator in the workbench to ensure only authorized connections. This property can only be used if CLOUDRELAY=1. |
| PREFERUSERPROXY | true | false |
When preferuserproxy is true the proxy settings will be obtained from the internet explorer settings. Defaults to false. |
| SERVERURL | Server FQDN URL:port |
Tells the client to communicate to the TPM Server with HTTP, instead of using UDP. |
| TARGETDIR | <path of desired install folder> |
The installation folder of the Adaptiva Client. Defaults to %SystemDrive\Program Files\Tenable or %SystemDrive%\Program Files (x86)\Tenable. |
| TENANTGUID | Tenant GUID provided by the TPM administrator |
Use this to access the Managed Services Provider (MSP) functionality and create and maintain multi-tenant environments. |
| UNINSTALL |
1: performs an uninstallation 0: performs an installation (default) |
Ignores all other properties and performs an uninstallation of the Patch Client. |
| WAITFORCOMPLETION |
1: the MSI installer waits for the client installation to finish 0: the MSI will not wait for the Patch Client installation to be completed (default) |
Specifies whether the Patch P2P Client Installer MSI will wait until the installation completes. |
| WANBYTESPERSECOND |
X: bytes per second 0: Unlimited (default) |
The maximum download speed that will be used while downloading the Patch Client Installer exe over the WAN from the SOURCEUNCPATH. |
Installation command line examples
To deploy the Patch P2P Client Installer, the only file needed for the package source is tenable-patch-client-p2p-<version>-windows.msi which can be found in the Patch installation source. The tenable-patch-client-<version>-windows.exe must be accessible from a Share or a URL.
Install with Server Share Source and secondary Internet Source:
Msiexec.exe /I tenable-patch-client-p2p-<version>-windows.msi /qn SERVERNAME=Tpmserver.domain.com
SOURCEUNCPATH=\\ServerFQDN\PatchClient\tenable-patch-client-<version>-windows.exe SOURCEURLS=https://tiny.url/abcdefg CLOUDRELAY=1
SERVERGUID=abcdefgh-abcd-1234-efgh-abcdefghijkl WAITFORCOMPLETION=1
Uninstall and leave the files in the AdaptivaCache folder:
Msiexec.exe /I tenable-patch-client-p2p-<version>-windows.msi /q UNINSTALL=1 NOCACHEDEL=1Note: The uninstall command line uninstalls any version of the Patch Client. Using the standard Windows Installer uninstall parameter (/x) only uninstalls the specific version of the Patch Client corresponding to the version of the MSI – the MSI packaged with each version of the product is specific to that client version.