Products
The Products page within the Tenable Account Management portal allows you to view and manage your Tenable products:
-
Primary Contacts — See products available for all contacts on your account.
-
Non-primary contacts — Only see products assigned to you.
To access the Products page:
-
In the left navigation menu, click Products.
The My Products page appears.

- (Optional) To change the default columns within the list:
Click Columns
 .
.A list of available columns appears.
(Optional) Use the search bar to search for a specific column.
Select/delesect the check boxes to show or hide columns in the table.
(Optional) Click Reset Columns to reset all columns to their defaults.
This page is separated into the following tabs:
Purchased
On the Purchased tab, you can view information about all of your purchased Tenable Products.

The table view groups products under their respective parent product, if applicable. This includes products that support consoles, agent managers, and Tenable One. Click the ![]() button to expand and view the details for an item.
button to expand and view the details for an item.
The Purchased list includes the following information:
-
Status — The status of the product, for example Active or Expired.
-
Code — The product code associated with the product. Click the product code to navigate directly to the Product Details page.
-
Product Name — The name of the product.
-
Label — Where applicable, a descriptive label applied to the product during configuration.
-
Size — The licensing size associated with the product.
-
Customer ID — The customer ID of the product owner assigned to the product.
-
Expiration Date — The date on which the product expires.
Manage Purchased Products
You can manage your purchased products in the following ways:
Note: The following options depend on the type of product you're managing.
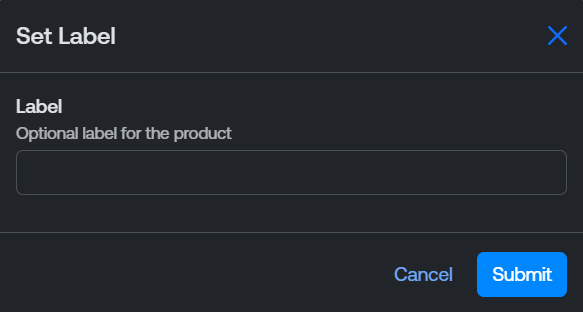
Set Label
You can set an optional label on any product, which appears in the Label column in the Purchased list.
To set a label on a product:
-
In the Purchased list, in the row for the product you want to label, click the
 button.
A menu appears.
-
Click
 Set Label.
The Set Label window appears.
-
In the Label text box, type a label for the product.
-
Click Submit.
The Tenable Account Management portal saves your changes and displays the label in the Purchased list.
Reset Activation
For some Tenable products, including Tenable Agents, you can reset the activation for the product. Because an activation code can only be registered on one host, this option allows you to register it again, either on the same host or another host.
To reset the activation for a product:
-
In the Purchased list, in the row for the product whose activation you want to reset, click the
button.A menu appears.
-
Click Reset Activation.
A confirmation message appears.
-
Click Submit.
The Tenable Account Management portal resets the activation for the specified product.
Note: Tenable Log Correlation Engine (LCE) is end-of-life and can no longer be licensed. If you attempt an action that would generate an LCE license, the portal displays the message "LCE is end-of-life and cannot be licensed."
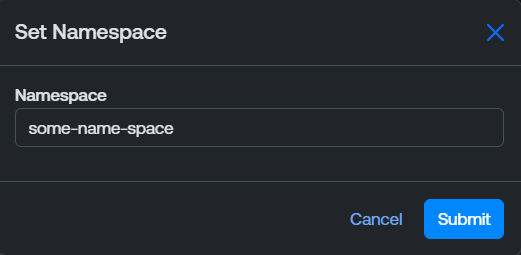
Set Namespace
For Tenable Enclave Security, you must set a namespace.
To set a Tenable Enclave Security namespace:
-
In the Purchased list, in the row for the Tenable Enclave Security instance for which you want to set a namespace, click the
button.A menu appears.
-
Click Set Namespace.
The Set Namespace window appears.
-
In the Namespace text box, type a namespace for the Tenable Enclave Security instance.
-
Click Submit.
The Tenable Account Management portal applies the namespace to the Tenable Enclave Security instance.
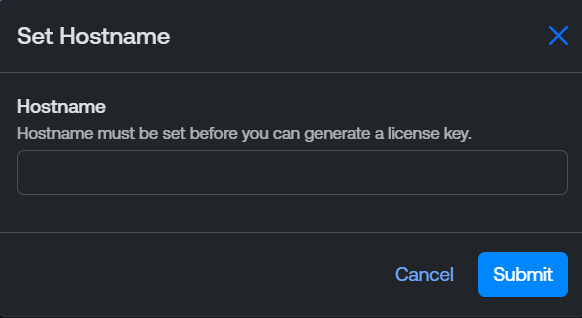
Set Hostname (Tenable Security Center Only)
For Tenable Security Center products, you must set a hostname for each console you provision before you can generate a license key.
To set a Tenable Security Center hostname:
-
In the Purchased list, in the row for the product you want to label, click the
button.A menu appears.
-
Click Set Hostname.
The Set Hostname window appears.
-
From the License By drop-down, select the license ID type:
-
Hostname — License the console by the hostname of the Tenable Security Center server.
-
Install UUID — License the console by the install UUID generated during installation. Use this option when the console's hostname is not stable, for example in containerized or cloud-hosted deployments.
Tip: For more information, see the Tenable Security Center licensing documentation. -
-
In the License ID text box, type the hostname or install UUID value that matches your License By selection. This appears in the License ID column for the console across the Tenable Account Management portal.
Note: You can leave License By and License ID blank during creation and set them later from the Consoles list. Both fields must be populated before you can generate a license key. -
Click Submit.
The Tenable Account Management portal saves the hostname, and you can generate a license key for the console.
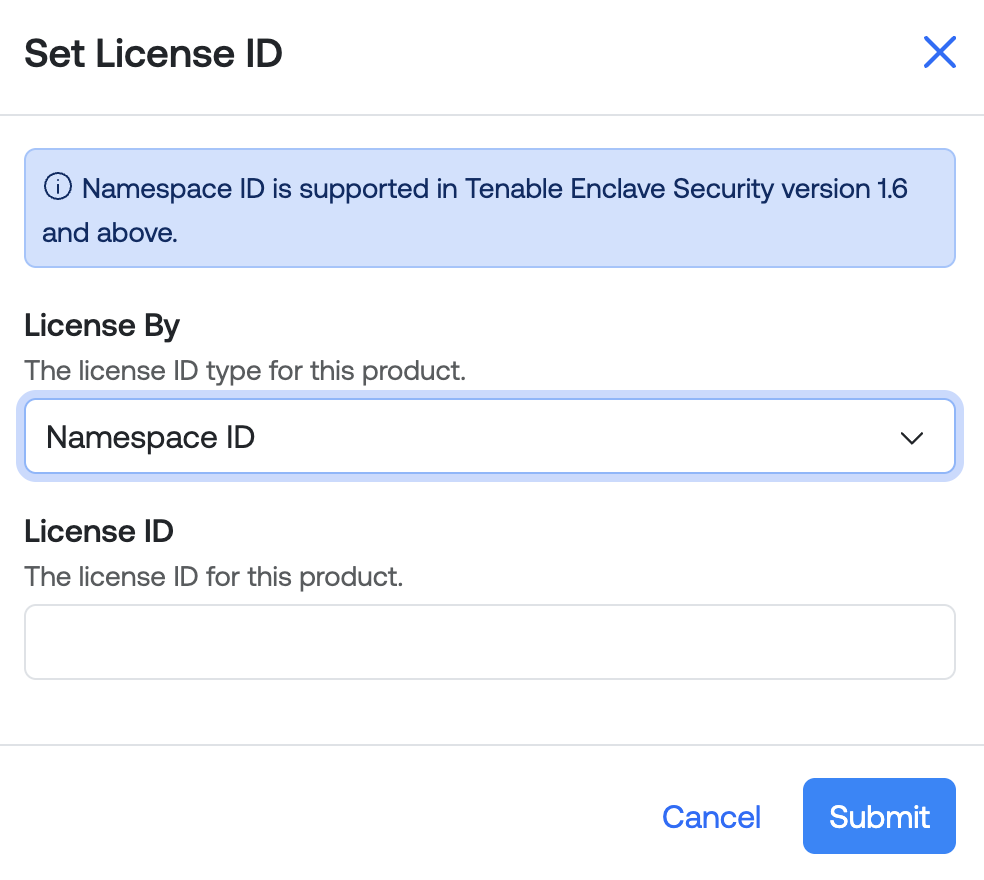
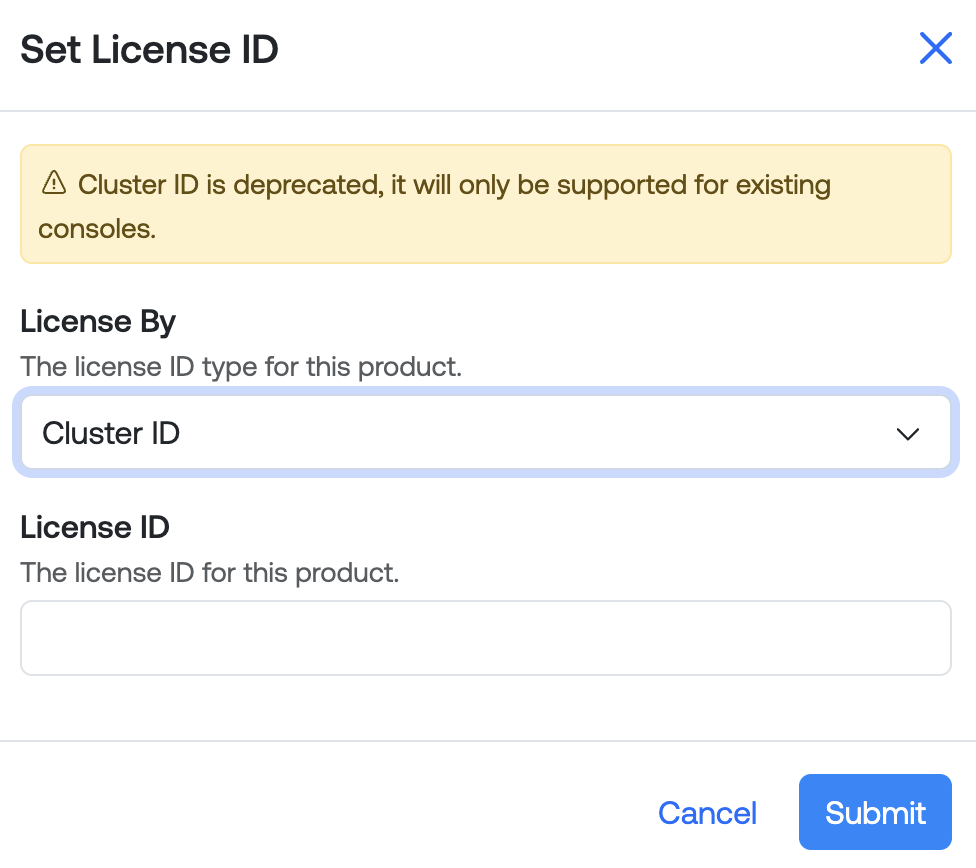
Set License ID (Tenable Enclave Security Only)
For Tenable Enclave Security products, you can set a license ID.
To set a Tenable Enclave Security license ID:
-
In the Purchased list, in the row for the Tenable Enclave Security instance for which you want to set a license ID, click the
button.A menu appears.
-
Click Set License ID.
The Set License ID window appears.
-
In the License By drop down, select the license ID type:
-
Namespace ID - Licensing by namespace ID is supported for Tenable Enclave Security version 1.6 and later.
-
Cluster ID - Licensing by cluster ID is supported for existing consoles running Tenable Enclave Security version 1.5 and earlier.
-
-
In the License ID text box, type a cluster ID or namespace ID for the Tenable Enclave Security instance.
-
Click Submit.
The Tenable Account Management portal applies the license ID to the Tenable Enclave Security instance.
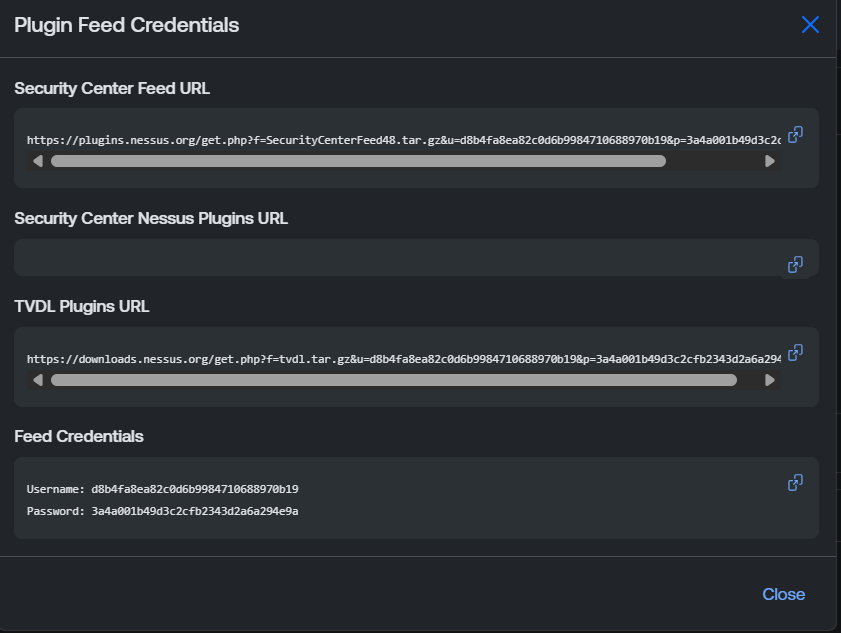
View Feed Credentials
For most on-premise products, you view and copy your credentials for the product feed.
To view feed credentials:
-
In the Purchased list, in the row for the on-prem product for which you want to view feed credentials, click the
button.A menu appears.
-
Click View Feed Credentials.
The Plugin Feed Credentials window appears.
-
(Optional) Copy any URLs or credentials that you want to save.
Tip: Click the button next to an item to copy it directly to your clipboard.
 -
Click Close.
Download License Key
For Tenable products with downloadable keys, such as Tenable Identity Exposure or Tenable One, you can download the license key directly from the Purchased list.
Note: For Tenable Security Center products, you must Set Hostname (Tenable Security Center Only) before you can download a license key.
To download a product license key:
-
In the Purchased list, do one of the following:
-
For non-consoled products, such as Tenable Identity Exposure, in the row for product whose license key you want to download, click the
button. -
For products with consoles, such as Tenable Enclave Security or Tenable Security Center, expand the product to view its individual consoles.
-
In the row for the console whose license key you want to download, click the
button.
-
A menu appears.
-
-
Click
 Download License Key.
A confirmation message appears.
Note: If the product has already been activated, then downloading a new license key will automatically reset the product activation.
Click Download.
The Tenable Account Management portal downloads the key to your local downloads folder.
Nessus Essentials
On the Nessus Essentials tab, you can view information about all of your Tenable Nessus Essentials products.
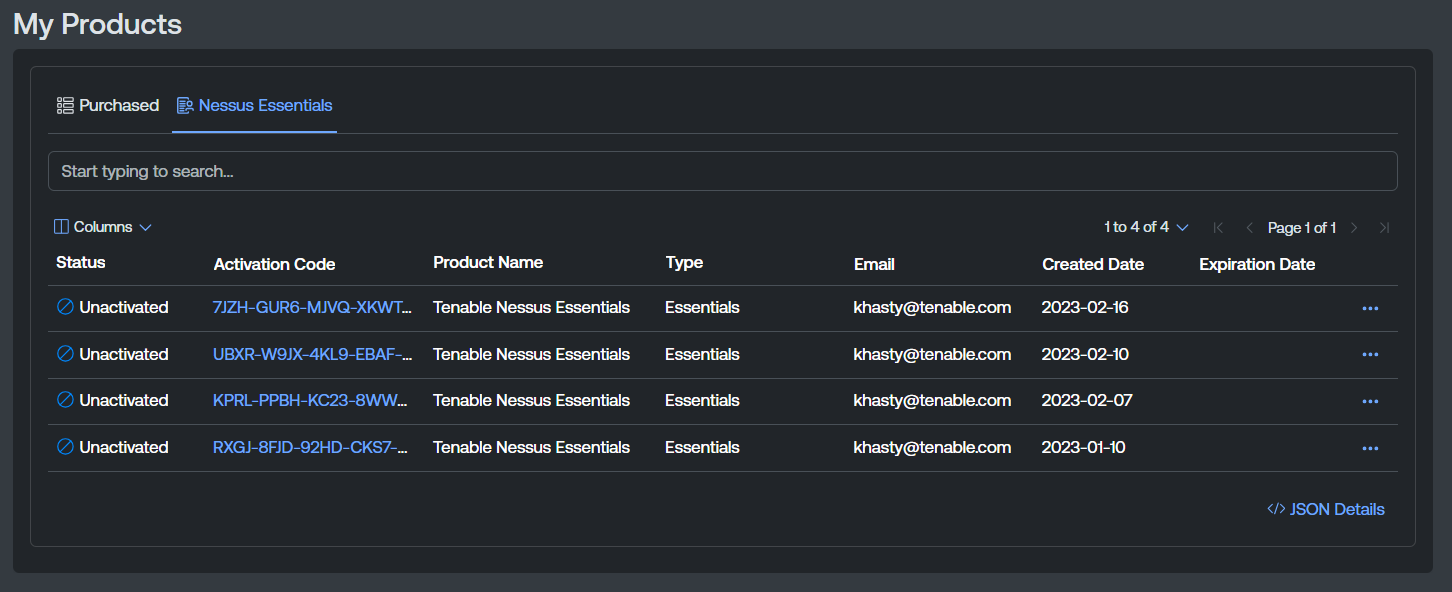
Here, you can view the following information about your Tenable Nessus Essentials products:
-
Status — The status of the product, for example Active or Expired.
-
Activation Code — The product code associated with the product. Click the product code to navigate directly to the Product Details page.
-
Product Name — The name of the product.
-
Type — The type of product, for example, Essentials.
-
Email — The email of the product owner assigned to the product.
-
Creation Date — The date on which the product license was created.
-
Expiration Date — The date on which the product expires.
Reset Activation
You can reset the activation for any Tenable Nessus Essentials product. Because an activation code can only be registered on one host, this option allows you to register it again, either on the same host or another host.
To reset the activation for a product:
-
In the Nessus Essentials list, in the row for the product whose activation you want to reset, click the
button.A menu appears.
-
Click Reset Activation.
A confirmation message appears.
-
Click Submit.
The Tenable Account Management portal resets the activation for the specified product.
Note: Tenable Log Correlation Engine (LCE) is end-of-life and can no longer be licensed. If you attempt an action that would generate an LCE license, the portal displays the message "LCE is end-of-life and cannot be licensed."