Tenable Security Center
Collect Diagnostics File
Use this section when troubleshooting software crashes, service failures, or installation errors.
To collect a diagnostics file for Tenable Security Center:
-
In the left navigation, click System > Diagnostics.
The Diagnostics page appears.

-
In the Diagnostics File section, click Create Diagnostics File.
The page updates with configuration options.
-
In the General section, if you want to omit IP addresses from the file, enable Strip IPs from Chapters.
-
In the Chapters section, enable the chapters you want to include.
-
Click Generate File.
-
Click Download Diagnostics File.
-
Submit the debug.zip file to your support case.
Collect Debugging Logs
Use this section when troubleshooting software crashes, service failures, or installation errors.
Note: Only enable debugging logs if Tenable Support instructs you to. Disable all debugging settings as soon as troubleshooting is complete to avoid disk and performance issues.
To collect debugging logs for Tenable Security Center:
-
In the left navigation, click System > Diagnostics.
The Diagnostics page appears.
-
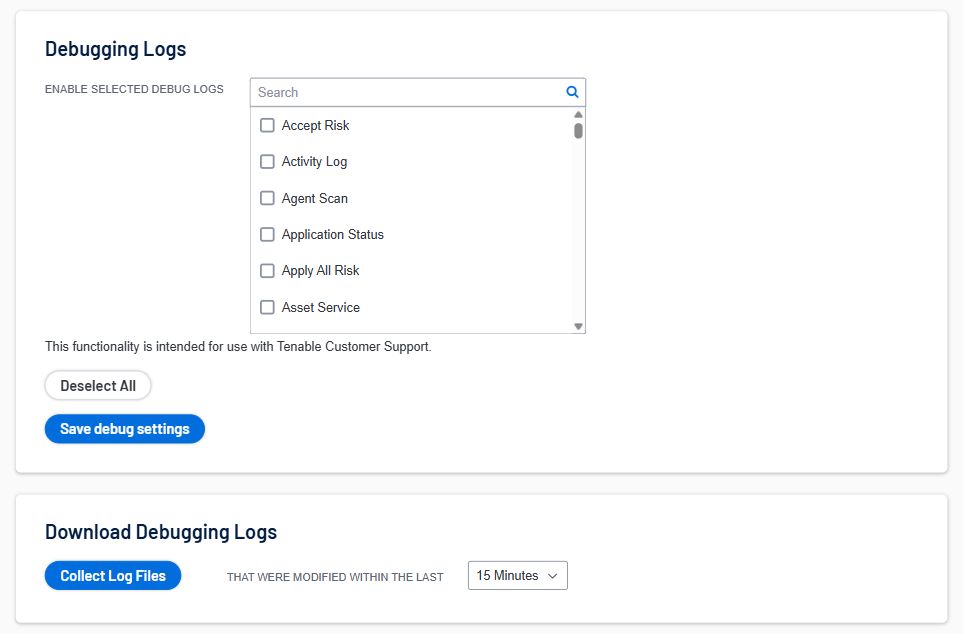
In the Debugging Logs section, select the debugging logs Tenable Support asked you to enable.
-
Click Save Debug Settings.
-
Reproduce the issue.
-
In the Download Debugging Logs section, click Collect Log Files.
-
Click Download Debug File.
-
Submit the file to your support case, then disable the debugging logs.
Troubleshooting Tenable Security Center Agent Scans
Tenable Security Center cannot run diagnostic Agent scans directly. Because the agent scans are imported as final results, the granular debugging data required for troubleshooting (Plugin Debugging and Audit Trails) is stripped out before it reaches Tenable Security Center.
To troubleshoot issues such as false positives or authentication failures on a Tenable Security Center agent target, you must reproduce the scan on a platform that supports direct agent control ( Tenable Nessus Manager or Tenable One Vulnerability Management).
To reproduce the scan:
-
Note the IP address or hostname and the specific policy settings causing the issue in Tenable Security Center.
-
Log in to the Tenable Nessus Manager or Tenable One Vulnerability Management instance where the agent reports.
-
Follow the steps in Tenable Agents for Tenable Agents to enable Include Audit Trail Data and Include KB Data in the Tenable Nessus Manager settings.
-
Create a scan policy on the Tenable Nessus Manager that matches the settings in Tenable Security Center and run it against the target agent.
-
Once the scan completes, follow the steps in Tenable Agents for Tenable Agents to export the Tenable Nessus DB directly from the Tenable Nessus Manager.
-
Send this Tenable Nessus DB to Tenable Support. The DB contains the diagnostic data that Tenable Security Center could not capture.