Manage Remediation Projects
On the Remediation page, you can manage your remediation projects in the following ways:
Create a Remediation Project
You can create remediation projects to define the scope of work, prioritize your findings, assign projects to owners, and track the progress of your remediation tasks.
To create a remediation project:
-
In the left navigation, click
 Remediation > Remediation Projects.
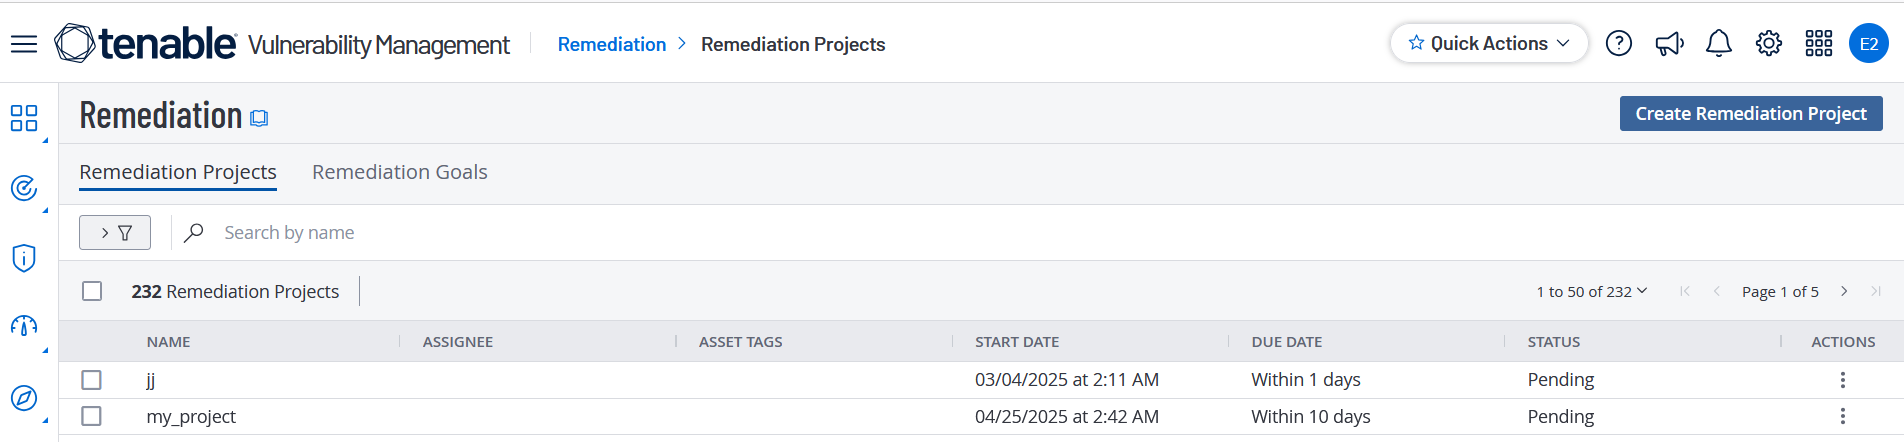
-
In the upper-right corner, click Create Remediation Project.
The Create a Remediation Project page appears.
On the left side of the page, you can select from the following and click Next after each selection:
Option Action Name -
In the Project Name box, type a name for the project.
-
(Optional) In the Description box, type a description for the remediation project.
Scope In the Findings Filters section, the following filters are selected by default.
-
Risk Modified is not equal to Accepted
-
Severity: is not equal to Info
-
State: is not equal to Fixed
Note: When the State: is not equal to Fixed filter is applied, the progress bar shows 0%. To view the progress percentage of the remediation project, remove this filter.
Note: You can select up to a maximum of five filters.You can modify the existing filters or add new filters to the list with AND and OR options.
Tip: Tenable Vulnerability Management shows the findings count based on the filters in the Scope.For each filter you want to use to specify the project scope, do the following:
-
Under Findings Filters, click Select Filters.
The Select Filters drop-down box appears.
-
Click the filter you want to apply.
The filter appears in the Finding Filters box.
-
In the filter, click the ˅ button.
A list of filter value and operator options appears.
-
In the first drop-down box, select the operator you want to apply to the filter.
-
In the second drop-down box, select one or more values to apply to the filter.
-
Select Match All from the drop-down box. By default, Tenable Vulnerability Management sets the filter to Match All.
Assign In the Select Users or User Groups drop-down box, select the users or groups to which you want to assign the remediation project. Schedule -
In the Start Date box, select the date on which you want the assigned users and groups to be in the remediation project.
-
In the Due Date section, select one of the following:
-
Within number of days — The number of days within which the project must be complete.
Note: For any remediation project with this option selected, the right-hand progress bar does not appear on the Project Details page.
-
By fixed date — The date by when you must complete the project.
For more information, see Fixed-Scope and Ongoing Remediation Goals
-
-
-
Click Save.
Tenable Vulnerability Management creates the remediation project.
Note: Remediation projects do not automatically close even if all the tasks are complete or if the projects reach their due date. You have to close the project manually by changing the project status to Closed once it is complete.
Edit a Remediation Project
Note: You can only modify a report if you are the owner, a user with an administrator account, or you have been given the Can configure permission for that report.
To edit a remediation project:
-
In the left navigation, click
Remediation > Remediation Projects.
-
On the Remediation Projects page, do one of the following:
-
In the Remediation Projects table, right-click the row for the remediation project you want to edit.
The action options appear next to your cursor.
-
In the Remediation Projects table, select the check box for the remediation project that you want to edit.
The actions bar appears at the top of the table.
-
In the Remediation Projects table, in the Actions column, click the
 button in the row for the project that you want to edit.
 The action button appears in the row.
-
-
Click
 Edit.
Edit.The Edit a Project page appears.
-
Modify the remediation project settings.
-
Click Save.
Tenable Vulnerability Management saves the remediation project and the Remediation Projects page appears.
Delete a Remediation Project
To delete a remediation project:
-
In the left navigation, click
Remediation > Remediation Projects.
-
To delete one or more remediation projects:
Delete Action A single remediation project - To delete a single remediation project:
-
In the Remediation Projects table, in the Actions column, click the
button in the row for the project that you want to delete.The action buttons appear in the row.
-
In the Remediation Projects table, select the check box next to the remediation project that you want to delete.
In the action bar, Tenable Vulnerability Management enables More > Delete.
-
In the Remediation Projects table, right-click the row for the project that you want to delete.
The action options appear next to your cursor.
- Click Delete.
Delete multiple remediation projects -
In the Remediation Projects table, select more than one remediation projects that you want to delete.
Tenable Vulnerability Management enables the Delete button in the action bar.
-
Click Delete.
Tenable Vulnerability Management deletes the selected remediation projects.
Close a Remediation Project
A closed remediation project means that it has ended. But you can activate a closed project, if needed. Projects do not automatically close even if all the tasks are complete or if the projects reach their due date. You have to close the project manually by changing the project status to Closed once it is complete.
To close a remediation project:
-
In the left navigation, click
Remediation > Remediation Projects.
-
Do one of the following:
-
In the Remediation Projects table, right-click the row for the remediation project you want to close.
A menu appears.
-
In the Remediation Projects table, select the check box for the remediation project that you want to close.
An action bar appears.
Click the
More button.A menu appears.
-
In the Remediation Projects table, in the Actions column, click the
button in the row for the project that you want to close. A menu appears.
-
-
Click Close.
Tenable Vulnerability Management closes the remediation project.
The Remediation Projects page appears and the Status column shows the project as Closed.
Activate a Remediation Project
When you create a remediation project, it is in the Pending state. You must activate the project for it to start tracking the progress of the remediation project.
To activate a remediation project:
-
In the left navigation, click
Remediation > Remediation Projects.
- In the Remediation Projects table, do one of the following:
In the Remediation Projects table, right-click the row for the remediation project you want to activate.
The action options appear next to your cursor.
In the Remediation Projects table, select the check box for the remediation project that you want to activate.
The actions bar appears at the top of the table.
In the Remediation Projects table, in the Actions column, click the
button in the row for the project that you want to activate. The action button appears in the row.
-
Click Activate.
Tenable Vulnerability Management activates the remediation project.
The Remediation Projects page appears and the Status column shows the project as Active.
Suspend a Remediation Project
Suspending a remediation project temporarily stops the project from tracking the progress of the project. When you suspend a project, the status of the project remains the same until the project is activated.
To suspend a remediation project:
-
In the left navigation, click
Remediation > Remediation Projects.
-
Do one of the following:
-
In the Remediation Projects table, right-click the row for the remediation project you want to suspend.
The action options appear next to your cursor.
-
In the Remediation Projects table, select the check box for the remediation project that you want to suspend.
In the action bar, Tenable Vulnerability Management enables More > Suspend.
-
In the Remediation Projects table, in the Actions column, click the
button in the row for the project that you want to suspend. The action buttons appear in the row.
-
-
Click Suspend.
Tenable Vulnerability Management suspends the remediation project.
The Remediation Projects page appears and the Status column shows the project as Suspended.