Configure Jira with OAuth
Required User Role: Administrator
Before you can create Jira tickets using OAuth authentication within Tenable One Vulnerability Management, you must configure your Jira account.
Prerequisites
Before you connect a Jira Cloud connector using OAuth, you must:
-
Have an Atlassian Cloud site with admin access.
-
Be able to create an OAuth 2.0 (3LO) app in the Atlassian Developer Console.
Create an OAuth 2.0 App in Atlassian
To create an OAuth 2.0 (3LO) app for use with Tenable One Vulnerability Management:
-
Log in to the Atlassian Developer Console.
-
Click Create > OAuth 2.0 integration.
-
Name the app and click Create.
-
When prompted, select Resource-level as the access level for the app.
Note: Atlassian requires you to choose either Resource-level or Account-level access before you can continue. Select Resource-level; Account-level is not supported for this integration. -
On the Permissions tab, click Add on the Jira API line.
-
Grant the following scopes:
-
From the Classic Scopes tab, select:
-
read:jira-user
-
read:jira-work
-
write:jira-work
-
-
From the Granular Scopes tab, select:
-
read:priority:jira
-
read:workflow:jira
-
Important! Your app must include all five scopes listed above. The last two scopes (read:priority:jira and read:workflow:jira) are on the separate Granular Scopes tab and are easy to miss. If your OAuth 2.0 app is missing any of these scopes, the OAuth connection cannot complete, and you receive a permission error when authorizing the app. Before proceeding, confirm that your app grants every scope listed above under Jira API permissions. -
-
On the Authorization tab, add the Callback URL shown on the Jira Cloud connector form in Tenable One Vulnerability Management.
Important! The callback URL must match the one shown in Tenable One Vulnerability Management exactly, character-for-character. If it doesn't match, Atlassian displays its own error page during setup, and the connection popup never returns to Tenable One Vulnerability Management. The callback URL is specific to your Tenable One Vulnerability Management environment. Atlassian allows you to register multiple callback URLs on the same app, so add one for each environment you use. -
On the Settings tab, copy the Client ID and Client Secret to a safe location. Save these credentials as you will need them to configure the connector.
Configure the Integration
You can connect a Jira Cloud connector to Tenable One Vulnerability Management using OAuth instead of an API token. With OAuth, you authorize access by logging in to Atlassian directly, rather than generating and storing a long-lived API token.
To connect Jira Cloud using OAuth:
-
In the left navigation, click
 Settings.
The Settings page appears.
-
Click the
 Jira Cloud tile.
The Jira Connector page appears.
-
From the Authentication Method drop-down box, select OAuth.

-
Configure the following credentials:
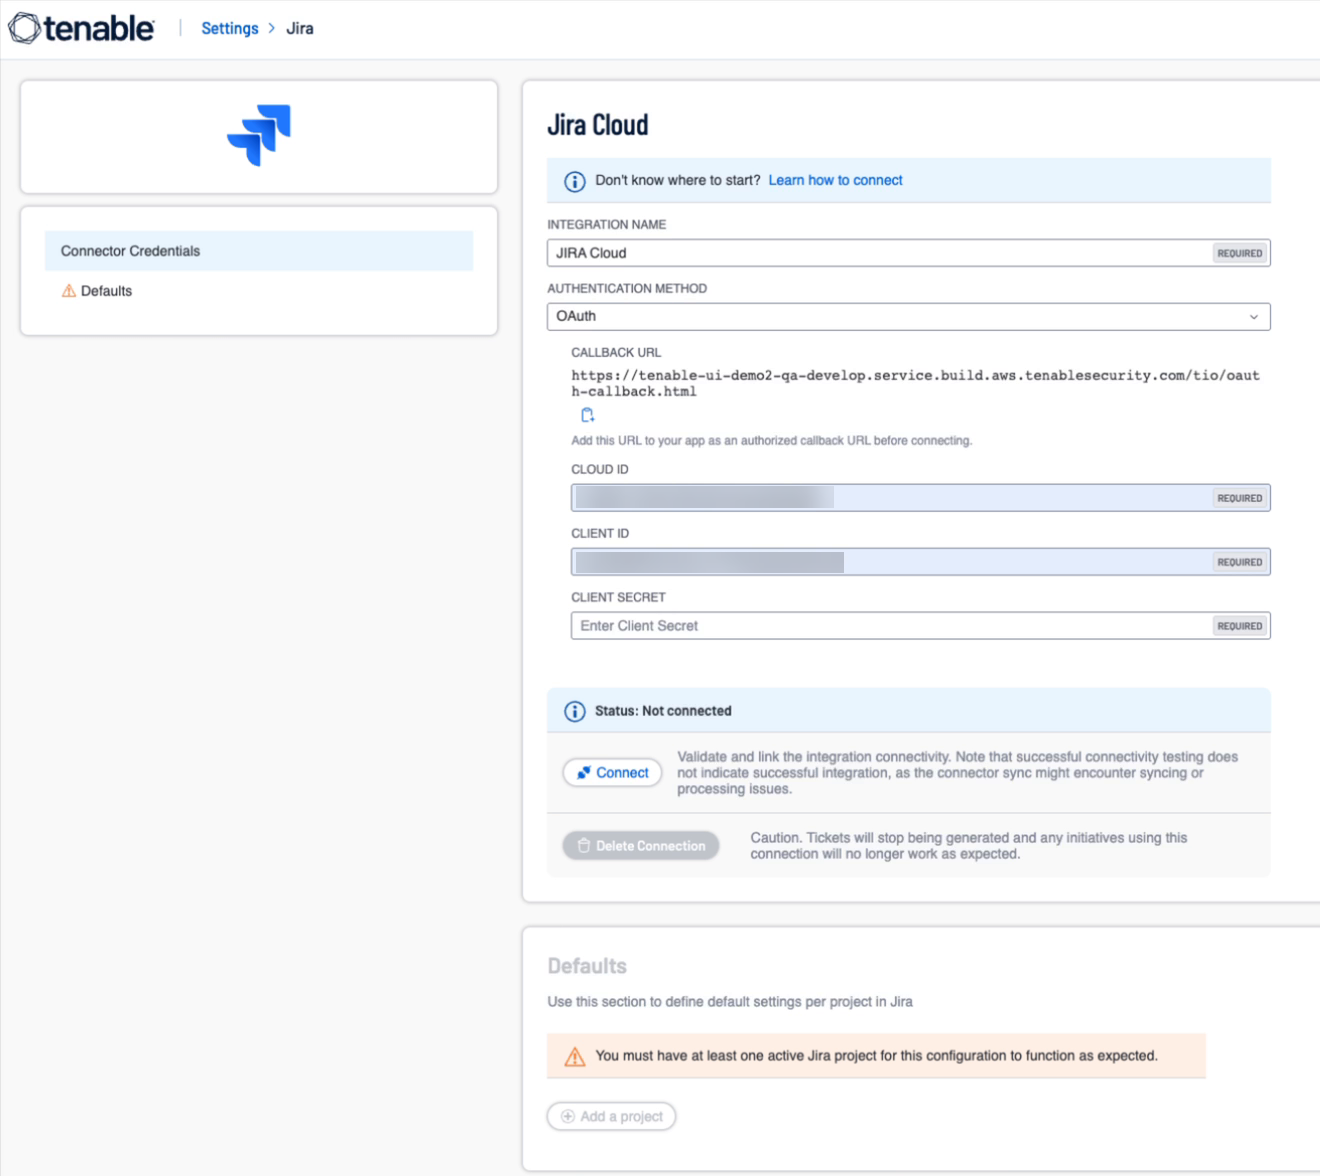
Option Description Cloud ID The unique identifier for your Atlassian Cloud site.
Tip: If you don't already know your Cloud ID, do one of the following:-
Navigate to https://your-site-name.atlassian.net/_edge/tenant_info, replacing your-site-name with your Jira site's name. The page returns your Cloud ID in a response.
-
Navigate to https://admin.atlassian.com/ and click the site you want to connect. Your Cloud ID appears in the resulting page's URL, for example, https://admin.atlassian.com/o/{cloudId}/overview.
-
Navigate to https://home.atlassian.com/. You can find your Cloud ID in the URL to which you're redirected, for example, https://home.atlassian.com/o/xxxxxxxxxxxxxx/?cloudId={cloudId}
Client ID The Client ID from the OAuth 2.0 (3LO) app you created in Atlassian. Client Secret The Client Secret from the OAuth 2.0 (3LO) app you created in Atlassian. Note: You do not need to provide an authorization URL. Tenable One Vulnerability Management sets up the authorization endpoint, scopes, and audience for you. -
-
Click Connect to Jira.
A dialog opens that navigates directly to Atlassian.
-
Log in to Atlassian, if needed, select the Atlassian site you want to connect, and click Accept to approve the requested permissions.
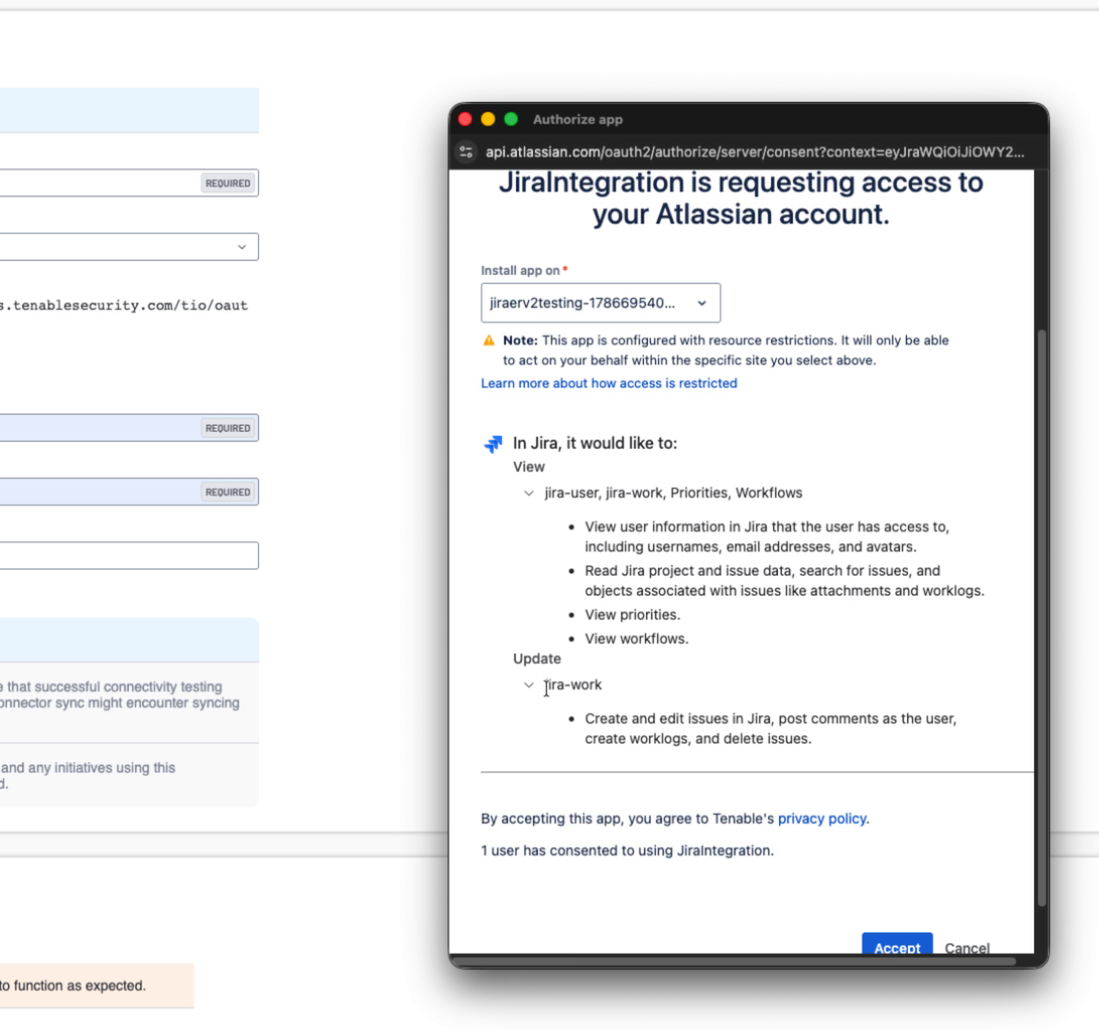 Important! Complete this step within about 2 minutes of the popup opening. If you take longer, Tenable One Vulnerability Management stops the attempt and displays an Authorization did not complete error. This timeout is set by Tenable One Vulnerability Management, not Atlassian. If it happens, click Connect to Jira again and complete the consent screen promptly.
 -
Once you approve the requested permissions, the popup window closes automatically.
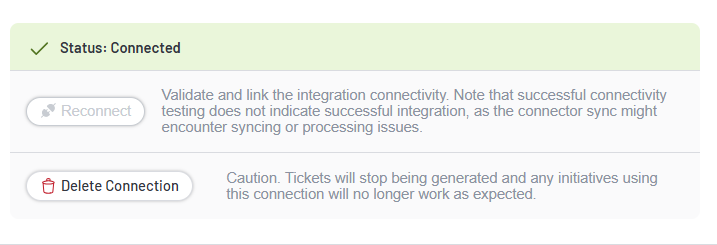
The connection banner turns green, and Tenable One Vulnerability Management saves the connector automatically.
Troubleshooting
| Issue | Cause / Resolution |
|---|---|
| The popup shows an Atlassian error page and never returns to Tenable One Vulnerability Management. | The callback URL registered in your Atlassian app does not match the callback URL shown on the connector form. Copy the callback URL from Tenable One Vulnerability Management again and make sure it matches exactly, character-for-character, in your Atlassian app's Authorization settings. |
| You see an Authorization did not complete error. |
Either the Client ID or callback URL registration is incorrect, or you took longer than about 2 minutes to complete the Atlassian consent screen. Verify your Client ID and callback URL, then click Connect to Jira again and complete the consent screen promptly. |
| The popup is blocked and never opens. | Allow popups for Tenable One Vulnerability Management in your browser settings, then click Connect to Jira again. |
| You approve consent, but the connection still fails. | Your Atlassian app is likely missing a required scope. Confirm your app grants all of the scopes listed in the prerequisites, then try again. |