User Groups
An administrator user can create new User Groups and edit existing groups. Each user is assigned to one or more User Groups, which determine the roles assigned to the user.
The system comes with a set of pre-defined User Groups, which correspond to each of the available roles, Administrators User Group > Administrator role and Site Operators User Group > Site Operator role. For an explanation of the available roles, see User Roles.
Viewing User Groups
The User Groups page shows a list of all User Groups in the system.
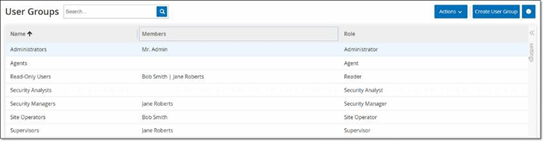
The following details are available in the User Groups page:
| Parameter | Description |
|---|---|
| Name | The name of the User Group. |
| Members | A list of all members assigned to the group. |
| Role | The role given to this group. For an explanation of the permissions associated with each role, see User Roles Table. |
Add User Groups
You can create new User Groups and assign users to that Group.
To create a user group:
-
Go to
The User Groups screen appears.
-
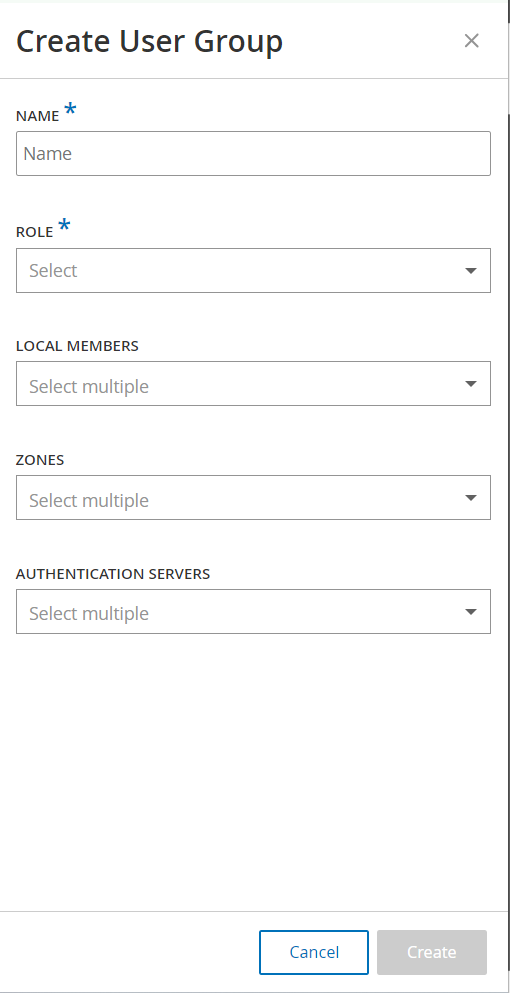
Click Create User Group.
The Create User Group pane appears.
-
In the Name box, type a name for the group.
-
In the Role drop-down box, select from the drop-down list the role that you want to assign to this group. Available roles are:
-
Read Only
-
Security Analyst
-
Security Manager
-
Site Operator
-
Supervisor
-
-
In the Local Members drop-down box, select the user accounts that you want to assign to the group.
-
In the Zones drop-down box, select the zones you want to assign to the user group.
-
In the Authentication Servers drop-down box, select the servers that you want to assign to the user group.
-
Click Create.
OT Security creates the new User Group and adds to the list of groups shown in the User Groups screen.
Additional Actions on User Groups
You can edit the settings and add or remove members to an existing User Group by editing the group.
To edit a User Group:
-
Go to
The User Groups screen appears.
-
Do one of the following:
-
Right-click the required user group and select Edit.
-
Select the user group you want to edit. The Actions menu appears. Select Actions > Edit.
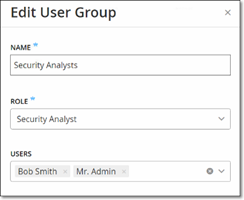
The Edit User Group panel appears, showing the group’s settings.
-
-
Change the Name, Role. You can also select or clear users to add or remove users to the group.
-
Modify the parameters as needed.
-
Click Save.
To delete a user group:
-
Go to
The User Groups screen appears.
-
Do one of the following:
-
Right-click the required User Group and select Delete.
-
Select the user group you want to delete. The Actions menu appears. Select Actions > Delete.
A confirmation window appears.
-
-
Click Delete.
OT Security deletes the User Group.