Local Users
An administrator user can create new user accounts and edit existing accounts. Each user is assigned to one or more User Groups which determine the roles assigned to the user.
View Local Users
The Local Users window shows a list of all local users in the system.

The Local Users window shows the following details:
| Parameter | Description |
|---|---|
| Full Name | The full name of the user. |
| Username | The username of the user, used for login. |
| User Groups | The User Groups to which the user is assigned. |
Add Local Users
You can create user accounts to authorize individual users to access the system. Each user must be assigned to one or more User Groups.
To create a User Account:
-
Go to Settings > User Management > Local Users.
-
Click Add User.
The Add User pane appears.
-
In the Full Name box, type the first and last name.
Note: The name that you enter appears in the header bar when the user is signed in. -
In the Username box, type a user name to be used for logging in to the system.
-
In the Password box, type a password.
-
In the Retype Password box, type the identical password.
Note: This is the password that the user uses for the initial login. The user can change the password in the Settings window after logging into the system. -
In the User Groups drop-down box, select the check box for each User Group to which you want to assign this user.
Note: The system comes with a set of pre-defined User Groups, which correspond to each of the available roles, such as Administrators User Group > Administrator role, Site Operators User Group > Site Operator role. For an explanation of the available roles, see Local Users. -
Click Create.
OT Security creates the new user account in the system and adds to the list of users in Local Users.
Additional Actions on User Accounts
Edit a User Account
You can assign a user to additional User Groups or remove the user from a group.
To change a user’s User Groups:
-
Go to Settings >User Management > Local User.
The Local Users page appears.
-
Right-click the required user and select Edit User.
Note: Alternatively, you can select a user and then from the Actions menu, select Edit User. -
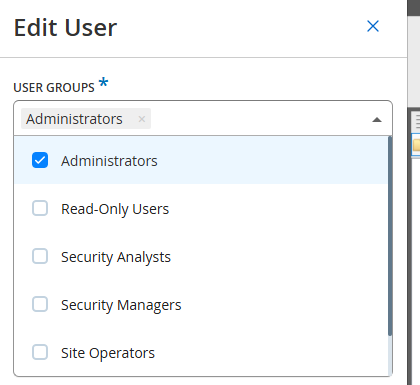
The Edit User pane appears, showing the User Groups to which the user is assigned.
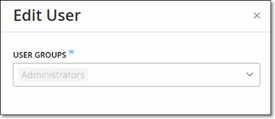
-
In the User Groups drop-down box, select or clear the required user groups.
-
Click Save.
Change a User’s Password
To change a user’s password:
-
Go to Settings > User Management > Local User.
The Local Users page appears.
-
Right-click the required user and select Reset Password.
Note: Alternatively, you can select a user and from the Actions menu, select Reset Password.The Reset Password window appears.
-
In the New Password box, type a new password.
-
In the Retype New Password box, re-type the new password.
-
Click Reset.
OT Security applies the new password to the specified user account.
Delete Local Users
To delete a user account:
-
Go to Settings > User Management > Local User.
The Local Users page appears.
-
Right-click the required user and select Delete User.
Note: Alternatively, you can select a user and from the Actions menu, select Delete User.A confirmation window appears.
-
Click Delete.
OT Security deletes the user account from the system.