Microsoft Copilot
Tenable AI Exposure allows you to integrate with Microsoft Copilot to identify any risks associated with your use of this application.
Prerequisites
Before you begin, ensure you have the following:
Microsoft Copilot 365
-
A Global Administrator within your Microsoft Entra ID environment.
Microsoft Copilot Studio
-
A Global Administrator or Power Platform Administrator role within your Microsoft Entra ID environment.
-
A registered application called Tenable within your Microsoft Entra ID environment.
Configure Microsoft Copilot for use with Tenable AI Exposure
To configure Microsoft Copilot for use with Tenable AI Exposure, you must perform the following actions:
Microsoft Copilot 365
Register your Application and Add API Permissions
-
In the left navigation menu, click Entra ID > App registrations.
-
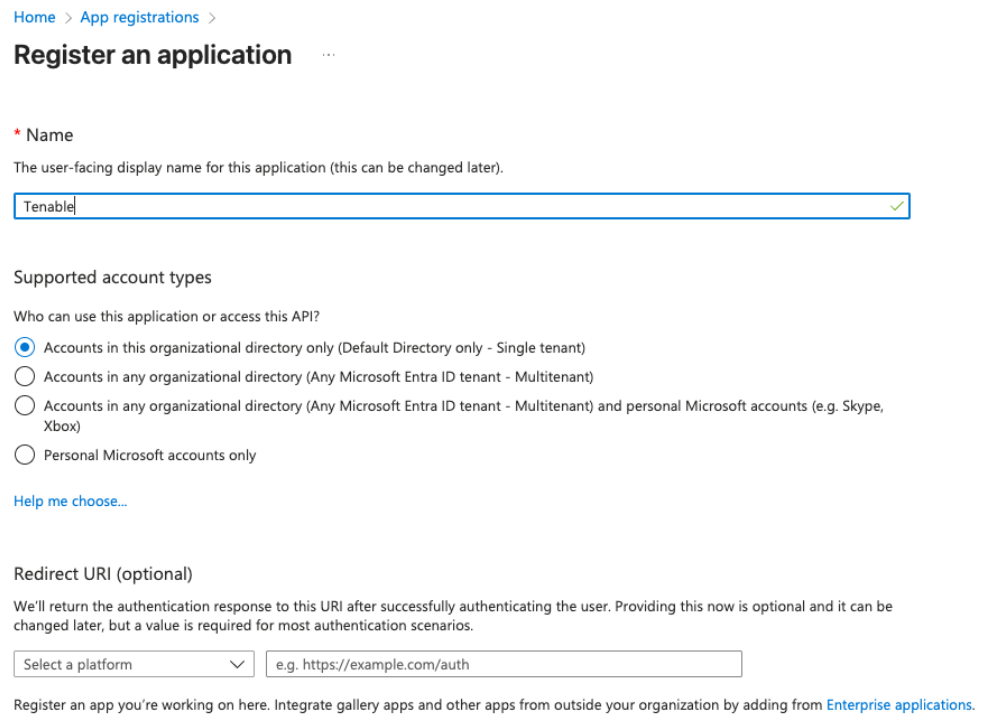
Click New registration.
The Register an application window appears.
-
In the Name text box, type Tenable.
-
Click Register.
Microsoft Entra ID creates and registers the application. You navigate to the App registration page.
-
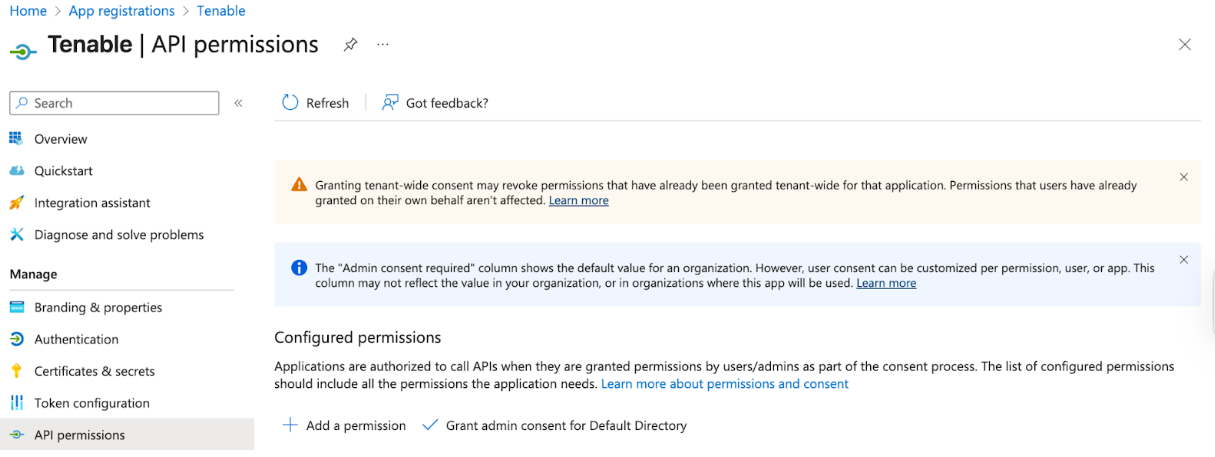
In the left navigation menu, click API permissions.
-
Click Add a permission.
The Request API permissions page appears.
-
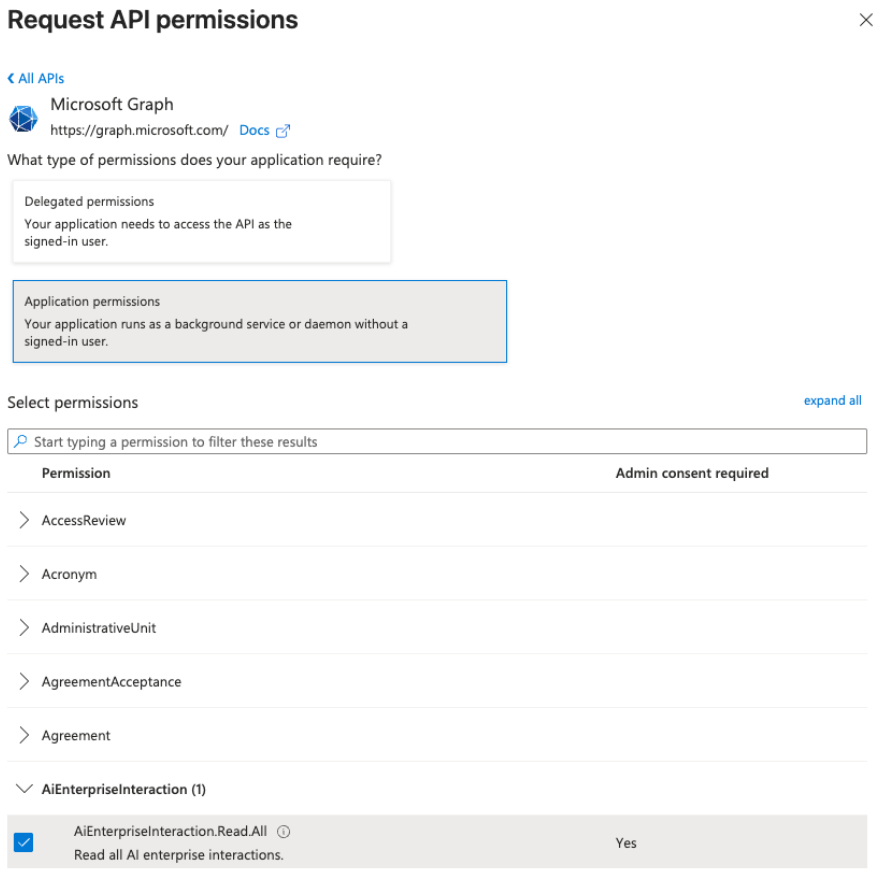
Click Microsoft Graph.
The configuration options appear.
-
In the What type of permissions does your application require? section, select Application Permissions.
-
In the Select permissions section, search for and select the following permissions:
-
AiEnterpriseInteraction.Read.All” and its relevant checkbox
-
"AuditLog.Read.All", and its relevant checkbox
-
"Group.Read.All”, and its relevant checkbox
-
"User.Read.All", and its relevant checkbox
-
-
Click Add permissions.
-
In the Configured permissions section, click Grant admin consent for Default Directory.

Add a Client Secret
-
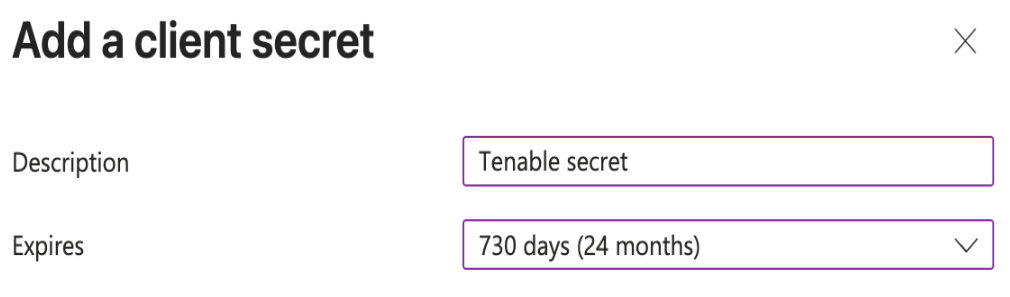
On the page for your Tenable application, navigate to Certificates & secrets > New client secret.
The Add a client secret window appears.
-
In the Description text box, type a name for the client secret.
-
From the Expires drop-down, select the time frame after which you want the client secret to expire.
-
Generate and copy the following value:
-
Secret value
-
-
In the left navigation menu, click Overview.
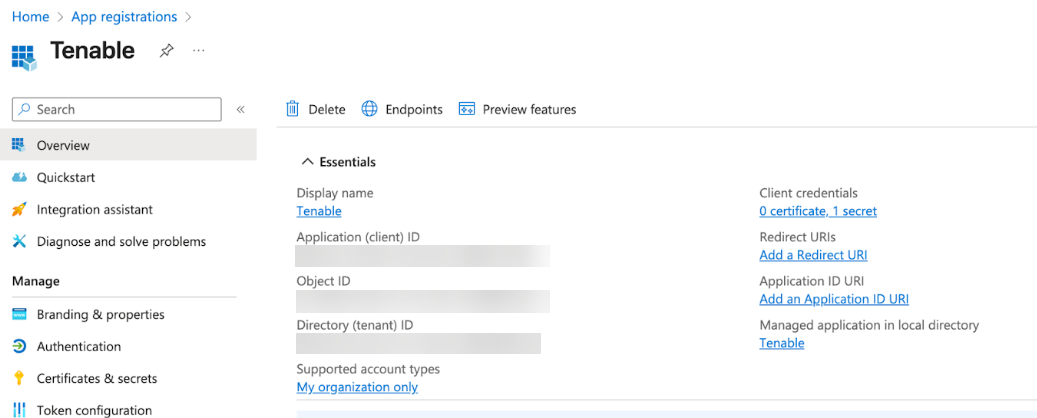
-
In the Essentials section, copy the following values:
-
Application (client) ID
-
Directory (tenant) ID
-
Microsoft Copilot Studio
Copy Environment URL and Create Security Role
Before you Begin
Make sure that a Dataverse data store is provisioned in your Power Platform environment. This is required to generate the Environment URL.
To do this, go to the Power Platform Admin Center > Environments, select or create an environment, then enable Add a Dataverse data store.
-
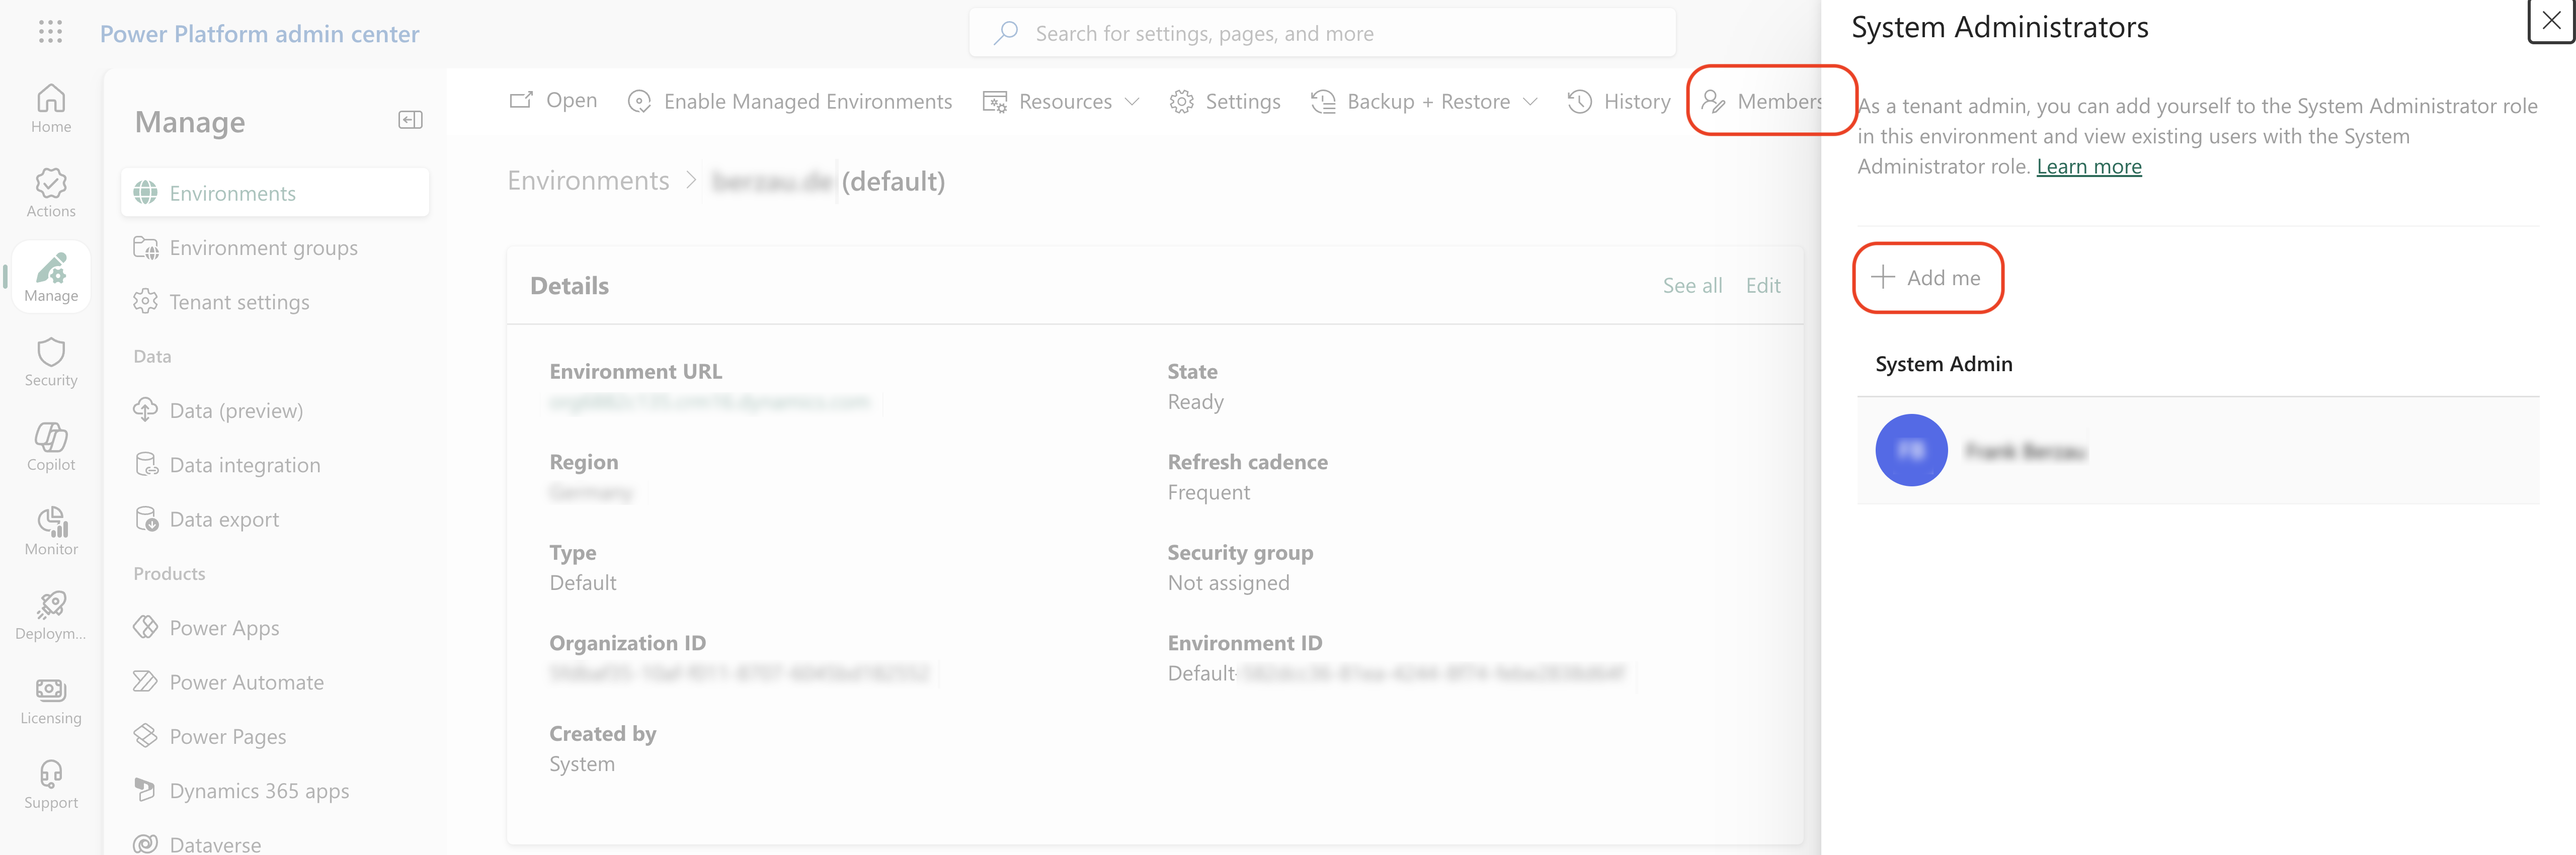
In the left navigation bar, select Manage.
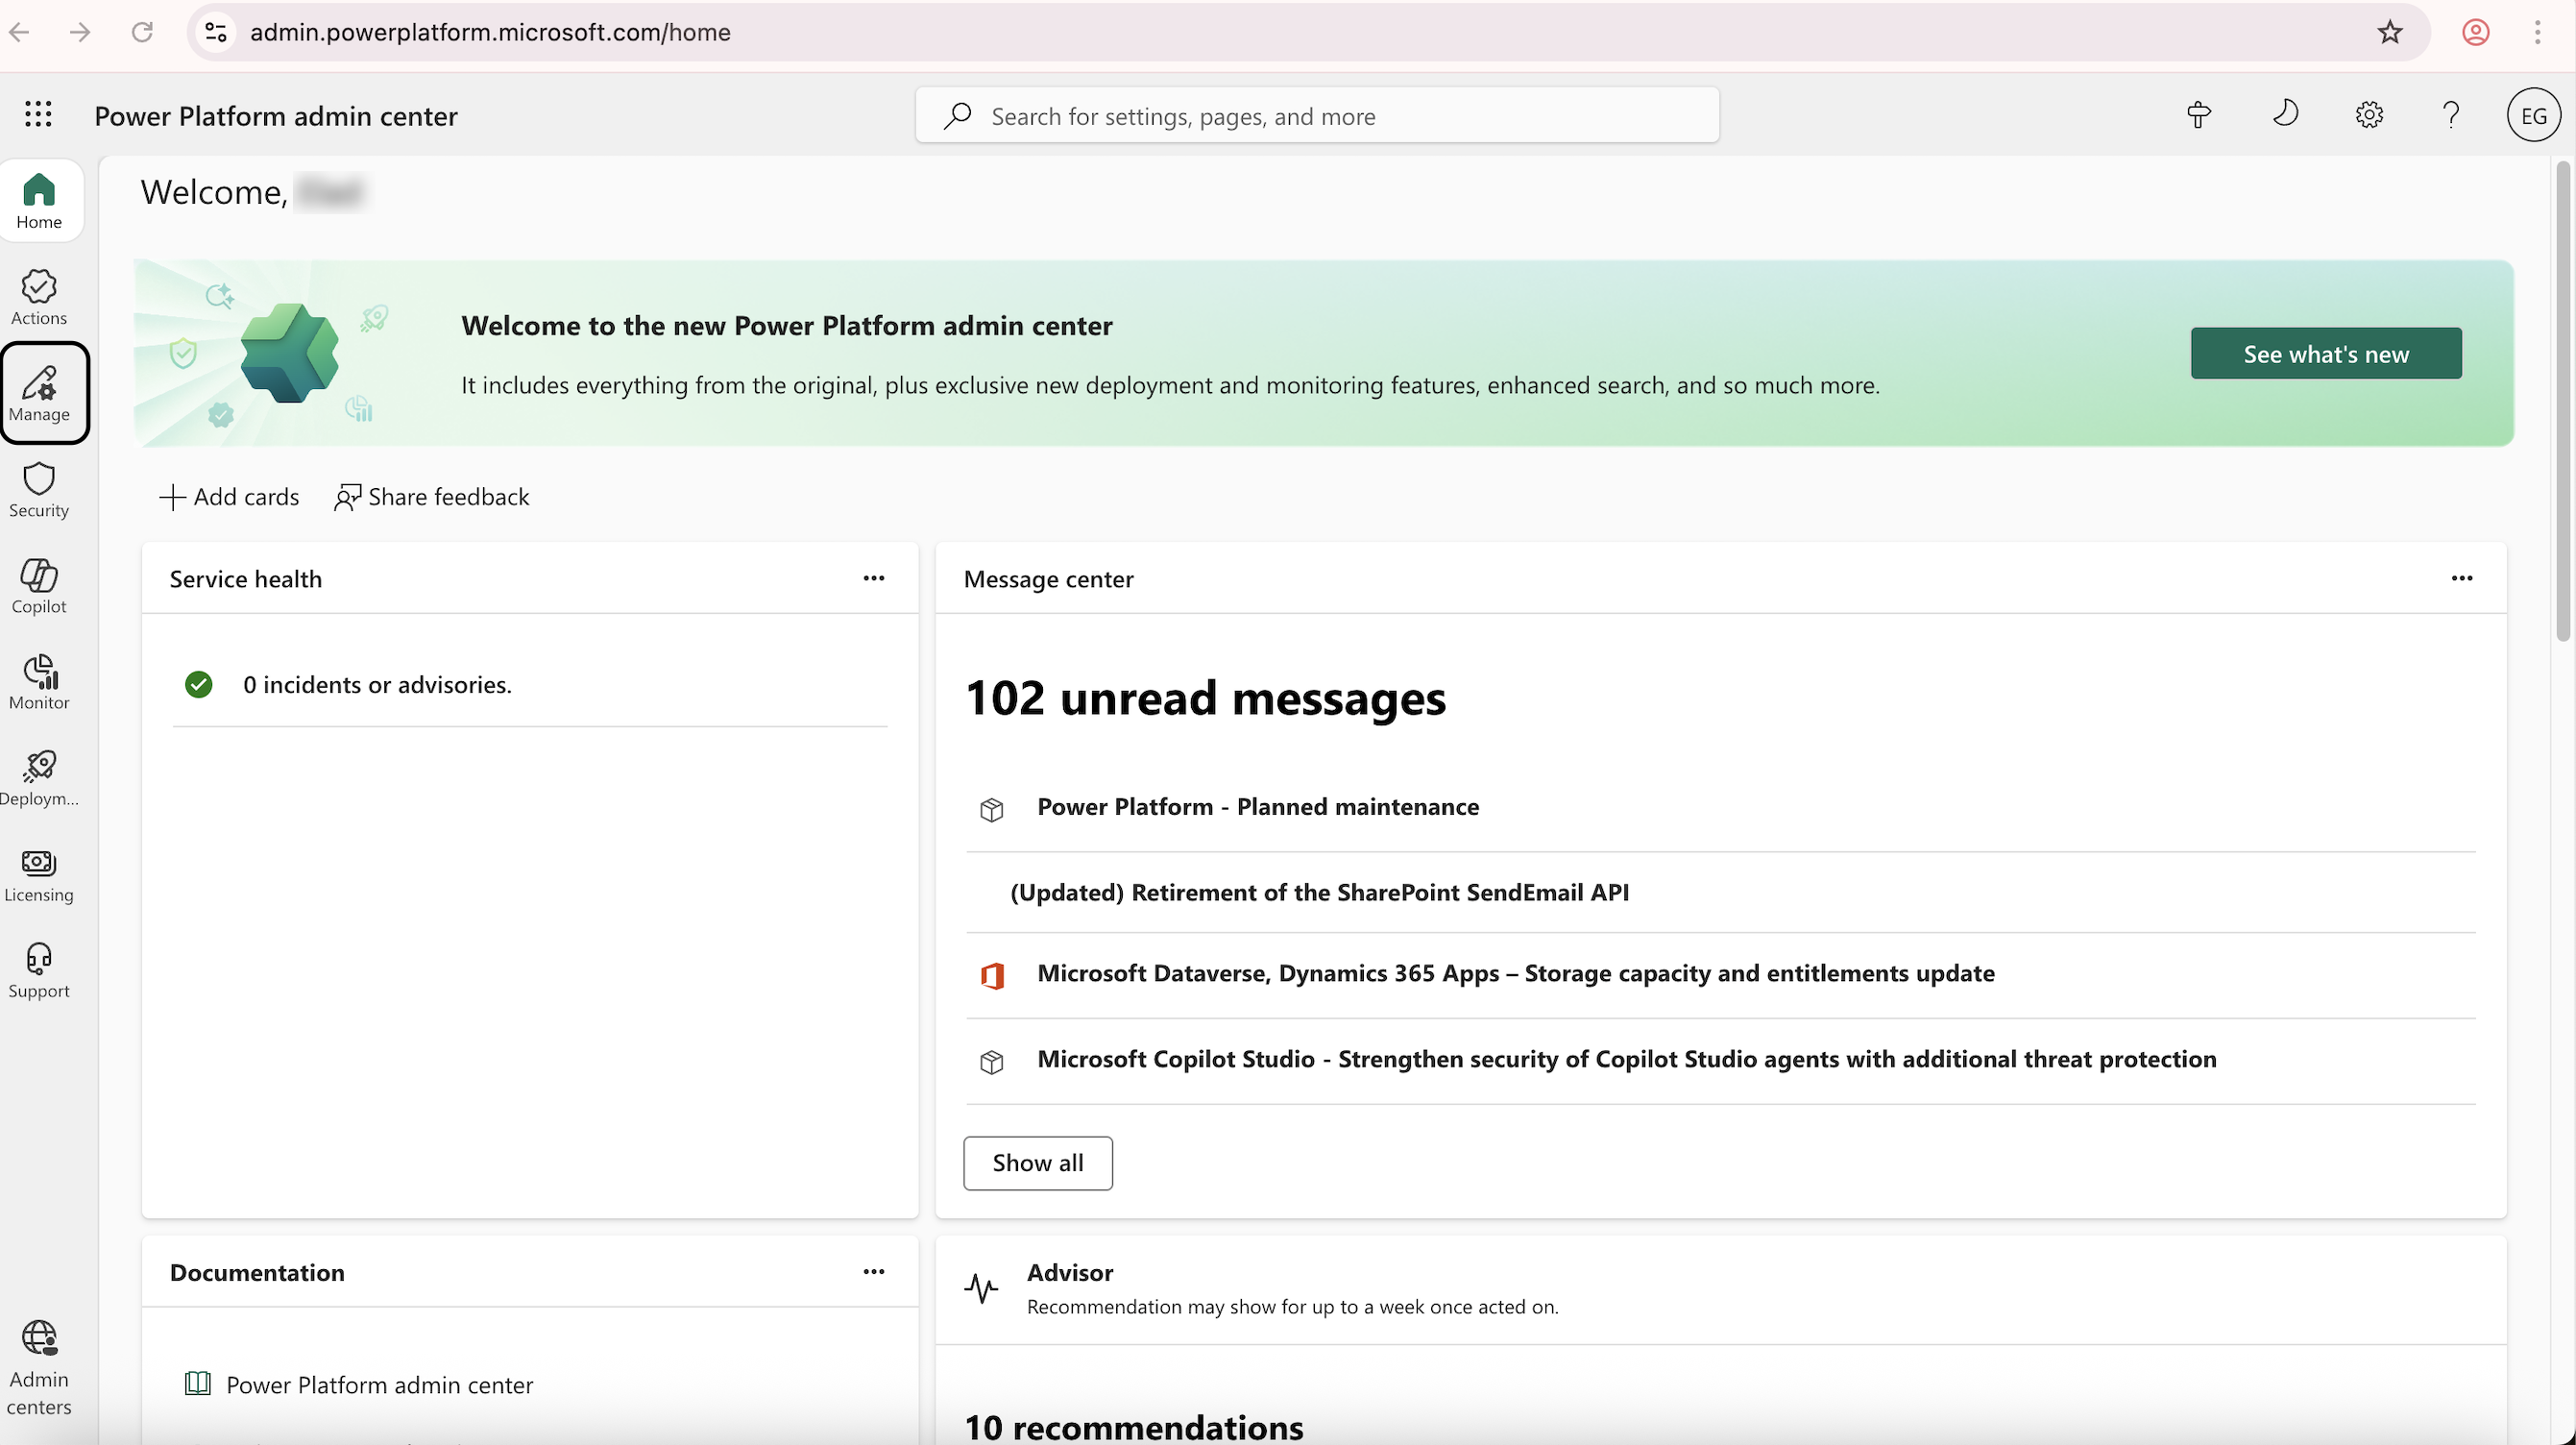
The Manage page appears.
-
Navigate to Environments > Default Directory.
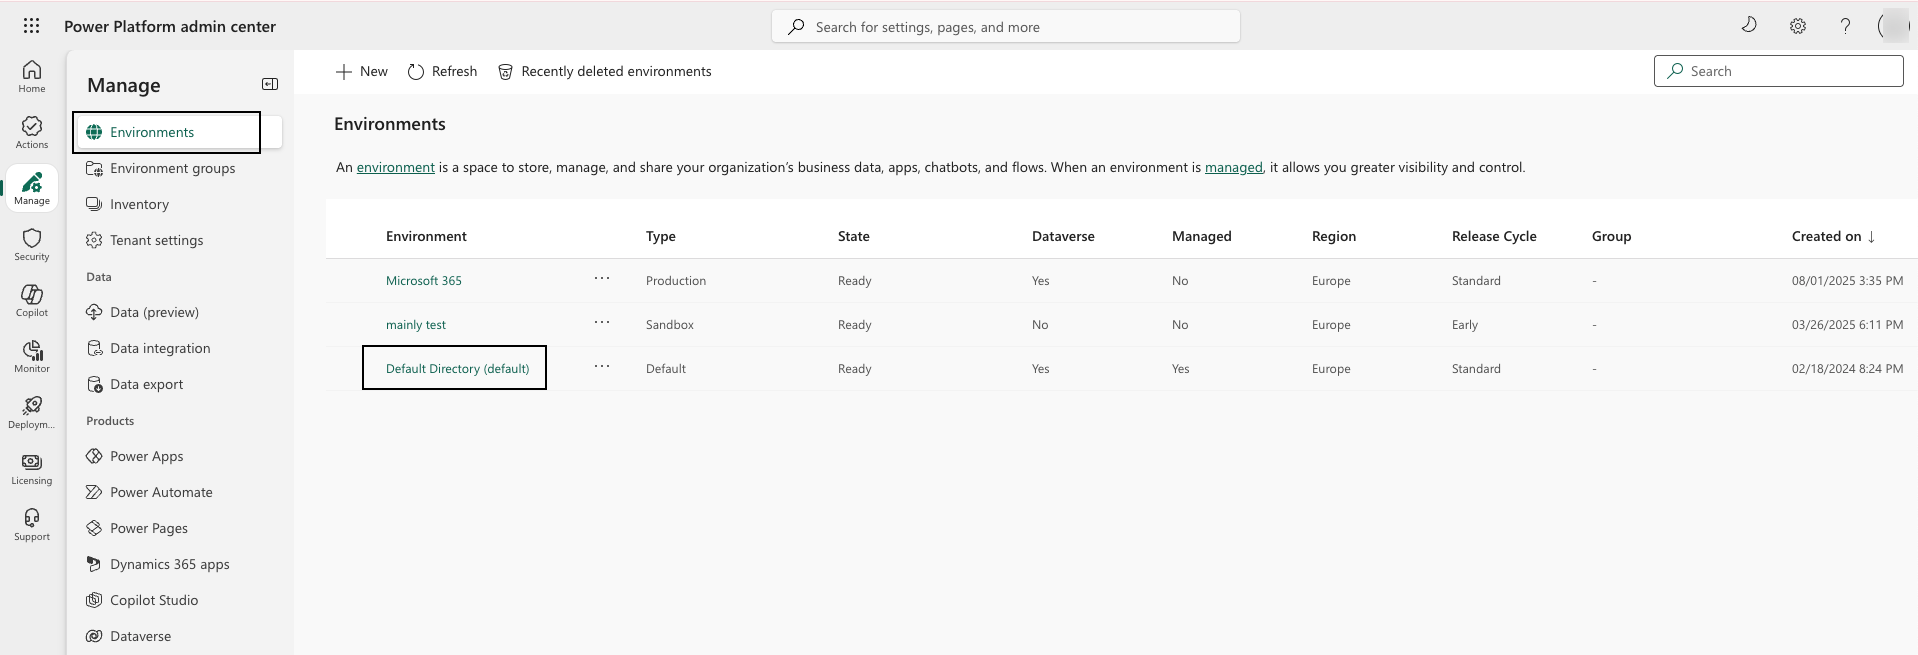
The environment details appear.
-
Copy the Environment URL.
-
Within this environment, navigate to Settings > Users + permissions > Security roles.
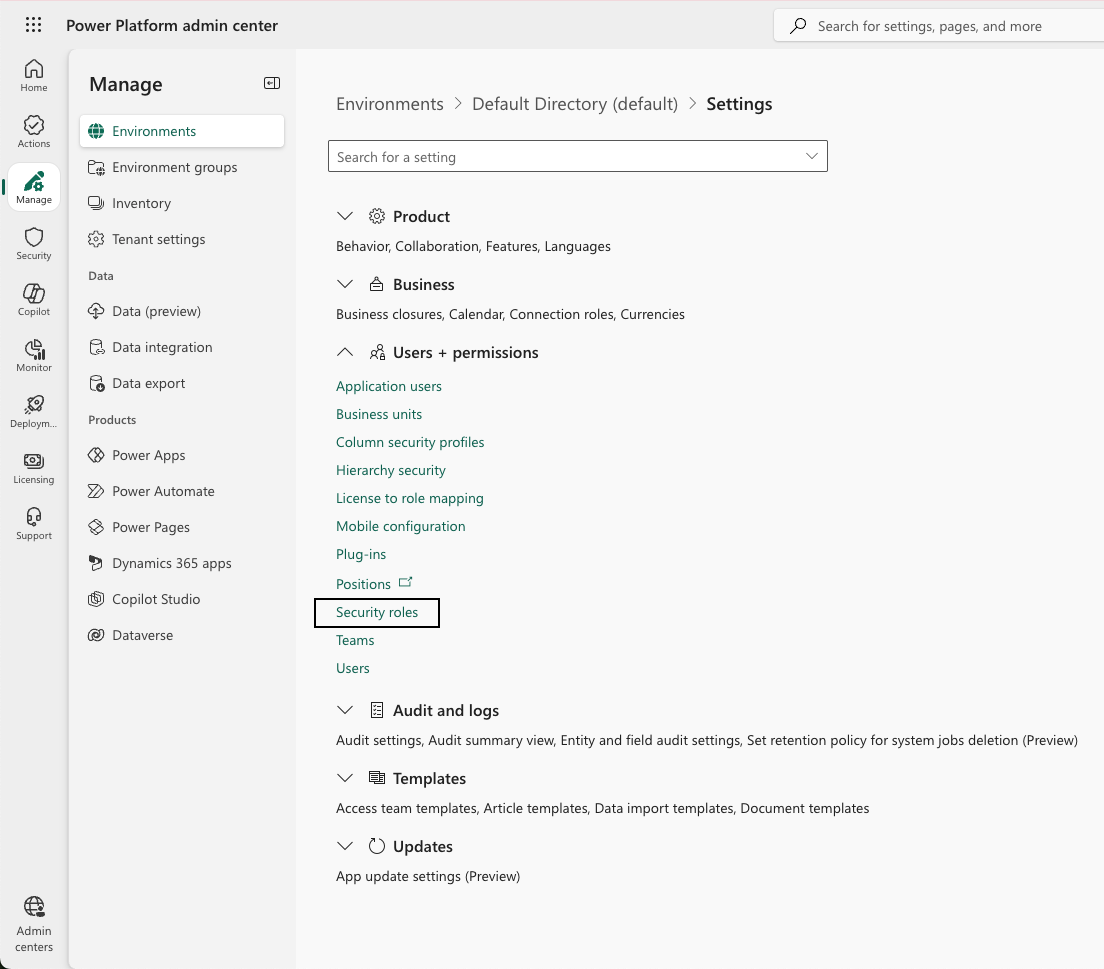
-
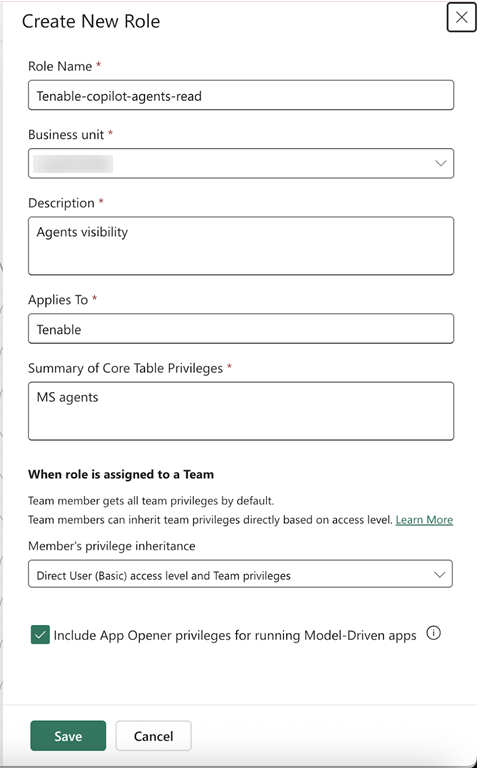
Click New role.
The Create New Role window appears.
Note:You must be a member of the Microsoft Entra ID environment to perform this step. You can verify that you are a member on the environment details page. If you are not a member, in the upper-right corner of the environment details page, select Membership and add yourself as a member.
-
In the Role Name text box, type Tenable-copilot-agents-read.
-
In the Business Unit section, select a business unit from the list or create a new one. Then, copy the value for future use.
To create a new business unit:-
-
In the selected environment, navigate to Settings > Users + permissions > Business Unit.
-
Click Add new business unit.
-
-
In the Description, Applies to, and Summary of Core Table Privileges boxes, provide any text that fits your use case.
Note: These Microsoft metadata fields describe the security role. These fields do not affect the permissions. -
From the Member's privilege inheritance drop-down, select Direct User (Basic) access level and Team privileges.
-
Select the Include App Opener privileges for running Model-Driven apps check box.
-
Click Save.
-
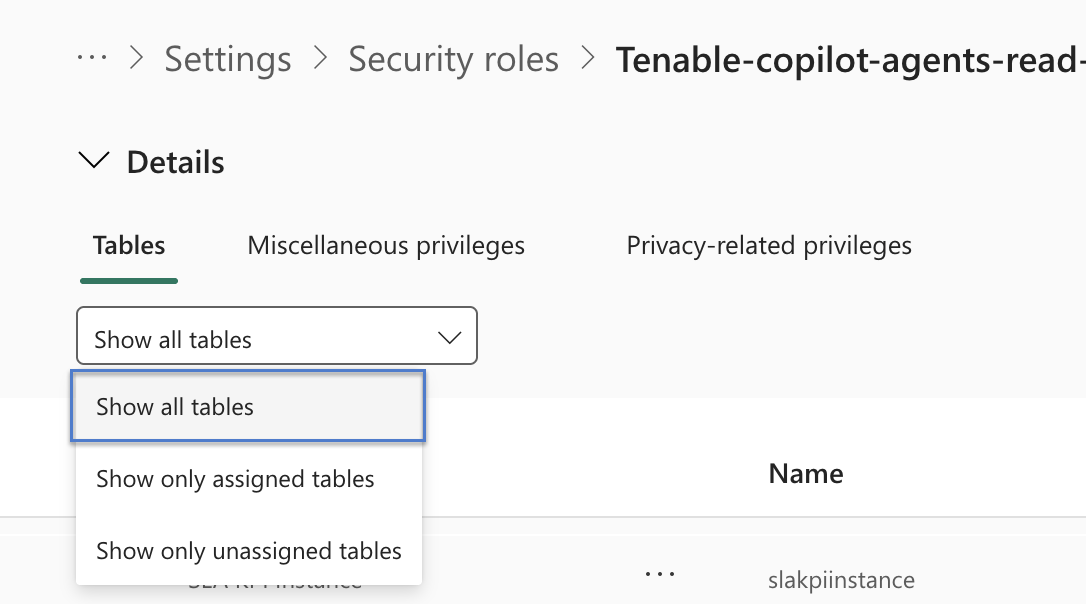
Navigate to Settings > Security roles and select the role you created.
Note: This page might appear automatically after you create the role. -
Search for the table name under the Name column and add the following permissions:
Name Permissions aicopilot Read bot Read (Organization level) botcomponent Read (Organization level)
botcomponentcollection Read (Organization level) prefix_botcontent Read (Organization level) prefix_copilotinteractions Read
Note: The prefix variable shows the name of the solution that manages the table. For example, in the msdynce_copilotinteractions table, the prefix msdynce indicates that a service named Dynamics 365 Customer Service manages the environment.
Tables with the msdynce_ prefix (Microsoft Dynamics 365 Customer Engagement publisher) are not part of the base Microsoft Dataverse or Microsoft Copilot Studio schema. These tables are provisioned only when you install a Dynamics 365 Customer Engagement solution in the environment. For example, the tables appear when you install Dynamics 365 Customer Service, Omnichannel for Customer Service, or Dynamics 365 Sales.
Consequently, these tables appear in some customer tenants and are absent in others, such as lab or greenfield environments. The presence or absence of these tables is expected behavior and does not indicate a misconfiguration.If you do not see all permissions, make sure that you select show all tables as your display settings.
 Note: Be sure to save the permissions at the organizational level.
 -
Click Save.
Create an Application User
-
In the selected environment, navigate to Settings > Users + permissions > Application users.
-
Click Create new app user.
The Create a new app user window appears.

-
In the App section, select the Tenable app you previously created and registered.
-
In the Business Unit section, select the same business unit you used when configuring the selected security role.
-
In the Security roles section, select the Tenable-copilot-agents-read role you previously created.
-
Click Create.
Connect Microsoft Copilot to Tenable AI Exposure
Once you have the required credentials you can complete your integration through the Tenable AI Exposure user interface.
-
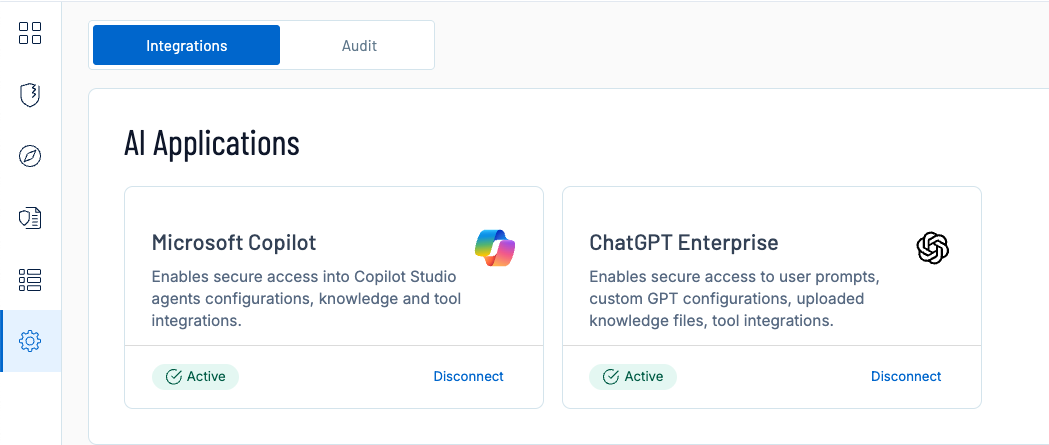
Navigate to the Integrations page.
-
In the Microsoft 365 Copilot tile, click Configure.
The integration configuration page appears.
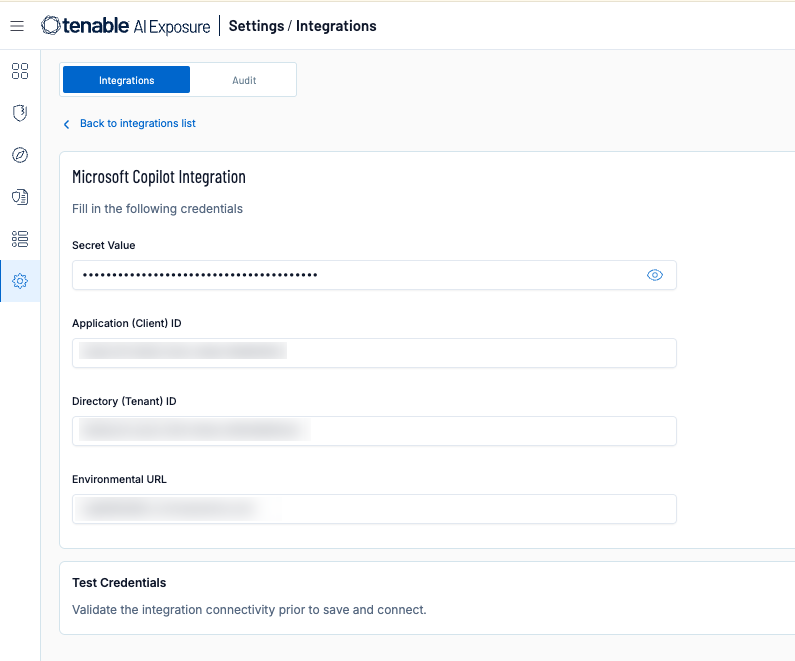
-
Paste the following values you copied from Microsoft Copilot:
-
Secret Value
-
Application (Client) ID
-
Directory (Tenant) ID
-
Environment URL
-
-
In the Test Credentials section, click Test Credentials to ensure your integration can connect to Tenable AI Exposure.
-
Click Save and Connect.
Tenable AI Exposure enables the integration.
Troubleshooting
If you encounter an error message, please ensure you've followed the guide correctly and met all prerequisites. If the issue persists, use the "Contact Support" window for assistance. Please Include relevant text or a screenshot that can help us to best resolve your issue effectively.