Azure Boards
Integrate your Azure Boards organization with Tenable One Cloud Exposure to support the creation of work items related to specific findings in Tenable.
What to do next:
-
To start creating work items for findings, you need to also configure automation rules or manually trigger an action after you integrate a tool. Successfully completing all integration steps does not trigger the sending of any data on its own.
Before You Begin
Tenable authenticates to Azure Boards through a Microsoft Entra ID application, Cloud Exposure Azure Boards Connector. You can reuse a Microsoft Entra ID integration you've already connected to Tenable, or connect a new one during setup.
Before you start the wizard, make sure you have:
- An existing Microsoft Entra ID integration (recommended), or the ability to add one. Tenable recommends reusing an existing integration if you have one.
- The Global Administrator or Application Administrator role in Microsoft Entra ID. You need one of these roles to run the deployment script that creates the service principal for the connector application.
- Permission to add users to your Azure DevOps organization. You need this to grant the connector's service principal access to the organization, later in the wizard.
Add an Organization
After you complete the prerequisites, add the Azure Boards organization from the Cloud Exposure Console.
To add a new organization:
- In the Cloud Exposure Console, navigate to Settings > Integrations.
- (Optional) In the Organization dropdown, select an account scope.
- Click Add Integration.
- In the Integrations Library, click Azure Boards. The Add Azure Boards wizard opens.
-
Configure Microsoft Entra ID (Step 1 in wizard):
- Under Microsoft Entra ID, select Use existing Microsoft Entra ID integration, and then choose your integration from the dropdown, or click + Add to connect a new one. Alternatively, select Do not use Microsoft Entra ID integration (not recommended).
- Under Access Verification, click Verify to sign in to Microsoft Entra ID and confirm access.
- Under Deployment, copy the PowerShell script provided.
[Your Azure environment] Run the PowerShell script in your Azure environment. The script creates the service principal for the Cloud Exposure Azure Boards Connector application, if one doesn't already exist.
Note: Running the script requires the Global Administrator or Application Administrator role in Microsoft Entra ID.- Click Next.
- Grant organization permissions in Azure DevOps portal (Step 2 in wizard).
- Click Next.
- Select your Azure DevOps organization from the dropdown (Step 3 in wizard), and then click Finish. The integration profile opens with the Project tab active.
After your organization is added successfully, it appears in the table in Settings > Integrations > Azure Boards.
Grant Organization Permissions
To grant organization permissions:
- Log in to Azure DevOps, select the organization you want to add, and click Organization settings at the bottom left.
- Navigate to General > Users, and then click Add users.
-
Enter the following user details:
- Users or Service Principals: select Cloud Exposure Azure Boards Connector, making sure to click the service principal that includes the object ID.
- Access level: select Basic.
- Add to projects: select any projects you want to use with Tenable.
- Azure DevOps Groups: select Project Contributors.
- Click Add.
Add a Project
Before you can add an Azure Boards project, you must first add an Azure Boards organization.
To add an Azure Boards project:
- In the Cloud Exposure Console, navigate to Settings > Integrations and find the relevant Azure Boards organization you added.
-
Click the three dots next to the organization name, and then click Add Project. The Add Project wizard opens.
Note: The Project dropdown only lists Azure DevOps projects where the Cloud Exposure Azure Boards Connector app is already a member. If the project you want isn't listed, add it in Add an Organization under Add to projects. -
Activate the project (Step 1 in wizard):
Select the Azure Boards project you want to add from the dropdown.
Note: If your project doesn't appear in the dropdown, add it in Azure DevOps by granting organization permissions.- Click Next.
- Sync Work Item Priorities to align the severity of findings in Tenable with the corresponding priority in Azure Boards (Step 2 in wizard). Azure Boards work items created via Tenable are assigned the chosen priority. For each work item type (bug, task, story, and any custom types your organization defines), assign a Finding Severity to a value in the Priority field, which is the default priority field in Azure Boards. When finished, click Next.
- Sync Work Item State to align the statuses of findings in Tenable with the corresponding state in Azure Boards (Step 3 in wizard). Azure Boards work items created via Tenable are assigned the chosen state. For each work item type, assign a Finding Status to a value in the State field, which is a required field in Azure Boards. Click Finish.
After your project is added successfully, it appears in the table in Settings > Integrations > Azure Boards.
Azure Boards Work Item Details in Findings
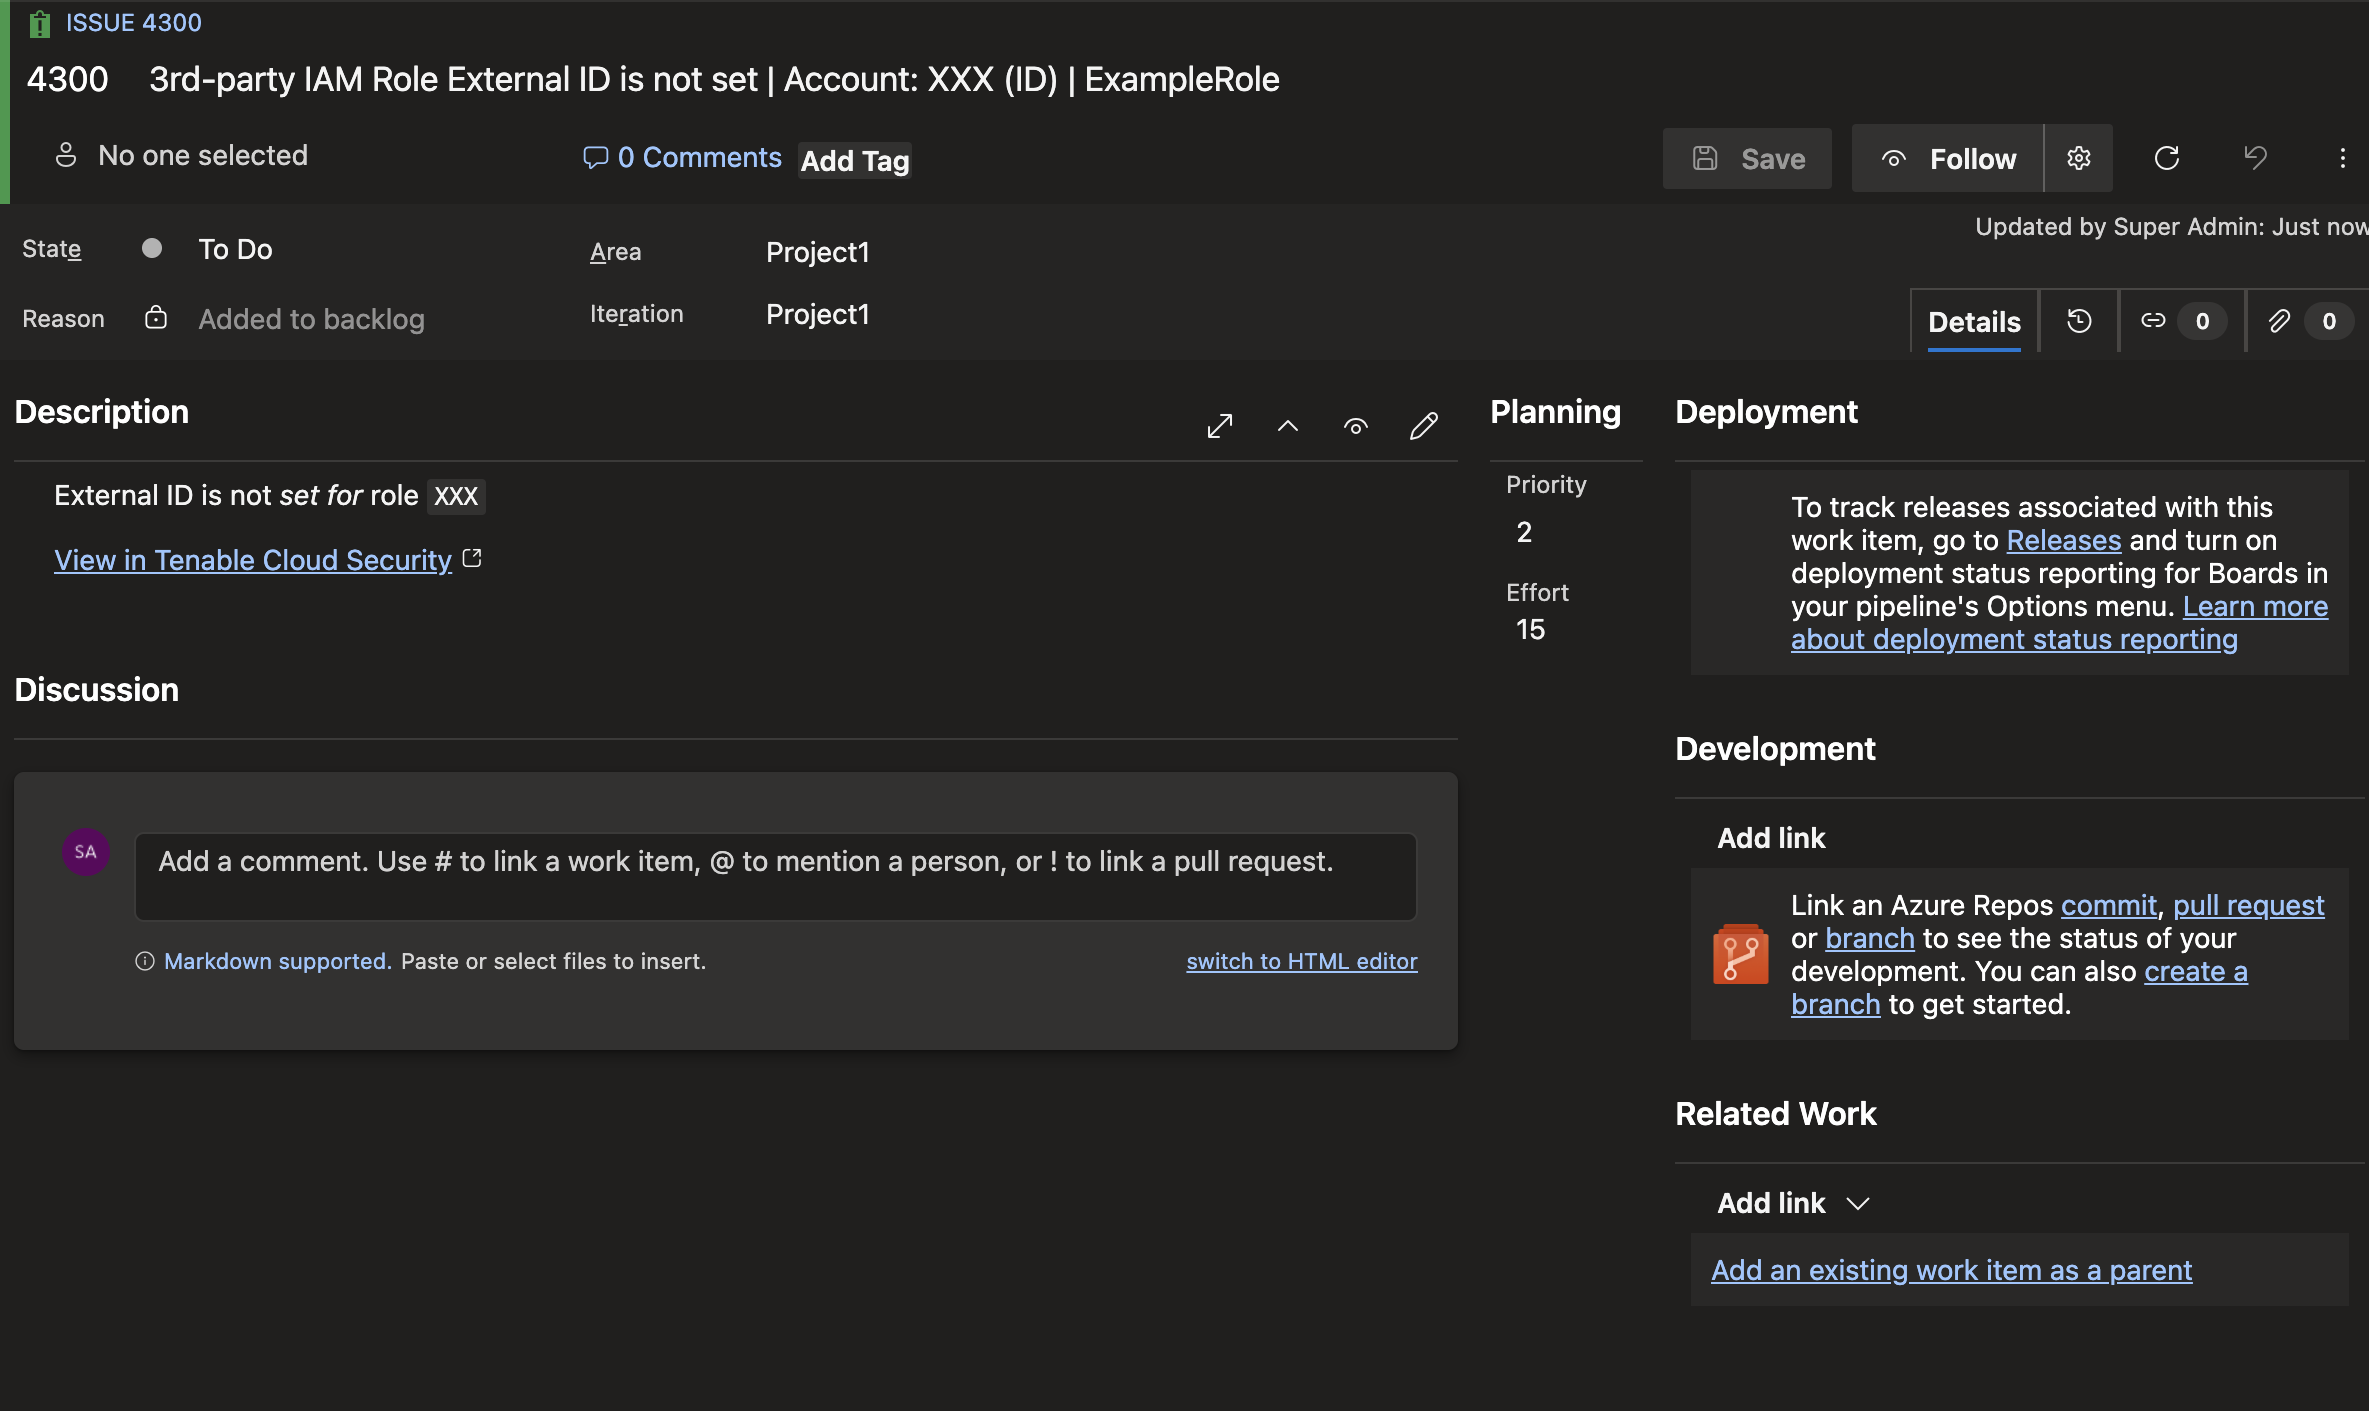
After you link a finding to an Azure Boards work item, hover over the ticket icon in the Findings table to see the Project, Work Item Type, ID, and a link to the work item.
Sync Work Item Updates
Tenable keeps linked Azure Boards work items up to date as findings change:
- Status and severity update automatically from Tenable to Azure Boards based on the mapping you configured in Add a Project.
- Assignee syncs bidirectionally between Tenable and Azure Boards. Tenable doesn't sync any other field changes made in Azure Boards back into the finding.
Supported Work Item Types and Fields
Tenable supports the following Azure Boards work item types and fields when creating and syncing work items.
- Work item types — All built-in types (for example, User Story, Bug, Task, and Epic), and any custom work item types defined in your organization.
- Standard fields — Title, Description, Iteration, Area, Priority, Assignee, Effort, and Tags (including tag creation).
- Custom fields — Any custom field that maps to a supported field type.
- Field types — String, integer, double, boolean, date and time, and picklist (single selected value).
The following aren't supported:
- Work item links — Parent-child and related links.
- Collaboration and history — Comments, discussion threads, and revision history.
- Specialized fields — Identity fields other than Assignee, dependent fields, and fields generated by third-party extensions.
Sample Azure Boards Work Item