SSH (Legacy) Integration
To configure SSH integration:
- Log in to Nessus.
- Click Scans.
-
Click + New Scan.
The Scan Templates page appears.
-
Select a Scan Template.
The selected scan template appears.
-
In the Name box, type a name for the scan.
- In the Targets box, type an IP address, hostname, or range of IP addresses.
- (Optional) Add a description, folder location, scanner location, and specify target groups.
-
Click the Credentials tab.
The Credentials options appear.
- In the left-hand menu, select SSH.
-
Click Authentication method.
A drop-down appears.
-
Select CyberArk.
The CyberArk SSH options appear.
-
Configure each field for SSH authentication.
Option Description Required Username
The username of the target system.
yes
CyberArk AIM Service URL
The URL for the CyberArk AIM web service. By default, Tenable uses /AIMWebservice/v1.1/AIM.asmx.
Note: When the customer is using the default path, they can leave this blank.
no
Central Credential Provider Host
The CyberArk Central Credential Provider IP/DNS address.
yes
Central Credential Provider Port
The port on which the CyberArk Central Credential Provider is listening.
yes
Central Credential Provider Username
If the CyberArk Central Credential Provider (CCP) is configured to use basic authentication, you can fill in this field for authentication.
Note: This field should be the Username to Authenticate to the AIM Web Service API.
no
Central Credential Provider Password
The password of the vault, if the CyberArk Central Credential Provider is configured to use basic authentication.
no
Safe
The safe on the CyberArk Central Credential Provider server that contained the authentication information that you want to retrieve.
yes
CyberArk Client Certificate The file that contains the PEM certificate used to communicate with the CyberArk host. no
CyberArk Client Certificate Private Key The file that contains the PEM private key for the client certificate. no
CyberArk Client Certificate Private Key Passphrase The passphrase for the private key, if required. no
AppId
The AppId that has been allocated permissions on the CyberArk Central Credential Provider to retrieve the target password.
yes
Folder
The folder on the CyberArk Central Credential Provider server that contains the authentication information that you want to retrieve.
yes
PolicyId
The PolicyID assigned to the credentials that you want to retrieve from the CyberArk Central Credential Provider.
no
Use SSL
If CyberArk Central Credential Provider is configured to support SSL through IIS check for secure communication.
no
Verify SSL Certificate
If CyberArk Central Credential Provider is configured to support SSL through IIS and you want to validate the certificate check this. Refer to custom_CA.inc documentation for how to use self-signed certificates.
no
CyberArk Account Details Name The unique name of the credential you want to retrieve from CyberArk. no
CyberArk Address The domain for the user account. no
CyberArk elevate privileges with The privilege escalation method you want to use to increase users' privileges after initial authentication. Your selection determines the specific options you must configure. no
Custom password prompt The password prompt used by the target host. Only use this setting when an interactive SSH session fails due to Tenable Appliance receiving an unrecognized password prompt on the target host's interactive SSH shell. no
-
Click Save.
Verification
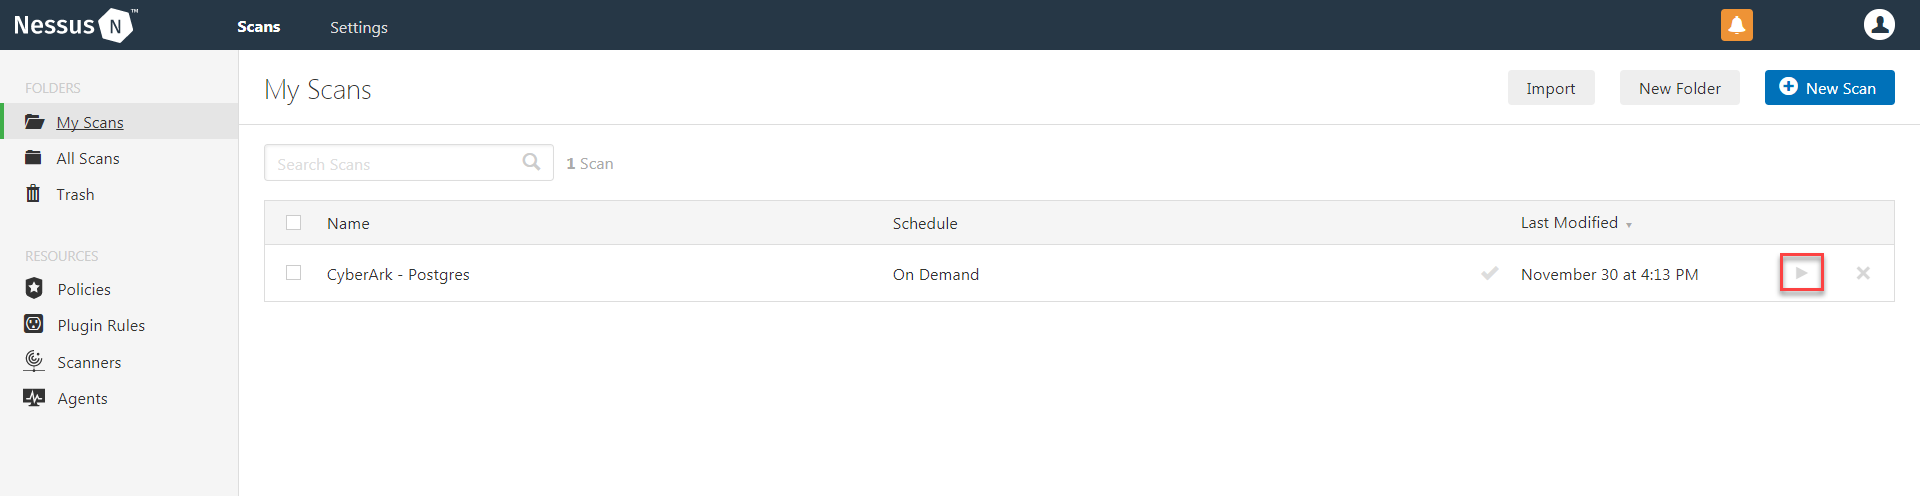
-
To verify the integration is working, click the Launch button (highlighted below) to initiate an on-demand scan.
-
Once the scan has completed, select the completed scan. Look for the corresponding ID (see chart below), which validates that authentication was successful. If the authentication is not successful, refer to the Debugging CyberArk Issues section of this document.
