Configure Tenable Network Monitor
Connect to Tenable Network Monitor by creating the account configuration. You can connect to Tenable Network Monitor using a syslog input. Configure a default UDP/TCP data input of Splunk with the following steps.
| Source Type | Description |
|---|---|
| tenable:nnm:vuln | This contains all vulnerability data. |
To configure your account for Tenable Network Monitor:
Complete the following steps in Splunk
-
In the top navigation bar, click Settings > Data Inputs.
The Data Inputs page appears.
-
In the Local Inputs section, scroll to TCP or UDP.
-
Click the + Add New option in the TCP or UDP row.
The Add Data page appears with the TCP/UDP option selected.
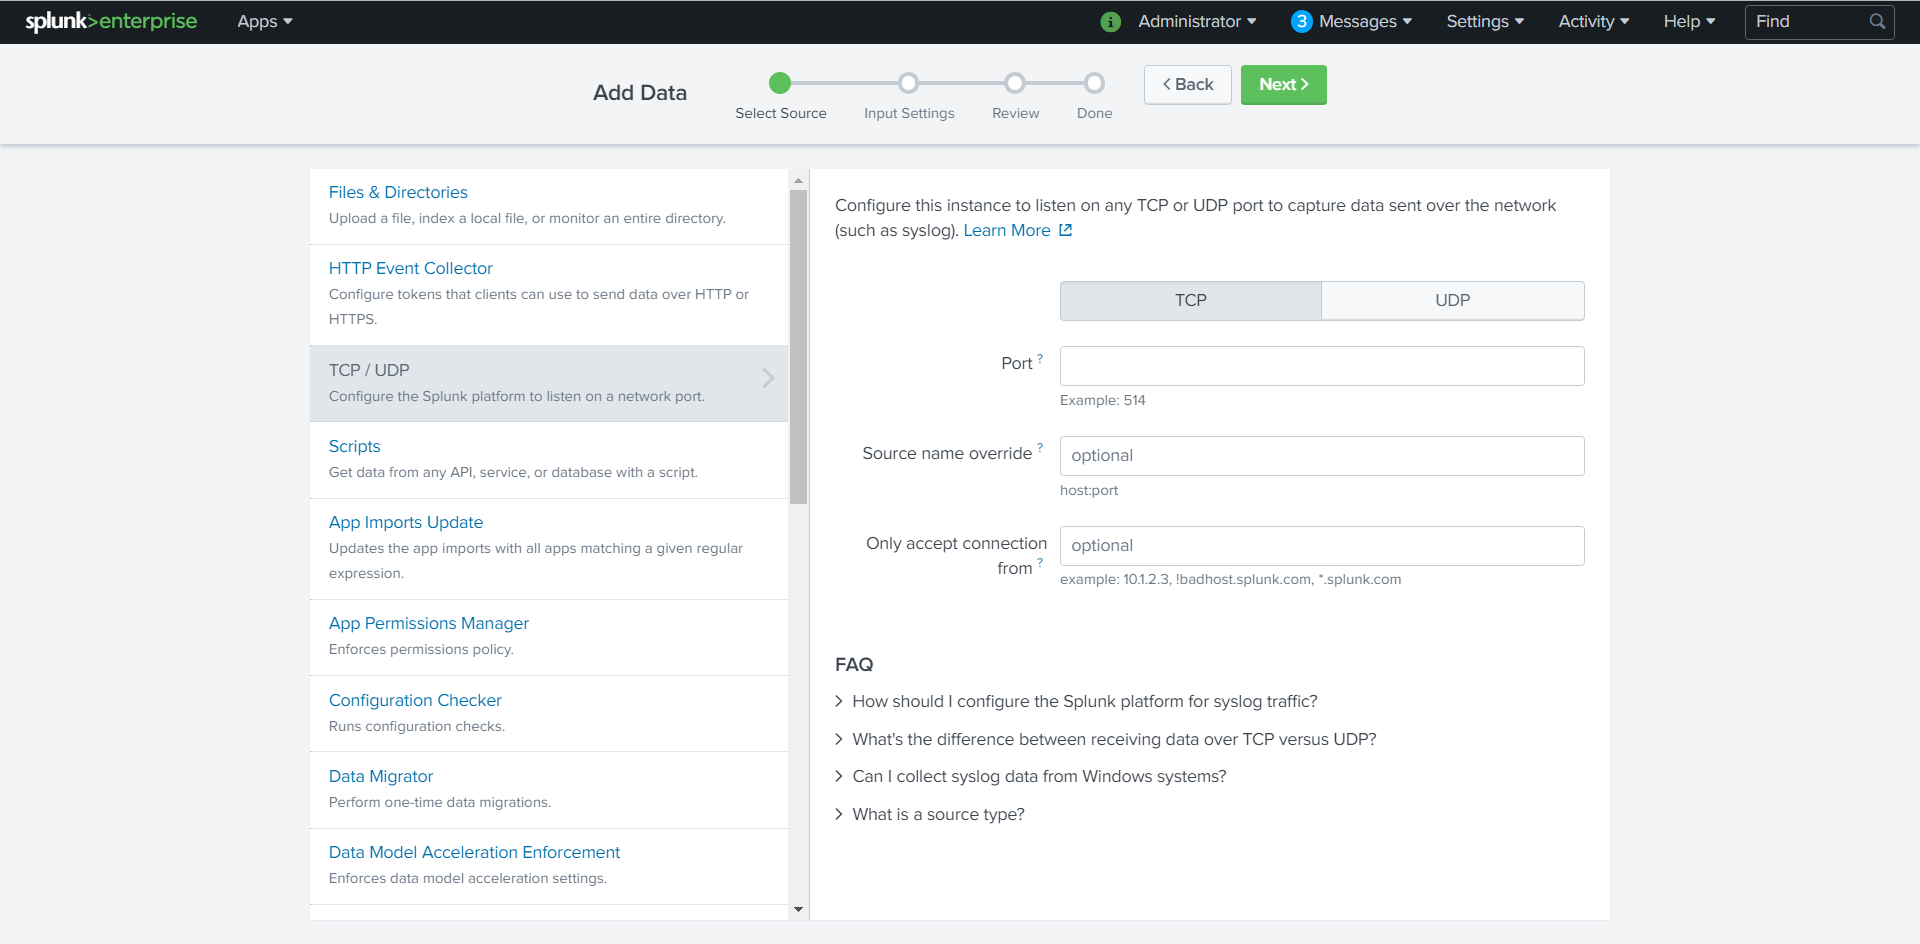
- Enter the port configuration information.
-
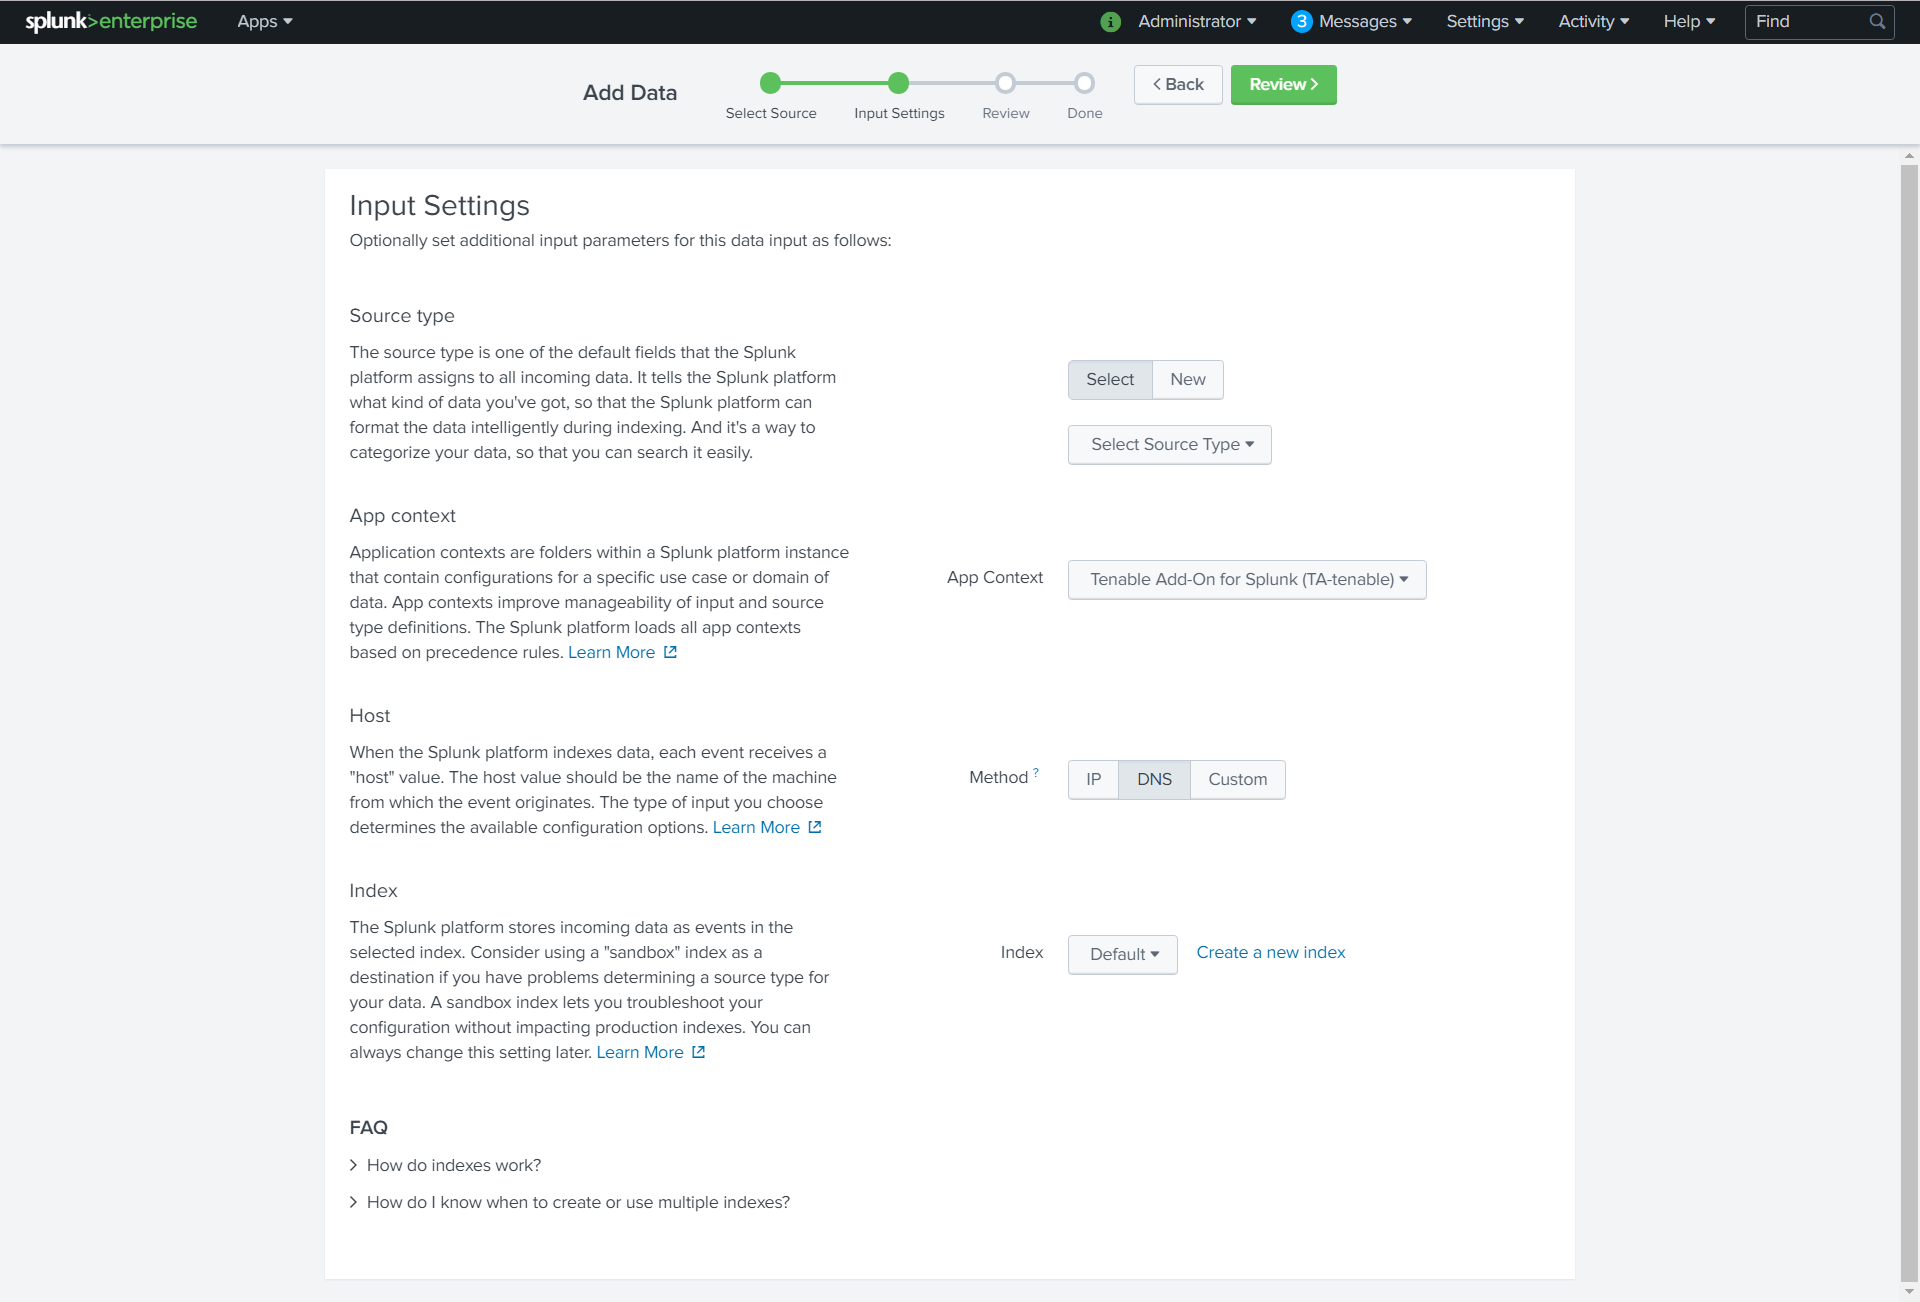
At the top of the page, click Next.
The Input Settings page appears:
-
For the Source Type option, click New.
More options appear.
- In the Source Type field, enter tenable:nnm:vuln.
- In the Source Type Category drop-down, select Tenable.
- (Optional) Enter a description in the Source Type Description field.
- Scroll down to the Index option.
- Click on the Index drop-down menu.
- Select an Index.
-
At the top of the page, click Review.
-
Review your configuration settings.
Note: If your configuration needs edits, click Back to update your settings.
- At the top of the page, click Done.
Complete the following steps in NNM
- Log in to NNM.
-
Go to
.png) > Configuration.
> Configuration.The Configuration page appears.
-
In the Setting Type drop-down, click Syslog.
The Syslog options appear.
-
Next to Realtime Syslog Server List, click Add.
The +Add Syslog Item window appears.
- In the IP field, enter the IP address of the Splunk server you configured to accept syslog.
- In the Port field, enter the port number you have Splunk set to listen to when syslog is on.
- For Format Type, select Standard.
- For Protocol, select the protocol you have set up to accept the syslog for Splunk.