Configure Tenable Identity Exposure
Connect to Tenable Identity Exposure by creating the account configuration. You can connect to Tenable Identity Exposure using a syslog input. Configure a default UDP/TCP data input of Splunk with the following steps.
| Source Type | Description |
|---|---|
| tenable:ad:alerts | This option configures Splunk to accept Tenable Identity Exposure alerts. |
To configure your account for Tenable Identity Exposure:
Complete the following steps in Splunk:
-
In the top navigation bar, click Settings > Data Inputs.
The Data Inputs page appears.
-
In the Local Inputs section, scroll to TCP or UDP.
-
Click the + Add New option in the TCP or UDP row.
The Add Data page appears with the TCP/UDP option selected.
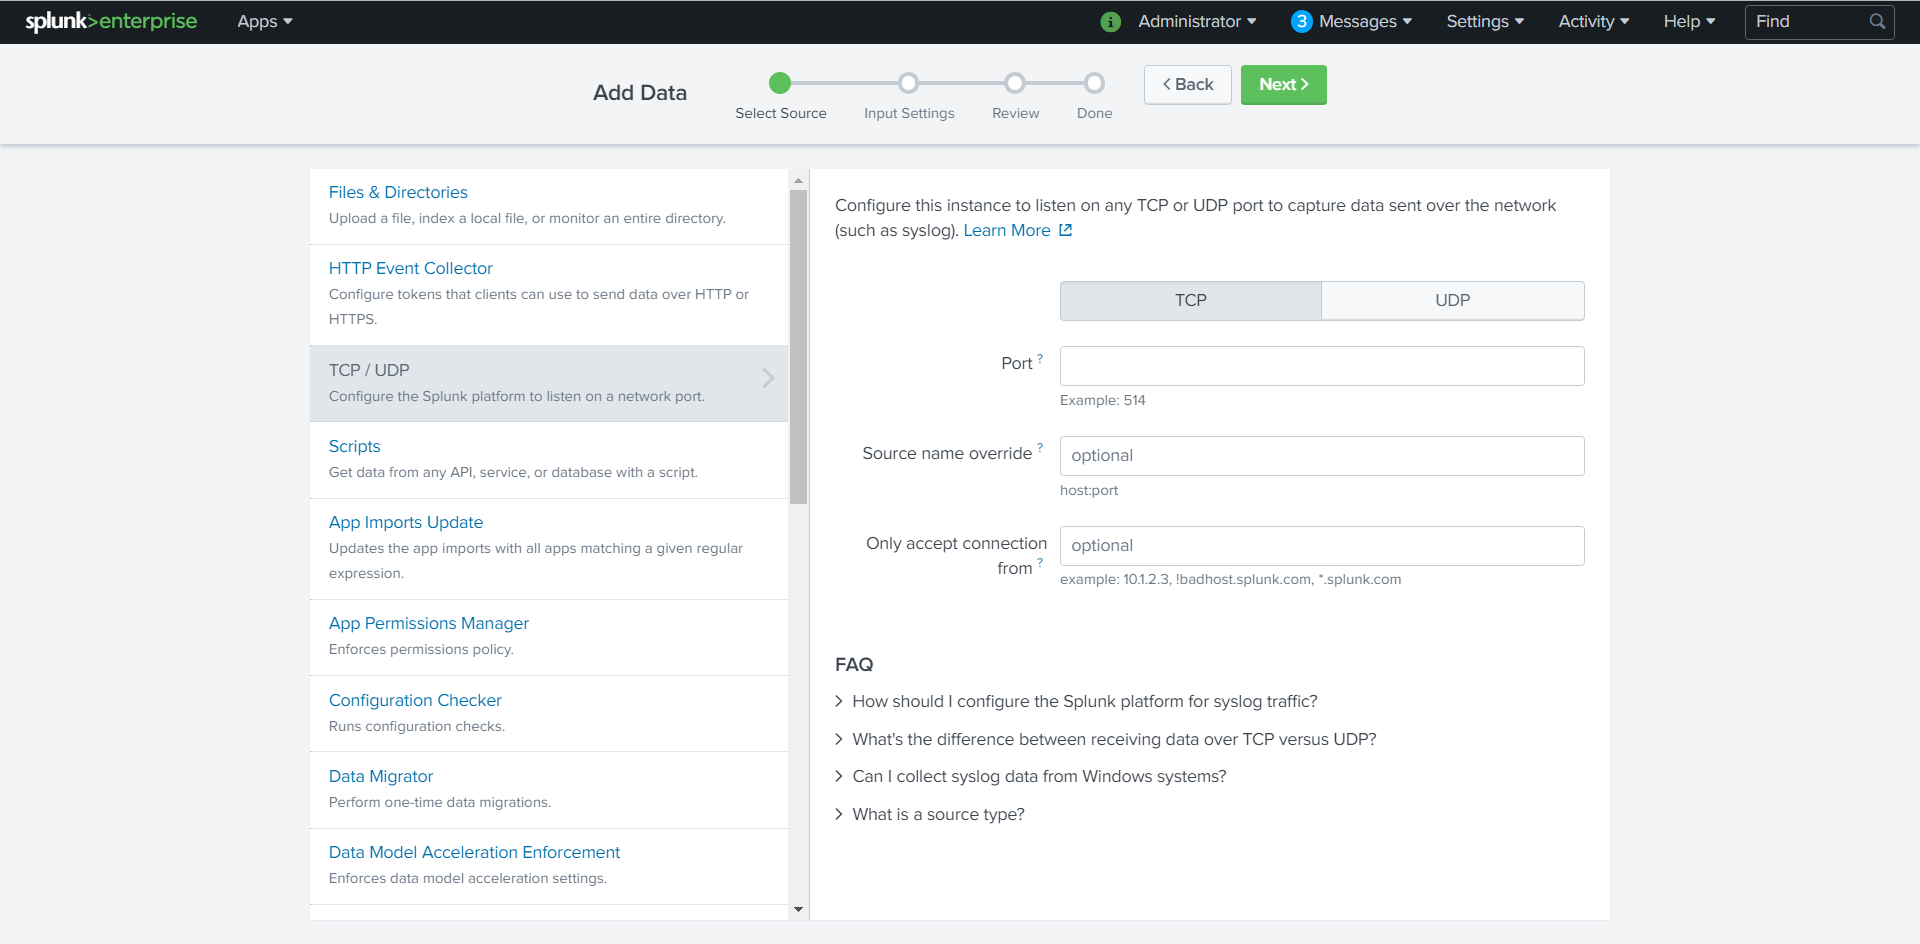
- Enter the port configuration information.
-
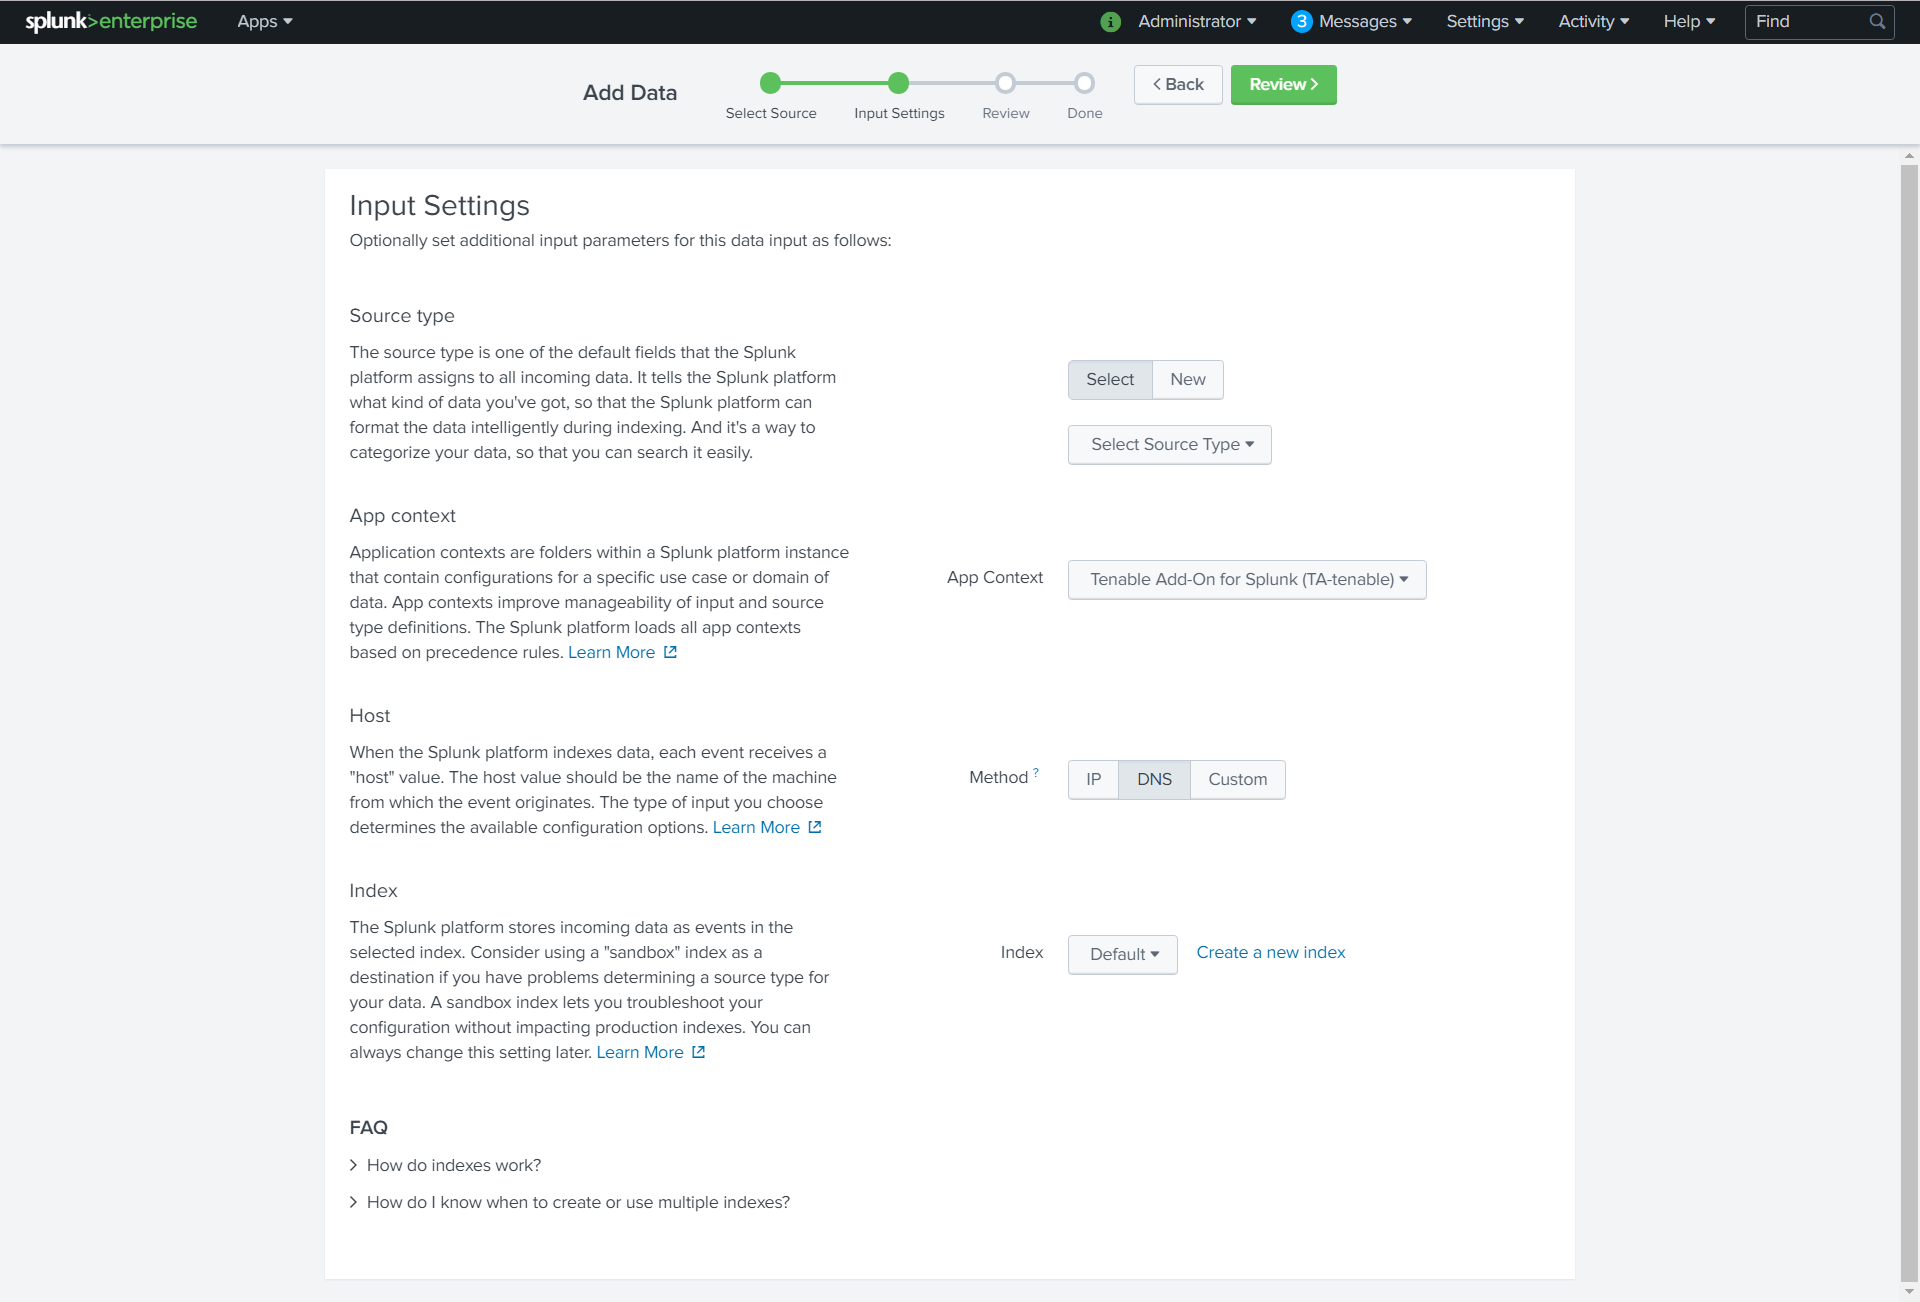
At the top of the page, click Next.
The Input Settings page appears:
-
For the Source Type option, click New.
More options appear.
- In the Source Type box, enter tenable:ad:alerts.
- In the Source Type Category drop-down, select Tenable.
- (Optional) Enter a description in the Source Type Description field.
- Scroll down to the Index option.
- Click on the Index drop-down menu.
- Select an Index.
-
At the top of the page, click Review.
-
Review your configuration settings.
Note: If your configuration needs edits, click Back to update your settings.
- At the top of the page, click Done.
Complete the following steps in Tenable Identity Exposure:
- In the Tenable Identity Exposure console, under Local Settings, go to the Servers > Syslog Servers screen.
-
Click + Add Syslog Server.
The Syslog Server configuration window appears.
-
In the Server Name field, enter a name for your Splunk system.
-
In the Hostname\IP field, enter the IP address of your Splunk system.
- In the Port field, enter the port number on the Splunk system to which the events will be sent.
- In the Transport field, select from the drop-down list the transport protocol in use. (Options are TCP or UDP).
- Click Send Test Message to send a test message to verify that the configuration was successful, and check if the message has arrived. If the message did not arrive, then troubleshoot to discover the cause of the problem and correct it.
- Click Save.