Auto-Trigger Tenable Nessus Scans Post-Patch Deployment
You can automatically trigger a Tenable Nessus agent scan immediately after a patch deployment finishes. This feature utilizes a file-based trigger mechanism. Once a patching process completes on a client (regardless of whether the patch installation succeeded or failed) the system creates or updates a specific file. This file update then prompts your Tenable environment to initiate a Tenable Nessus agent scan.
Note: This rescan trigger is enabled by default within Tenable Patch Management (TPM) for all clients.
Before you begin:
Before utilizing this feature, first configure and enable a file-based trigger scan in Tenable One Vulnerability Management.
-
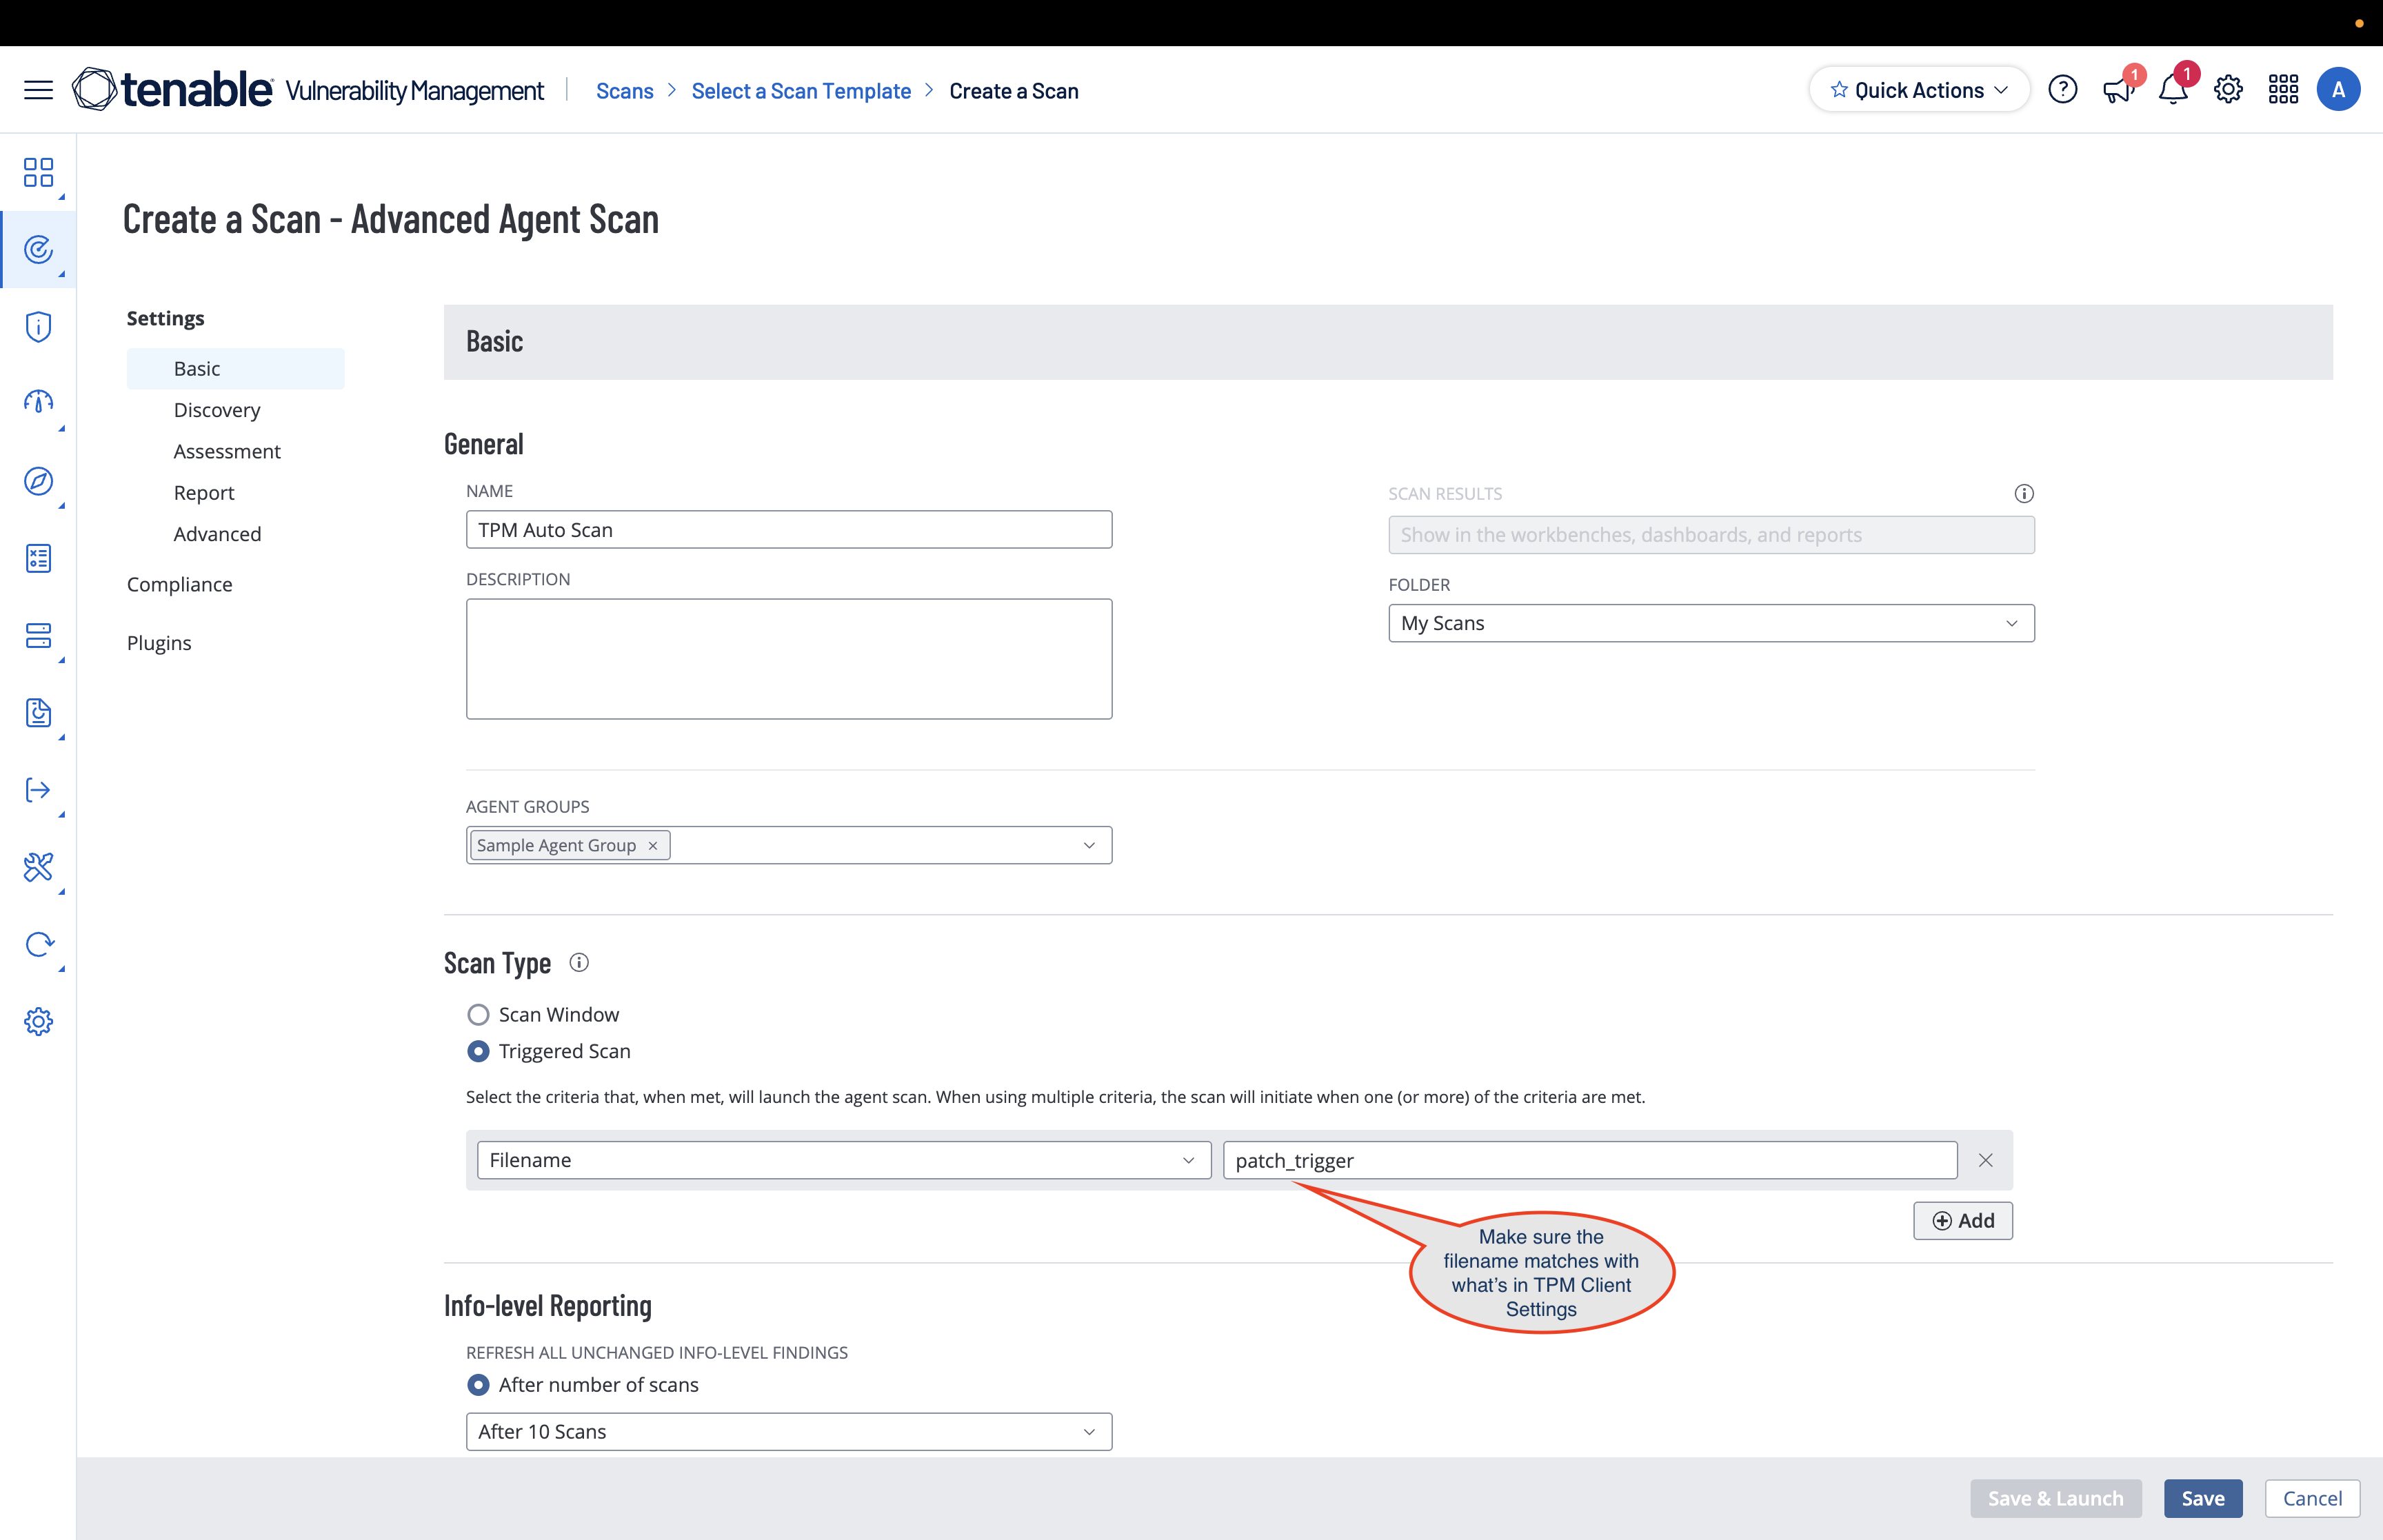
Log in to Tenable One Vulnerability Management and create a new Advanced Agent Scan (for example, Tenable Vulnerability Management > Scans > Create Scan > Nessus Agent > Advanced Agent Scan)
-
Choose your target agent groups and policies (you can select all agent groups or specify particular ones).
-
Under Scan Type, enable Triggered Scan.
-
In the Select Trigger dropdown, select Filename.
-
Set the trigger filename to match the file the Tenable Patch Management agent uses.
By default, this file name is patch_trigger.
Configuration
The Tenable Patch Management Client Settings user interface handles all necessary configuration automatically. Because the default settings are already in place, the only action required by you is to complete the Tenable One Vulnerability Management prerequisite.
To view or manage these settings in your Tenable Patch Management platform:
-
Log into the Tenable Patch Management user interface.
-
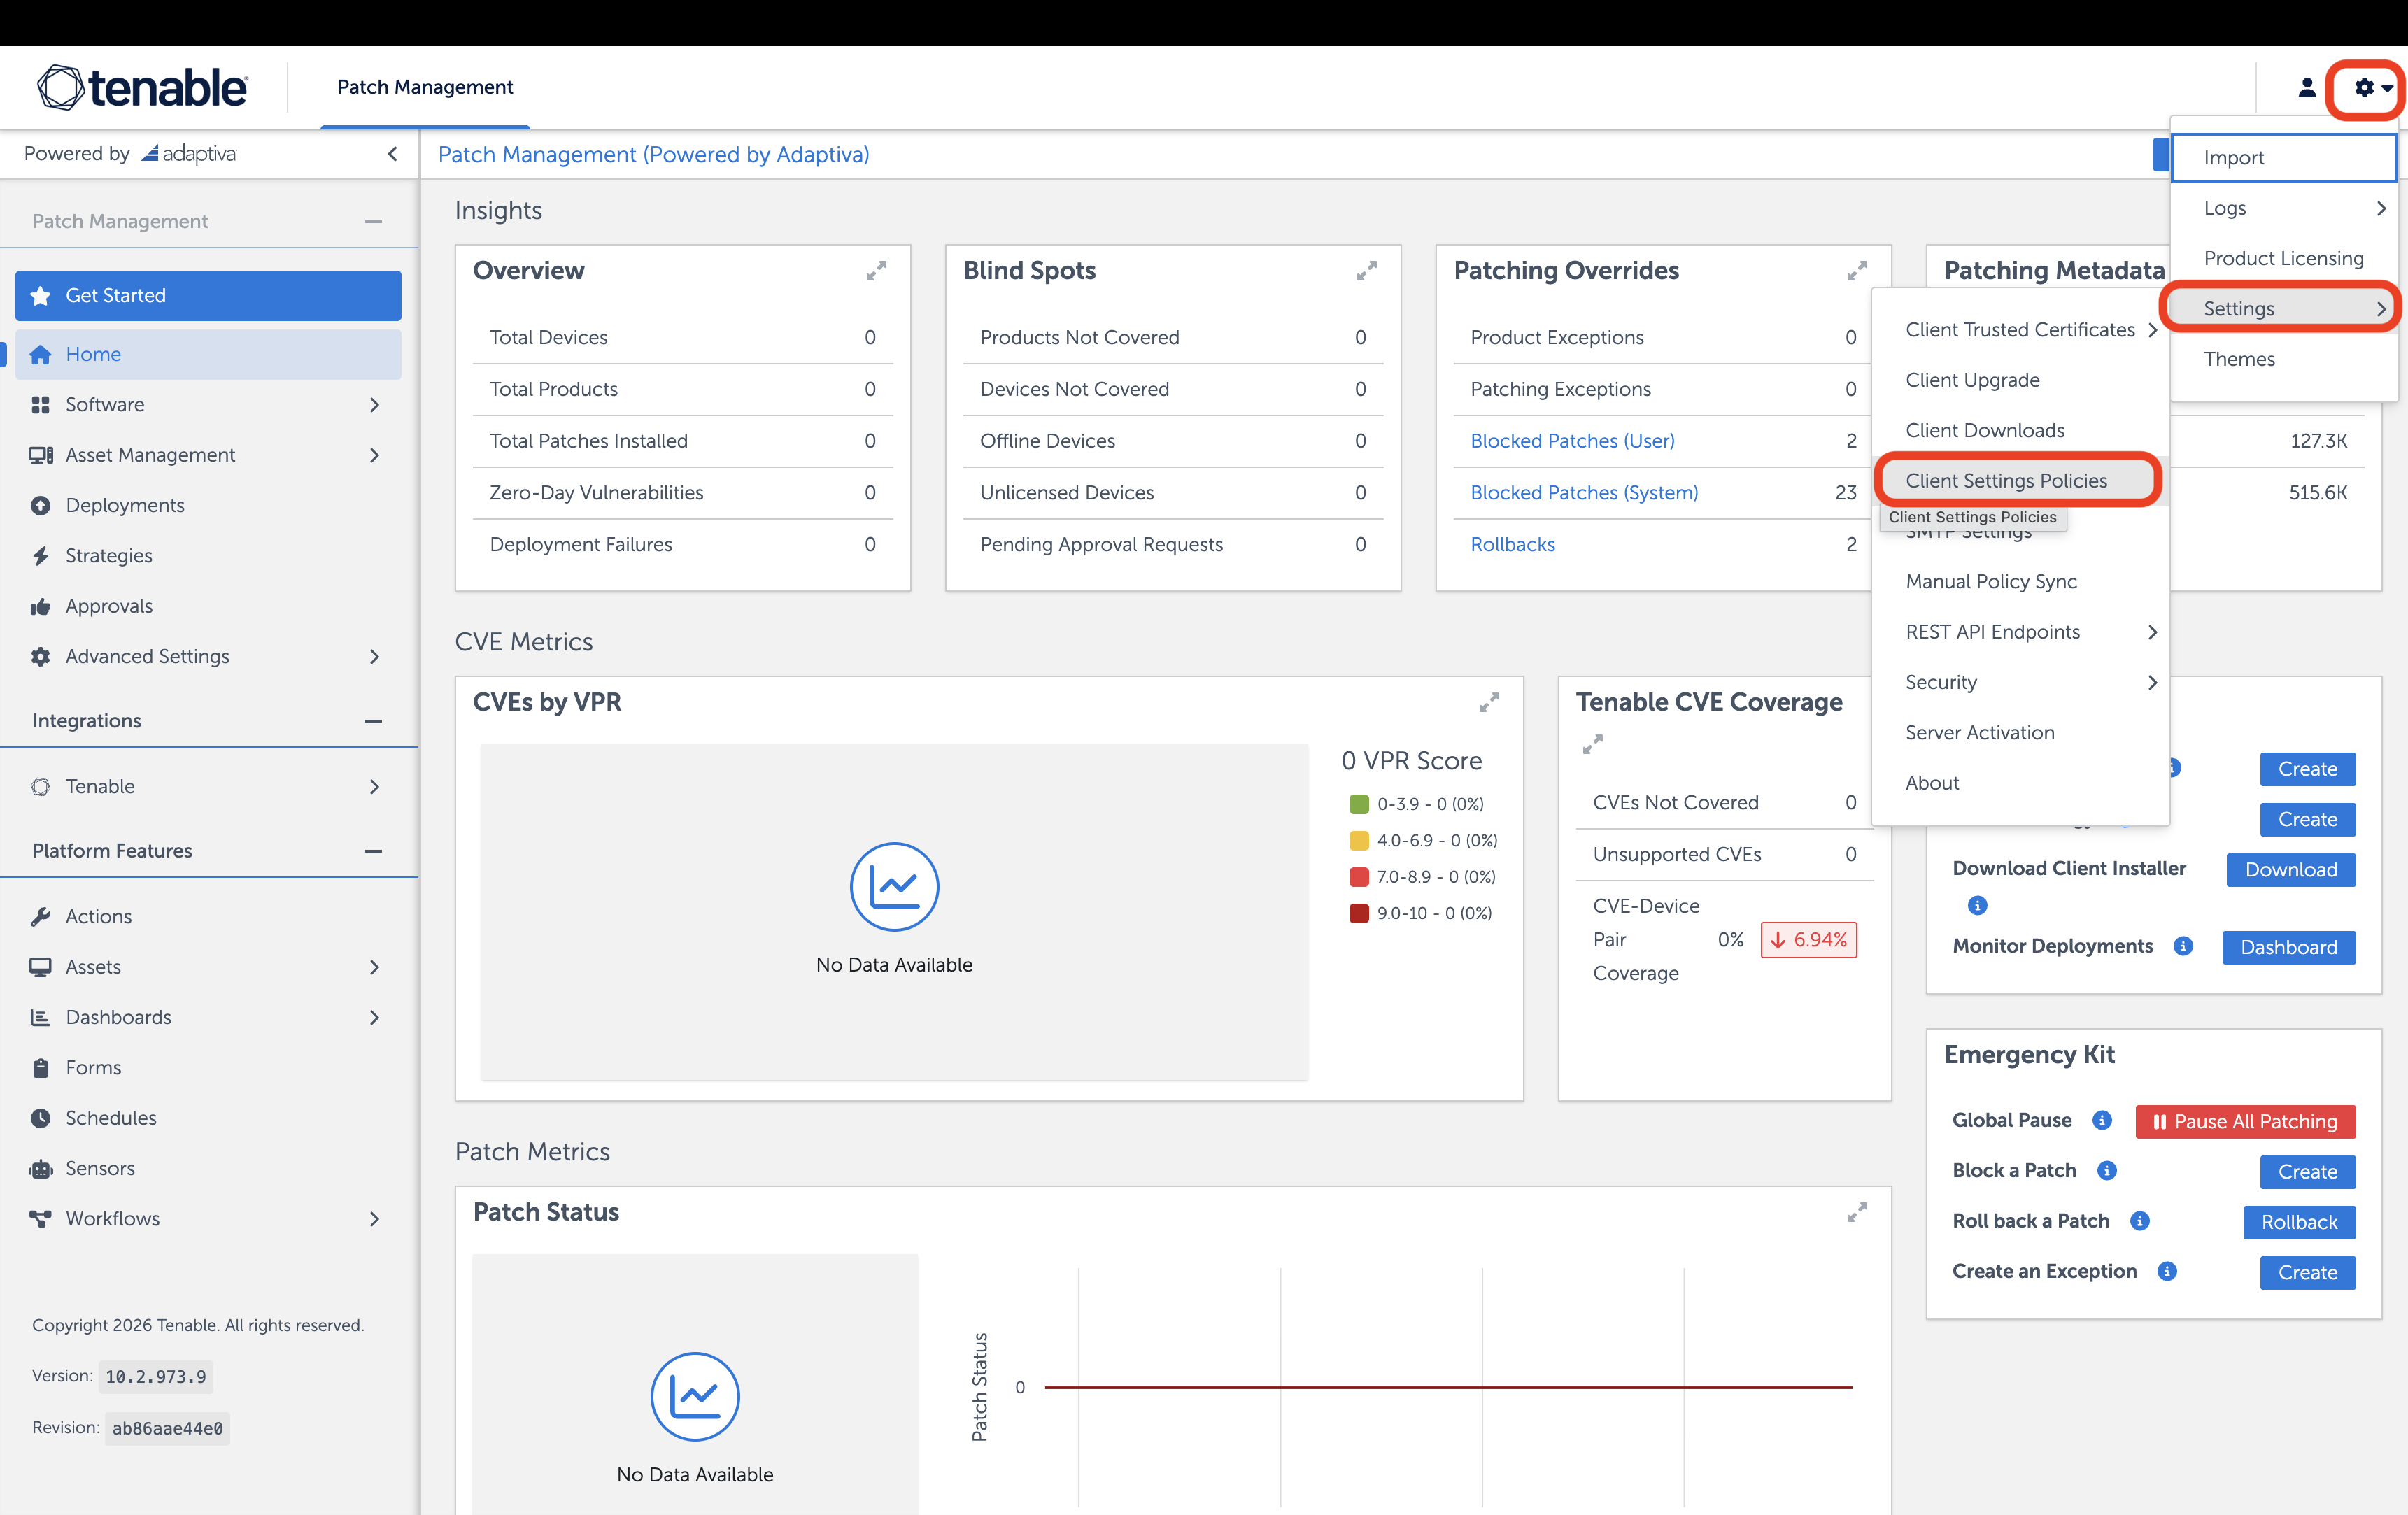
In the upper-right corner of the page, click the
 button.
 -
Navigate to Settings > Client Settings Policies.
-
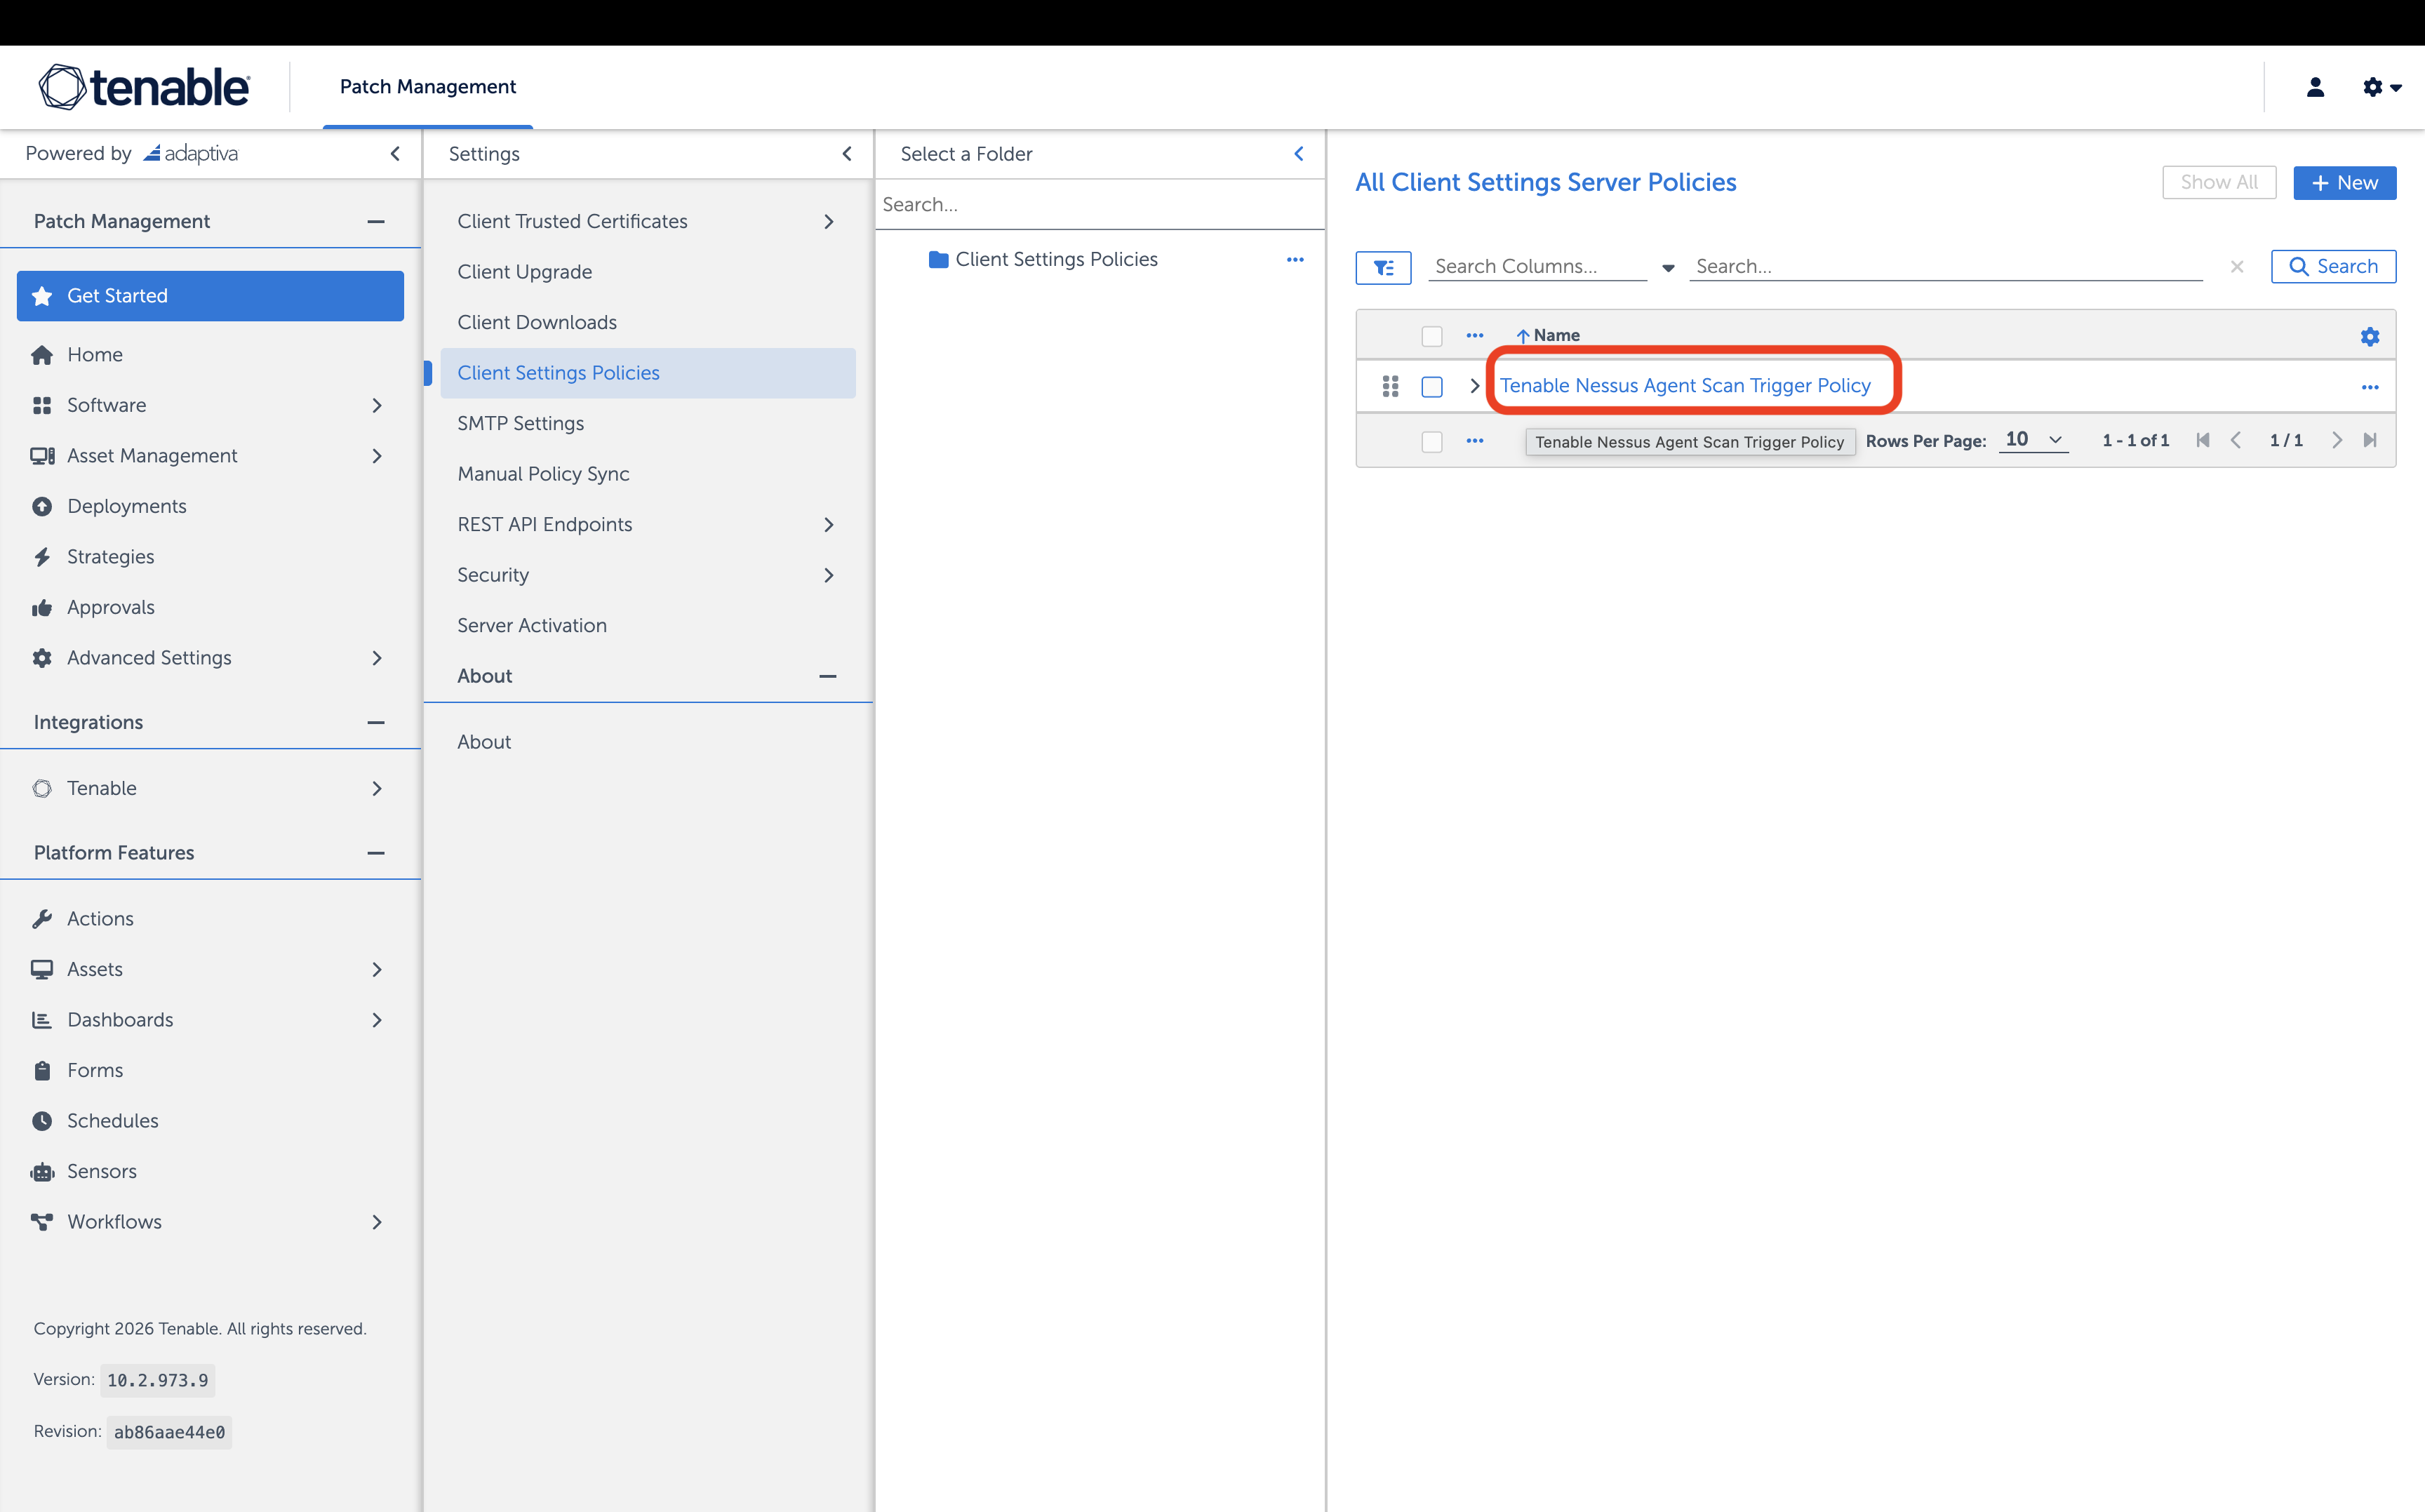
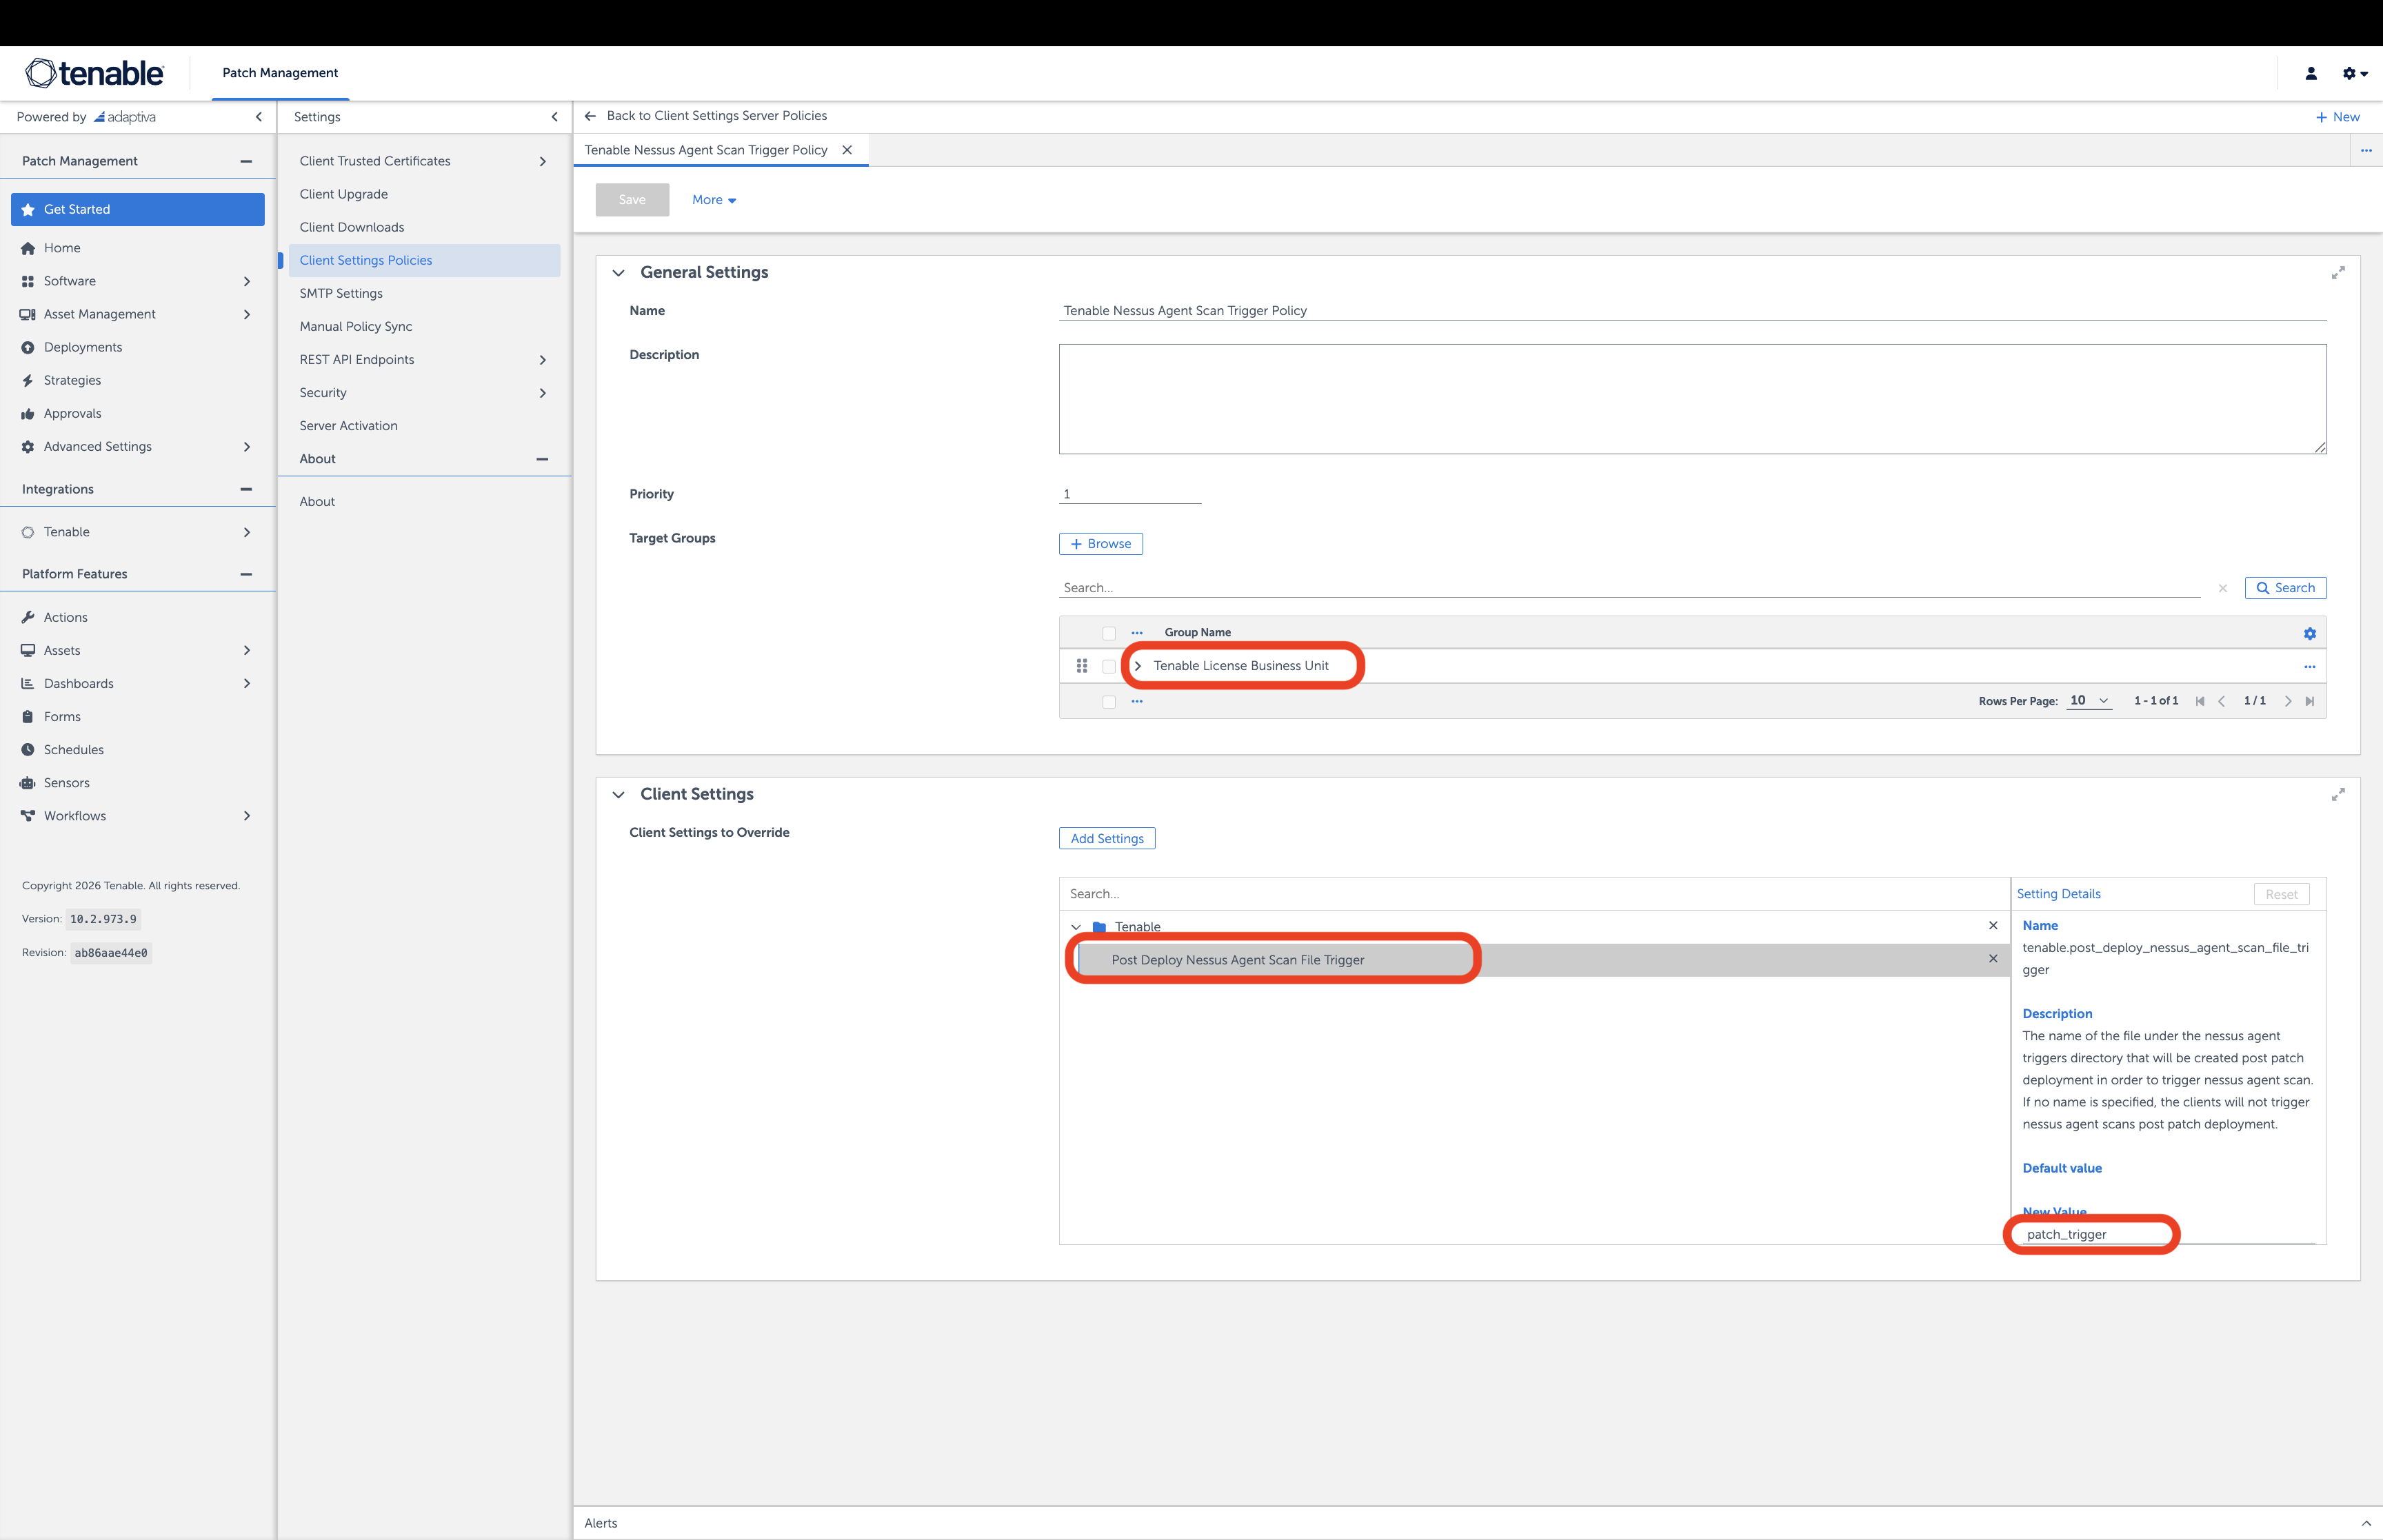
Locate the built-in Tenable Nessus Agent Scan Trigger Policy. This policy is configured to target all Tenable-licensed clients.
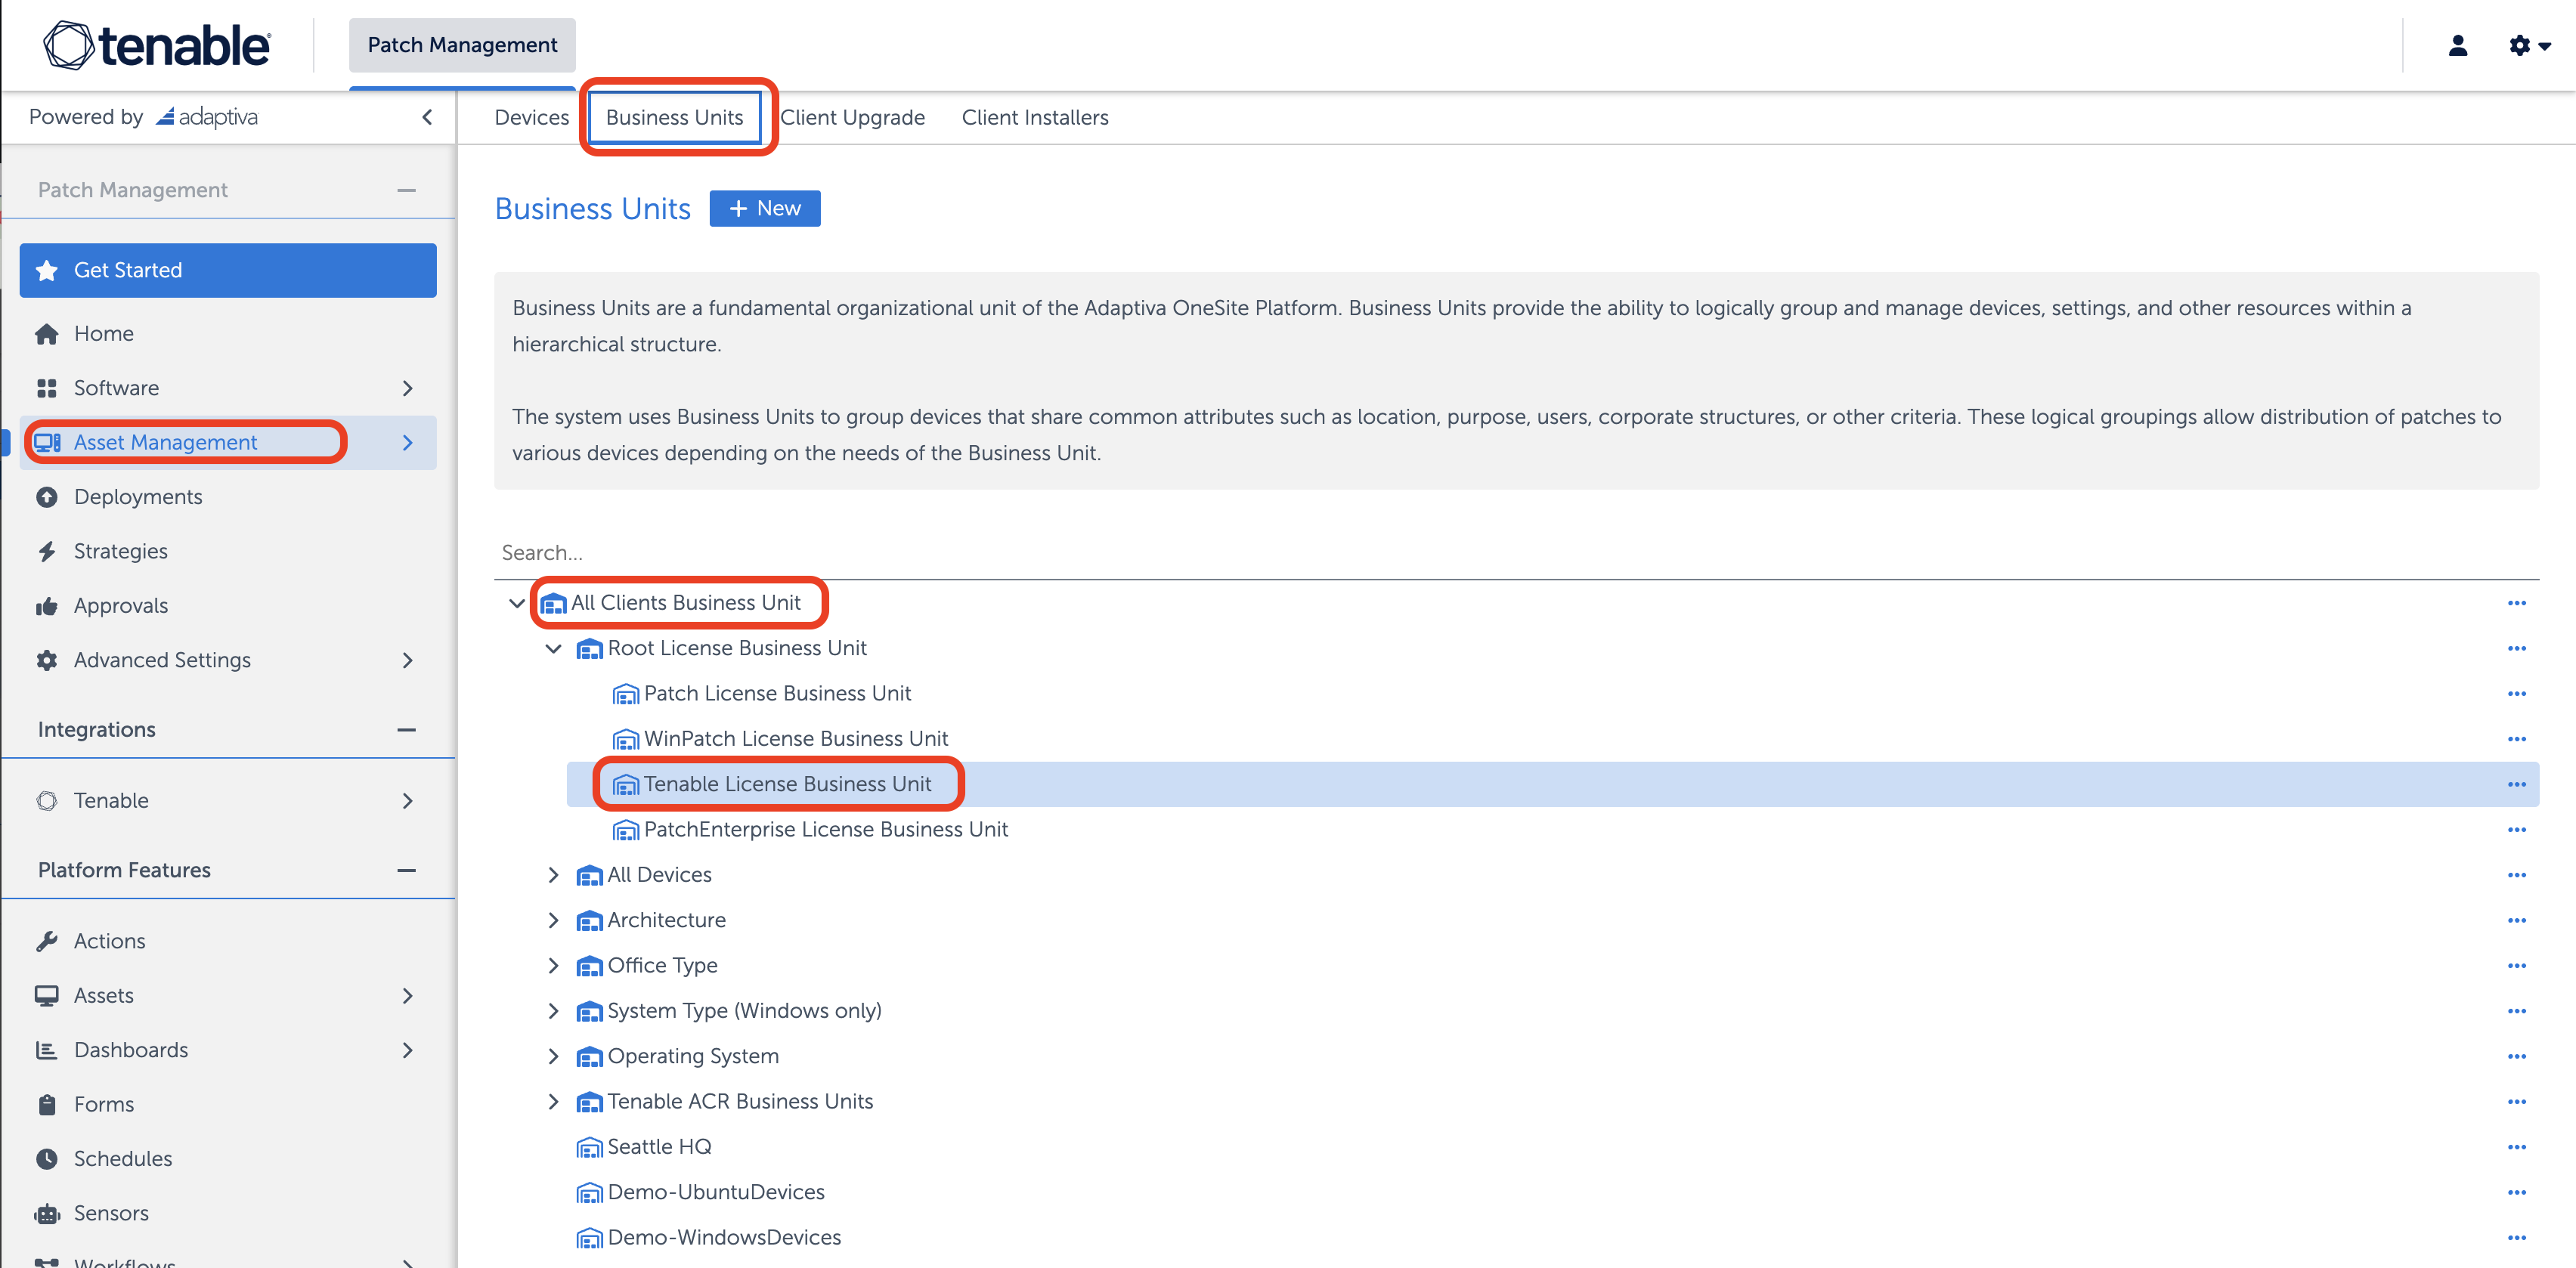
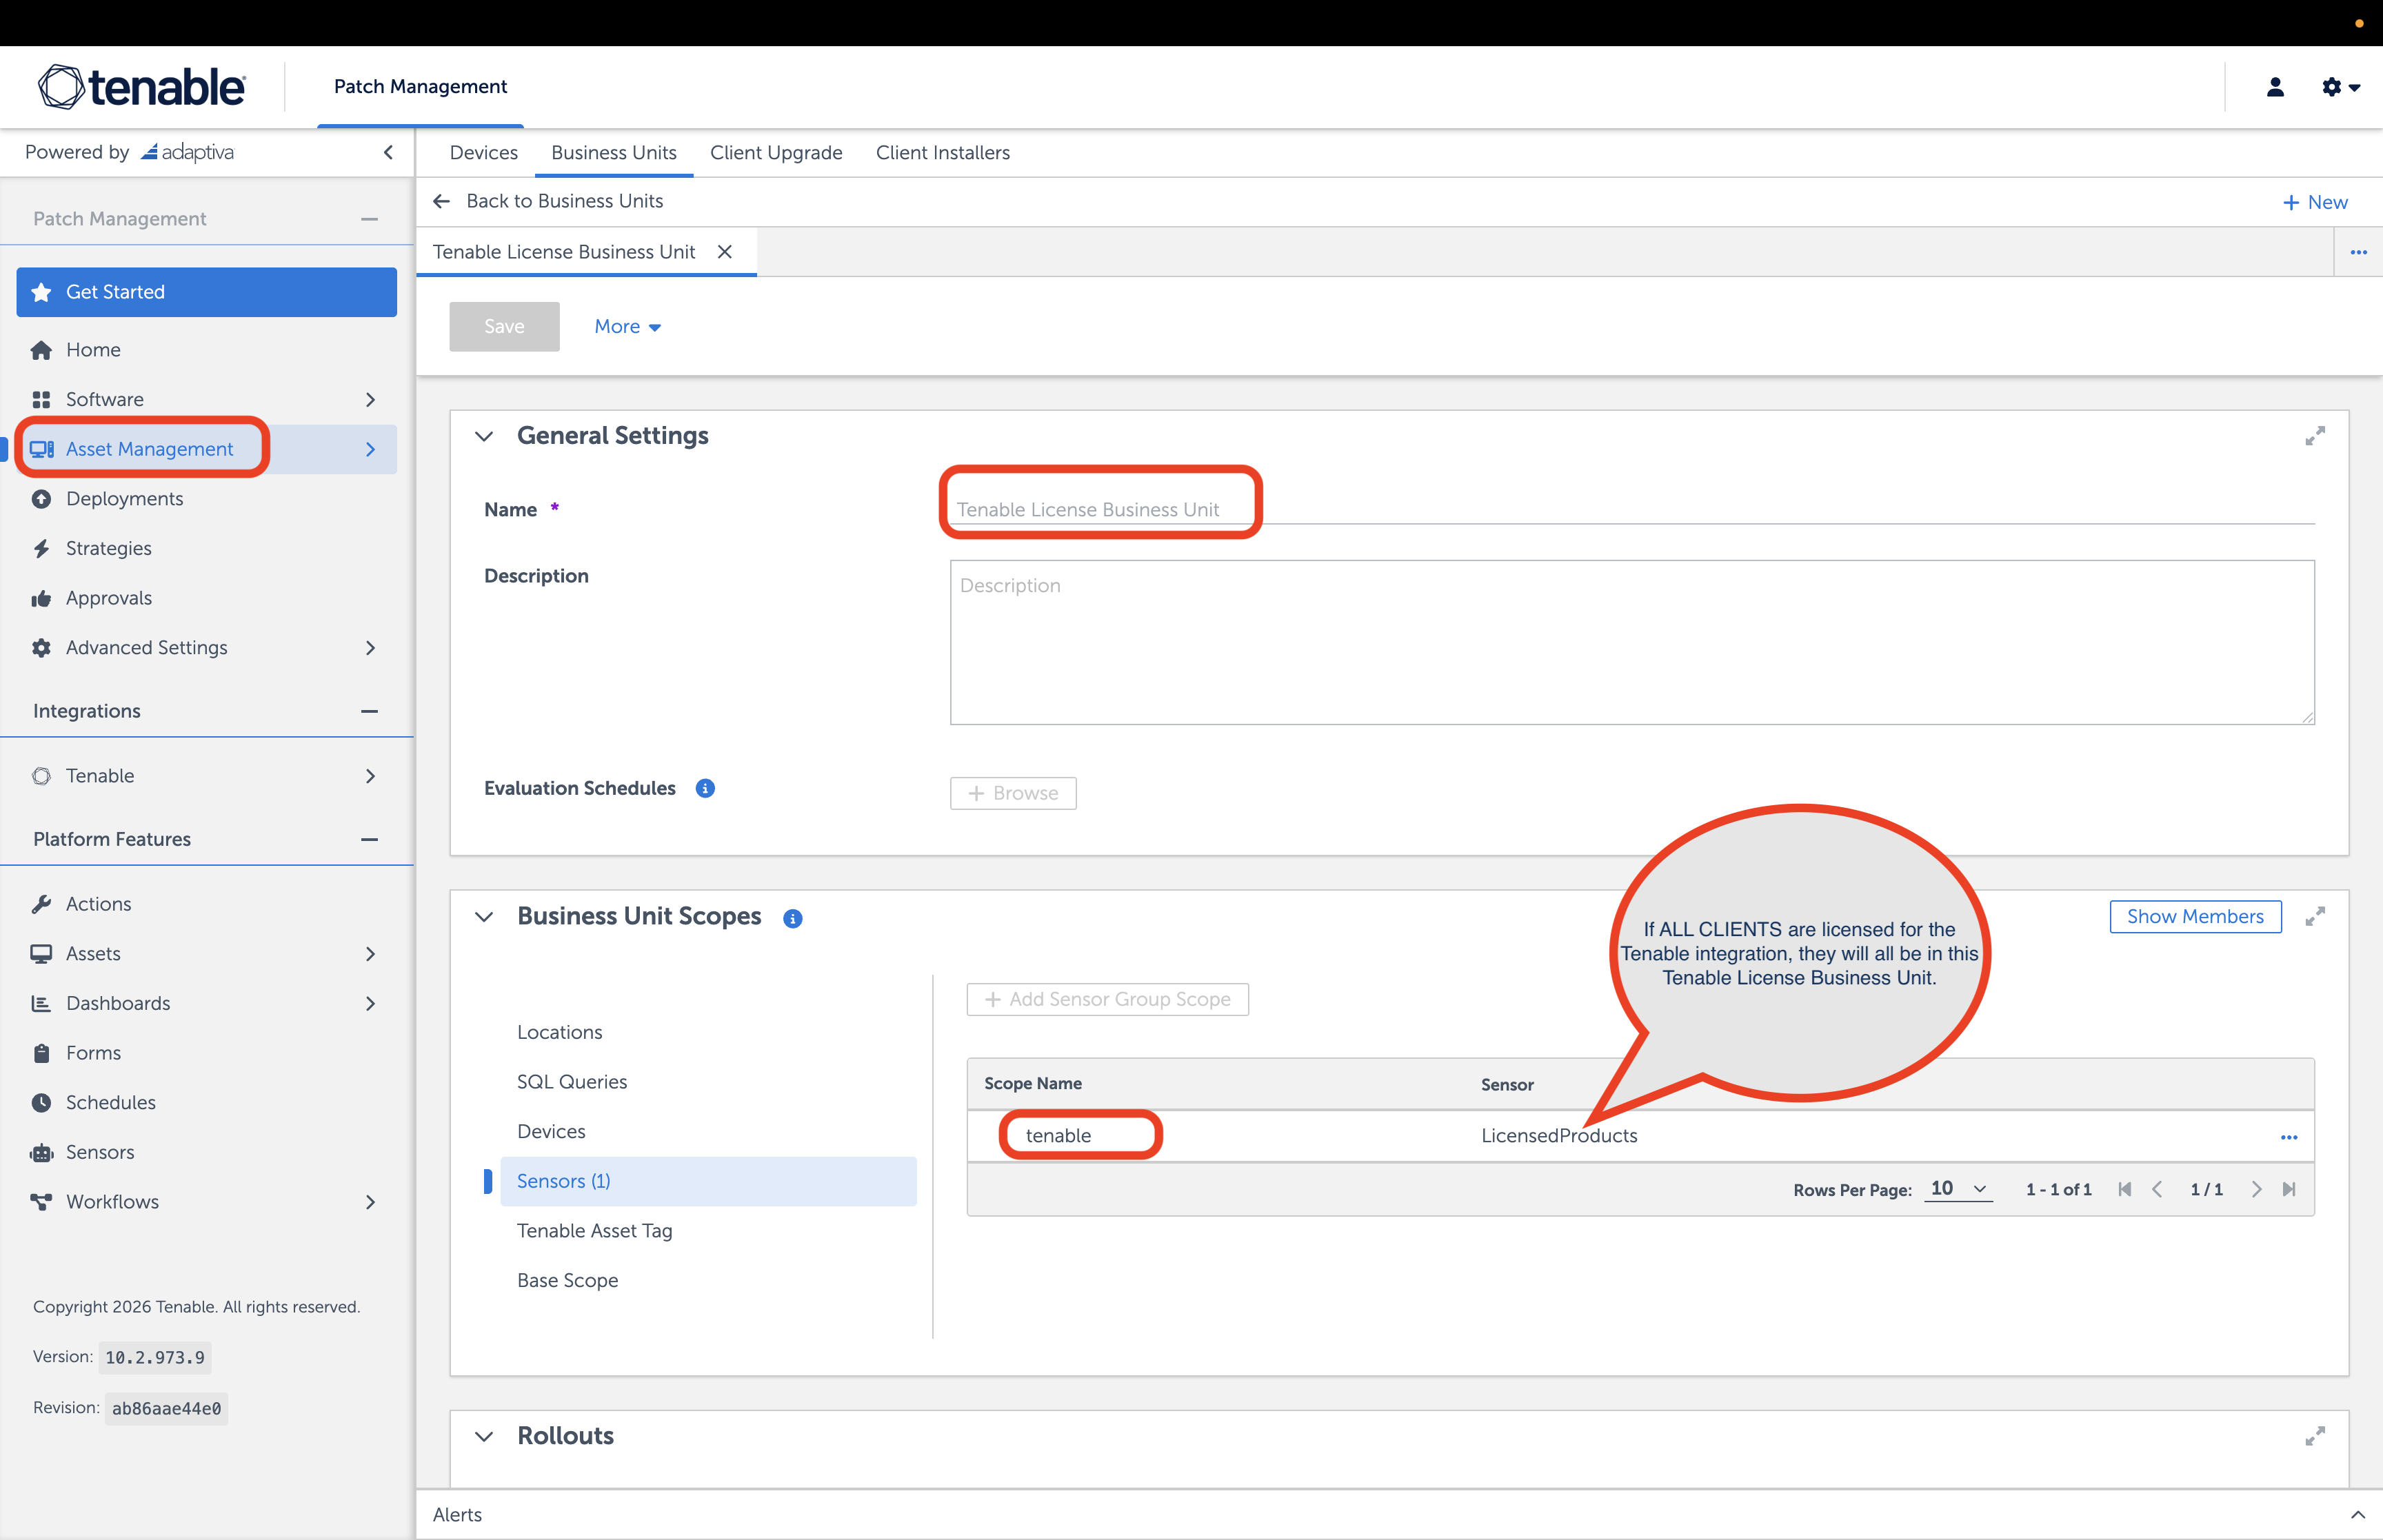
-
Verify the setting tenable.post_deploy_nessus_agent_scan_file_trigger. By default, it is configured to use the file name patch_trigger.
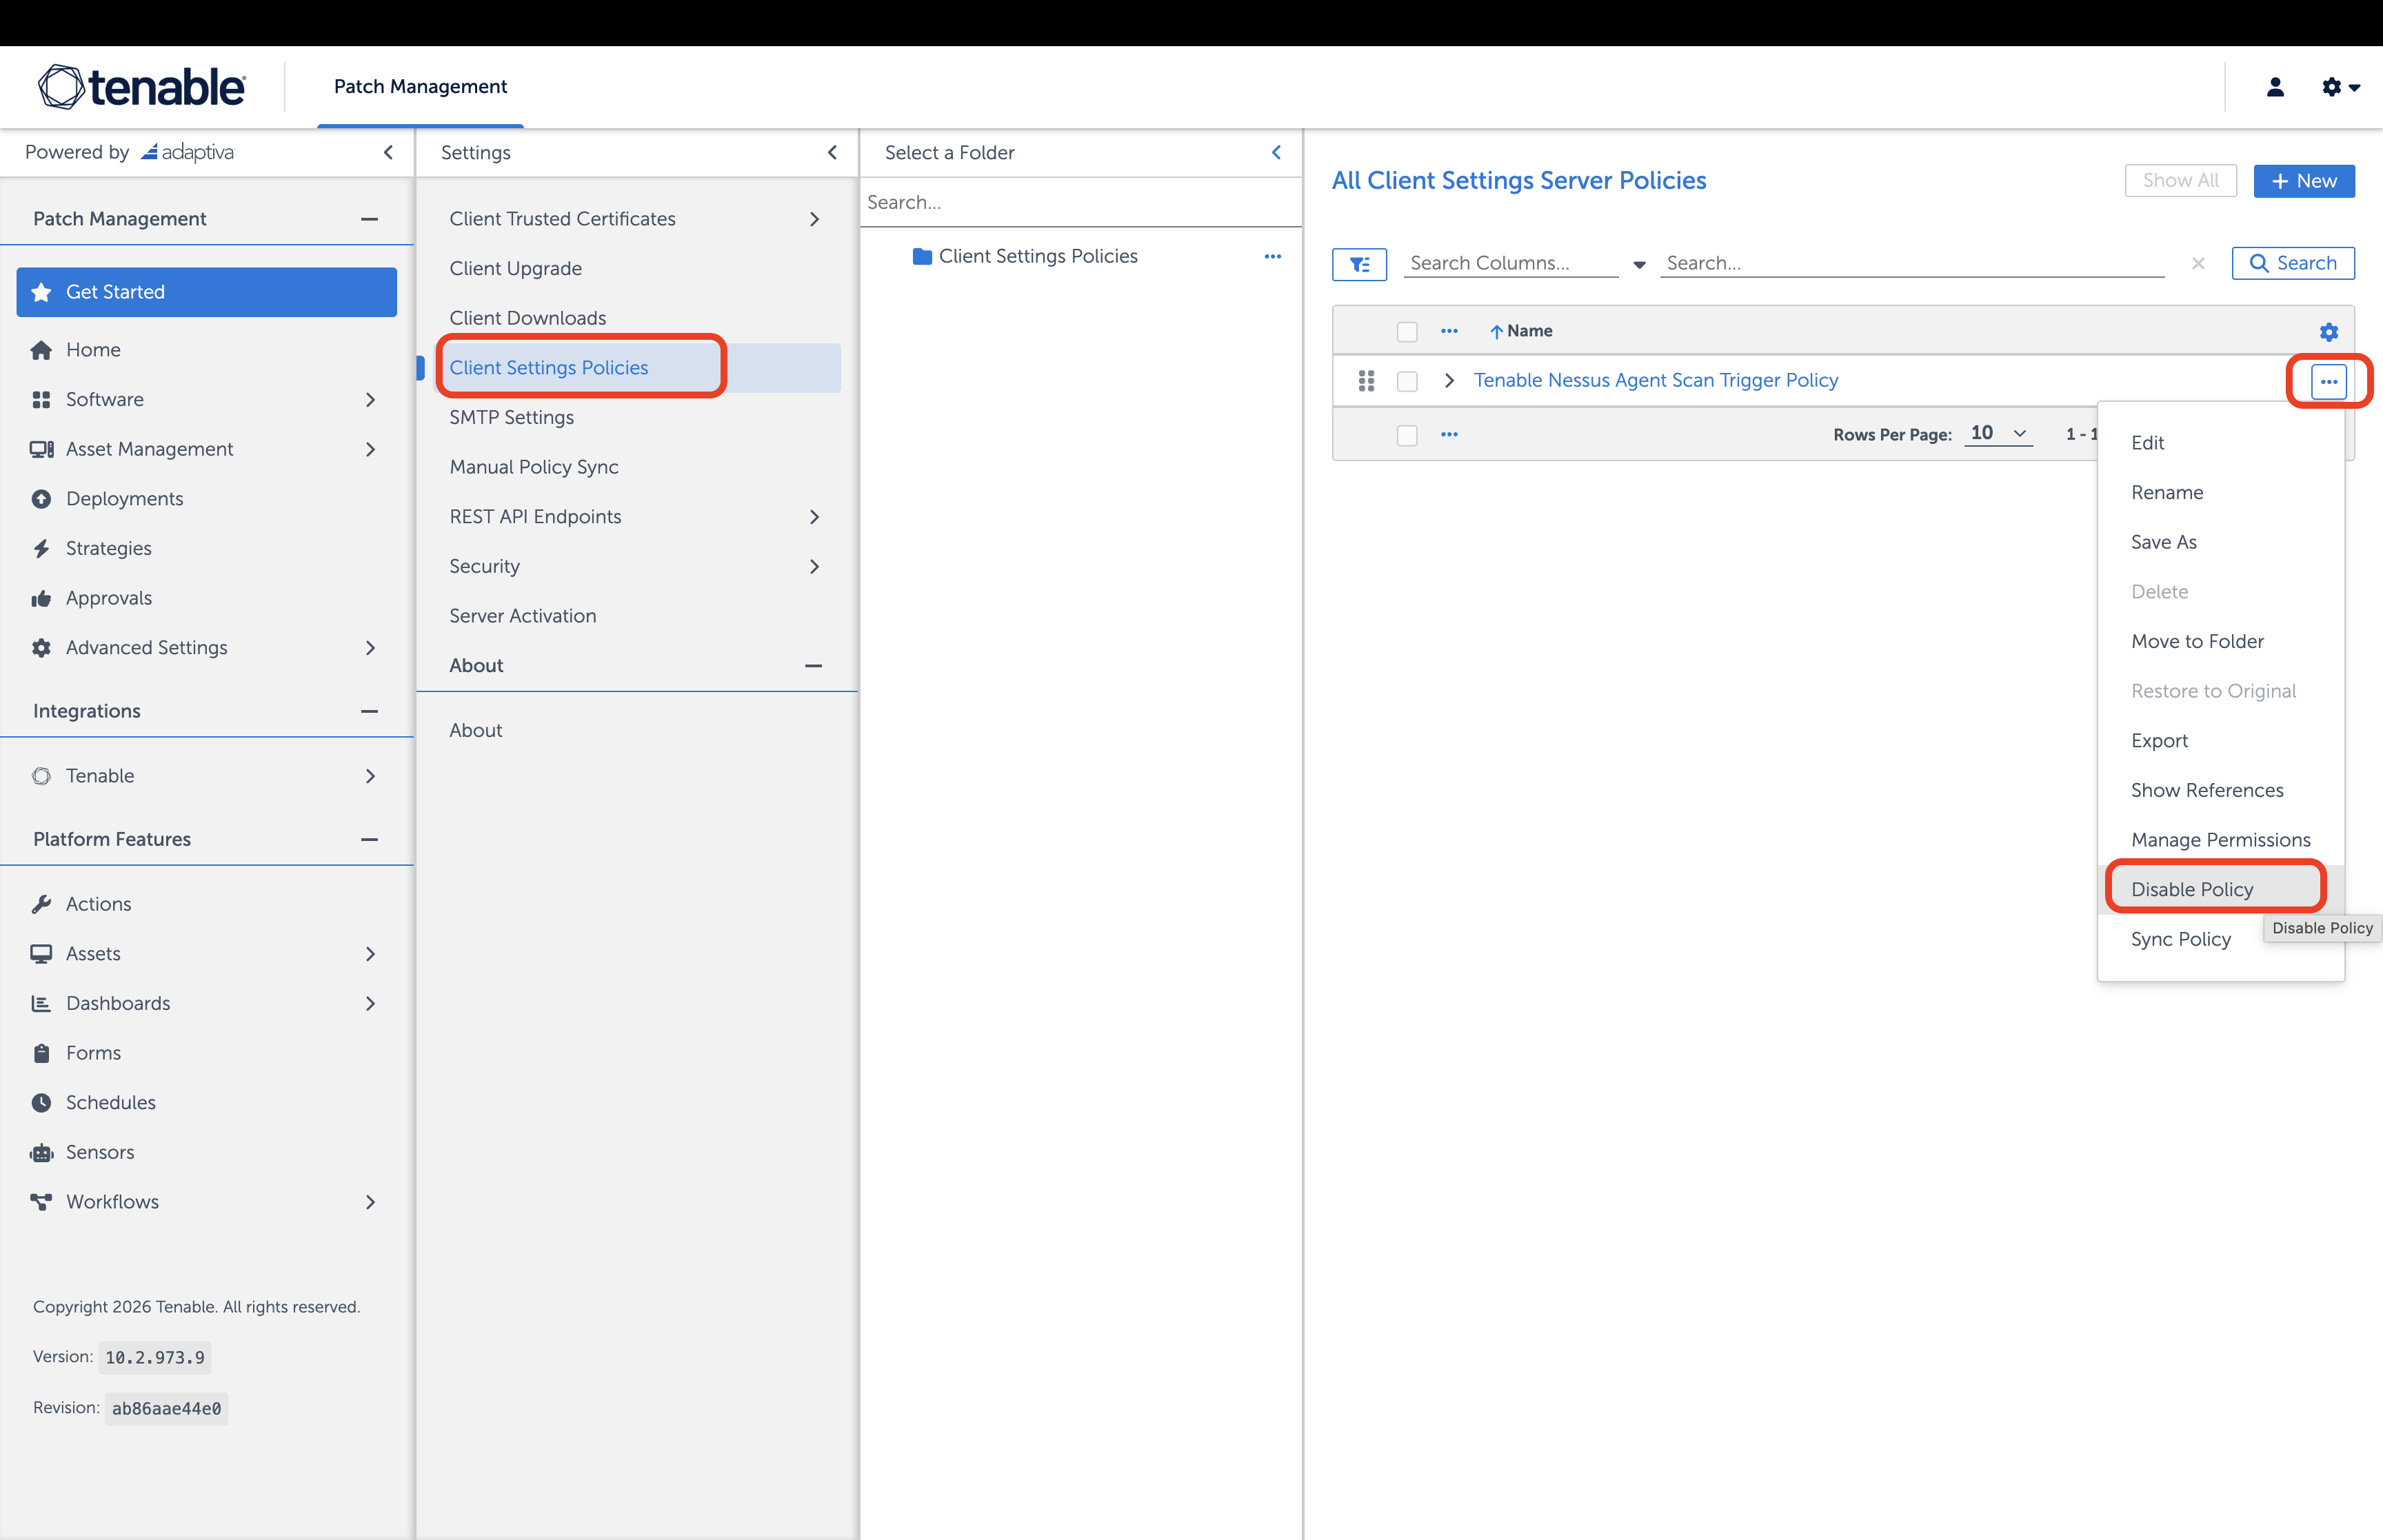
Disabling the Policy
You can choose to disable the policy by doing the following steps:
-
In the upper-right corner of the page, click the
button. -
Navigate to Settings > Client Settings Policies.
-
Locate the built-in Tenable Nessus Agent Scan Trigger Policy.
-
Click the ellipses (...).
-
Click Disable Policy.