Scan Policies
Required user role when using Tenable Nessus Manager: Standard, Administrator, or System Administrator
A policy is a set of predefined configuration options related to performing a scan. After you create a policy, you can select it as a template when you create a scan.
Note: You cannot create and launch scans, create or view policies or plugin rules, or use the upgrade assistant while Tenable Nessus compiles plugins.
Tip: For information about default policy templates and settings, see Scan Templates.
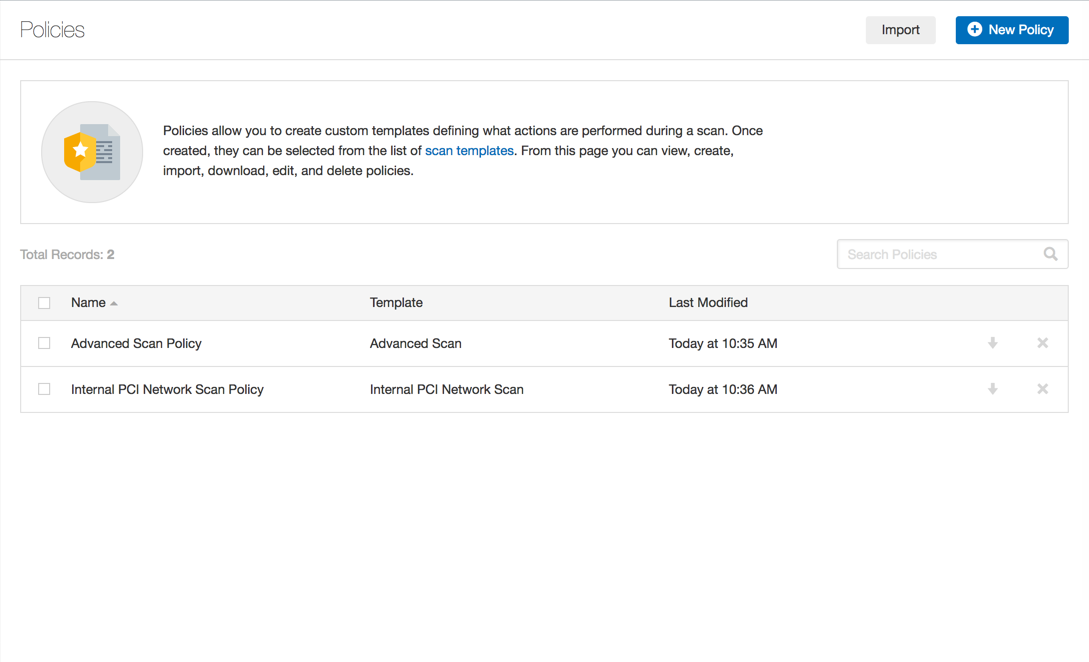
For information on managing scan policies, see Manage Policies.
Policy Characteristics
- Parameters that control technical aspects of the scan such as timeouts, number of hosts, type of port scanner, and more.
- Credentials for local scans (for example, Windows, SSH), authenticated Oracle database scans, HTTP, FTP, POP, IMAP, or Kerberos based authentication.
- Granular family or plugin-based scan specifications.
- Database compliance policy checks, report verbosity, service detection scan settings, Unix compliance checks, and more.
- Offline configuration audits for network devices, allowing safe checking of network devices without needing to scan the device directly.
- Windows malware scans which compare the MD5 checksums of files, both known good and malicious files.
Each policy can include configuration for the following areas:
- Basic settings — Policy name, description, and visibility (private or shared).
- Discovery — Host discovery method, port scan range, and service detection options.
- Assessment — Scan type (network, web app, malware), accuracy settings, and brute-force options.
- Report — Output verbosity, overridden results, and processing options.
- Advanced — Performance tuning (max hosts, max checks, network timeout), safe checks, and debug logging.
- Credentials — Authentication details for Windows, SSH, databases, HTTP, SNMP, and other services.
- Plugins — Enable or disable individual plugins or entire plugin families.
- Compliance — Audit files for CIS benchmarks, DISA STIGs, and custom compliance checks.
Tip: These options correspond to the tabs available when you create or edit a policy in Nessus. For step-by-step instructions, see Manage Policies.