Import a Scan to the ASV Workbench
Required User Role: Administrator
You can import a completed Tenable Vulnerability Management or Tenable Web App Scanning PCI scan to the ASV workbench from the Scans or Scan Details pages.
To import a scan to the ASV workbench:
-
In the upper-left corner, click the
 button.
 The left navigation plane appears.
-
In the left navigation plane, click Scans.
The Scans page appears.
-
Select the tab for the type of scan you want to import: Vulnerability Management Scans or Web Application Scans.
Note: For Web Application Scans, when you view the submission on your PCI Workbench, each URL scanned displays the associated scan name. -
In the Folders section, click a folder to load the scans you want to view.
The scans table updates to display the scans in the folder you selected.
-
Do one of the following:
-
In the row for the scan you want to import, click the
 button.
A menu appears.
-
Click
 Import to ASV Workbench.
-
-
Click the scan you want to import.
Basic scan details appear at the bottom of the page.
-
Click See All Details.
The Scan Details page appears.
Tip: For more information about viewing scan details, see View Scan Details in the Tenable Vulnerability Management User Guide. -
In the upper-right corner, click
Import to ASV Workbench.
-
A confirmation message appears.
Note: If Tenable PCI ASV detects any failures in the scan, a message appears recommending that you submit a clean scan. You can either click Fix Failures, discard your scan, and create another scan or you can continue with the existing scan and address the failures after you create your attestation.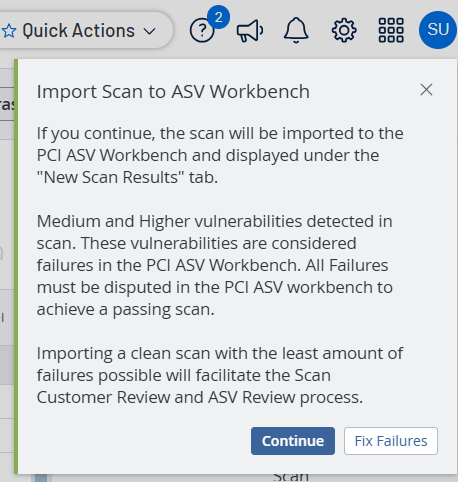
-
-
Click Continue.
A Scan Imported to ASV Workbench message appears, and the scan appears in the New Scan Results tab in your Tenable PCI ASV Workbench.
What to do next:
- Create an attestation for the scan.