Case Details
When you click a case number on the My Cases page, the case detail page opens. The case detail page displays the case overview and provides tabs for viewing the conversation thread, case metadata, and attached files.
To access the Case Details page:
-
Access the My Cases page.
-
In the My Cases list, in the Case Number column, click the case number for which you want to view details.
The Case Details page appears.
The Case Details page includes the following sections:
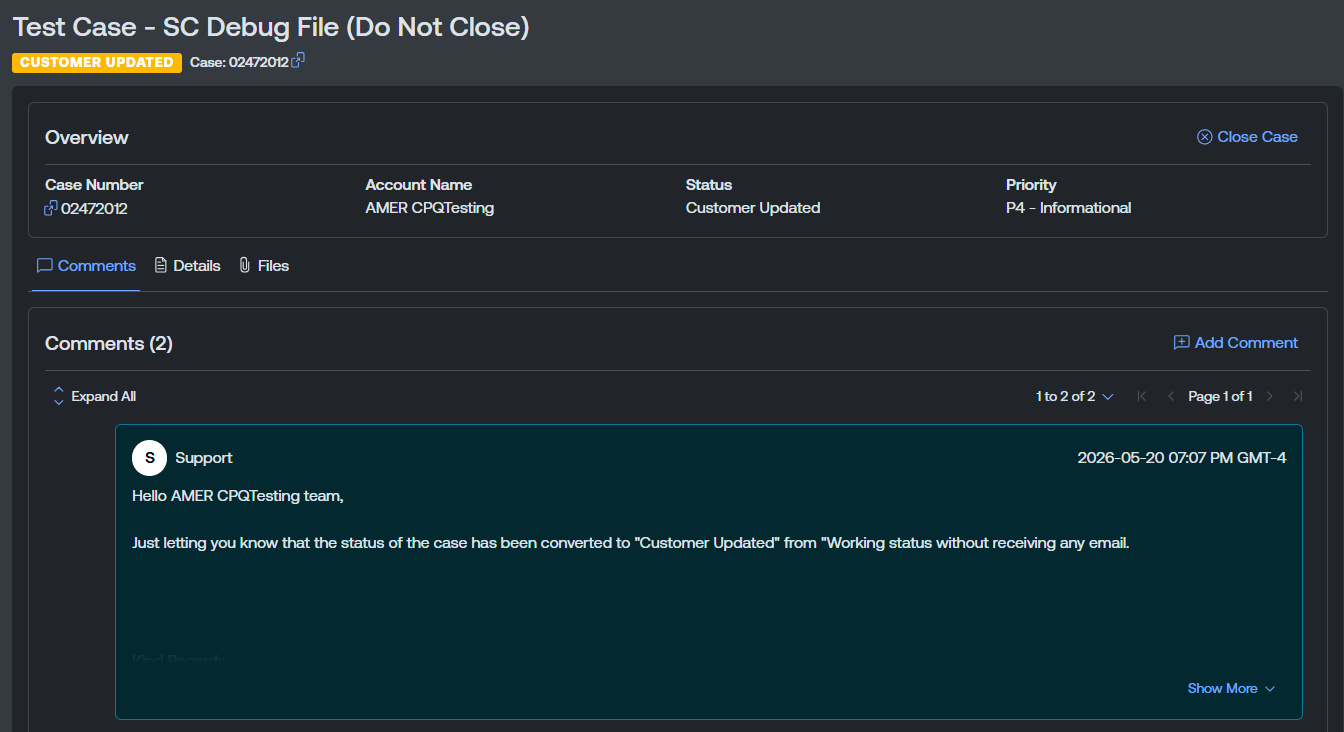
Overview
The Overview section at the top of the page summarizes the case. Here, you can view:
-
Case Number — The unique identifier for the case.
Tip: Click the button to copy the case number directly to your clipboard.
 -
Account Name — The account associated with the case.
-
Status — The current state of the case (for example, Customer Updated, Working, Closed).
-
Priority — The case priority level (for example, P4 – Informational).
Here, you can also manage your case in the following ways:
Close the Case
If you have case-management permissions, you can close an open case from the case detail page.
To close a case:
-
In the upper-right corner of the case detail page, click
 Close Case.
The Close Case dialog box appears.

-
From the Resolution Details drop-down menu, select a resolution reason.
-
(Optional) In the Comment field, type a closing comment.
-
Click Close.
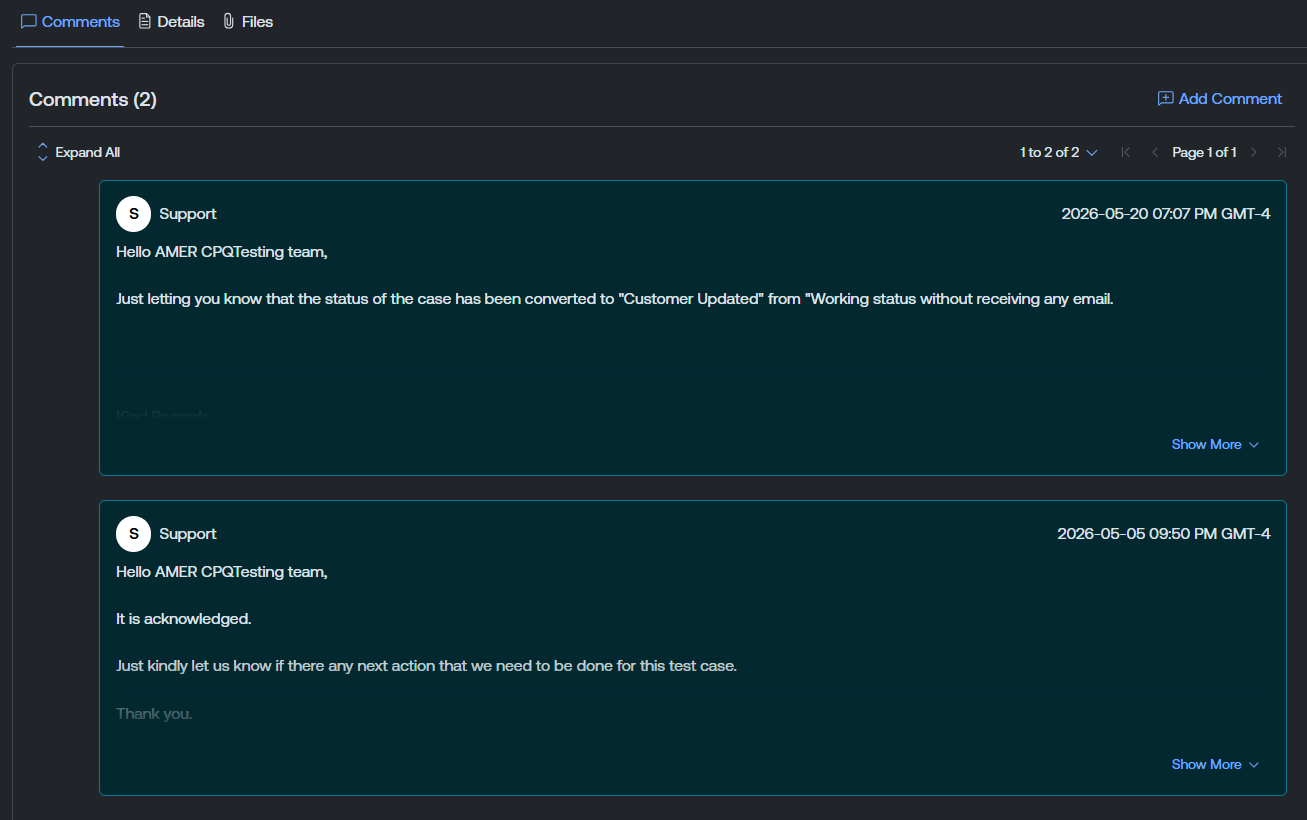
Comments Tab
The Comments tab displays the conversation thread between you and Tenable Technical Support. Comments appear in chronological order and include the author, timestamp, and message body.
Click Expand All to expand all comments at once, or click an individual comment to expand it. Use the pagination controls to navigate between pages of comments.
Here, you can also:
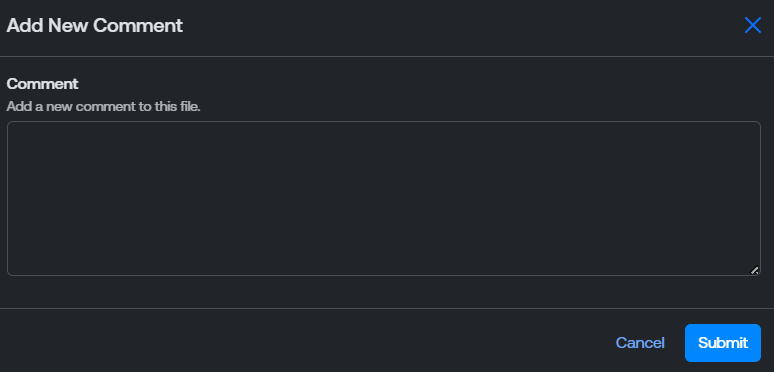
Add a Comment
To add a comment to a case:
-
In the upper-right corner of the Comments tab, click
 Add Comment.
The Add New Comment window appears.
-
In the Comment text box, type your comment.
Note: Comments are limited to 4,000 characters.Tip: If your comment contains text that looks like a credential or secret, the portal warns you before submission so you can remove it or attach it separately. -
Click Submit.
The Tenable Account Management portal lists the new thread within the Comments list.
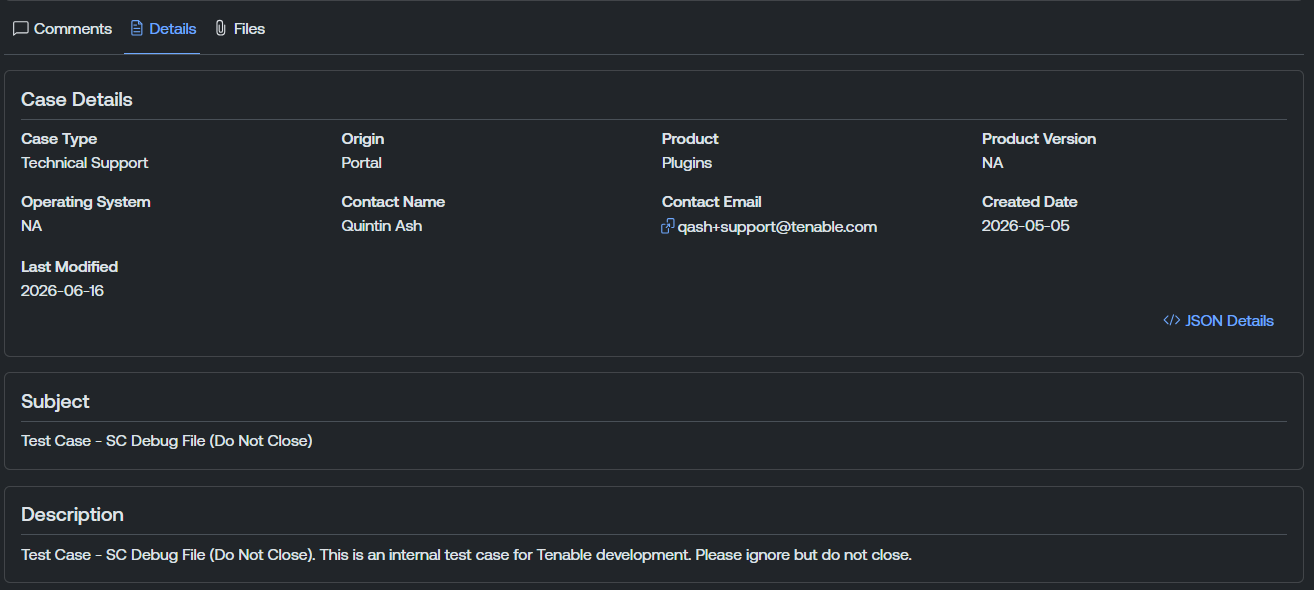
Details Tab
The Details tab displays the full case metadata.
This tab includes the following sections:
Case Details
The Case Details section of the Details tab includes the following information:
-
Case Type — The type of case (for example, Technical Support).
-
Origin — The channel through which the case was submitted (for example, Portal).
-
Product — The Tenable product related to the case.
-
Product Version — The version of the product related to the case.
-
Operating System — The operating system related to the case, if applicable.
-
Contact Name — The name of the contact who submitted the case.
-
Contact Email — The email address of the contact who submitted the case.
-
Created Date — The date the case was created.
-
Last Modified — The date the case was last modified.
Subject
The subject line of the case.
Description
The full description of the case as submitted.
Files Tab
The Files tab displays all files attached to the case by you or your organization.
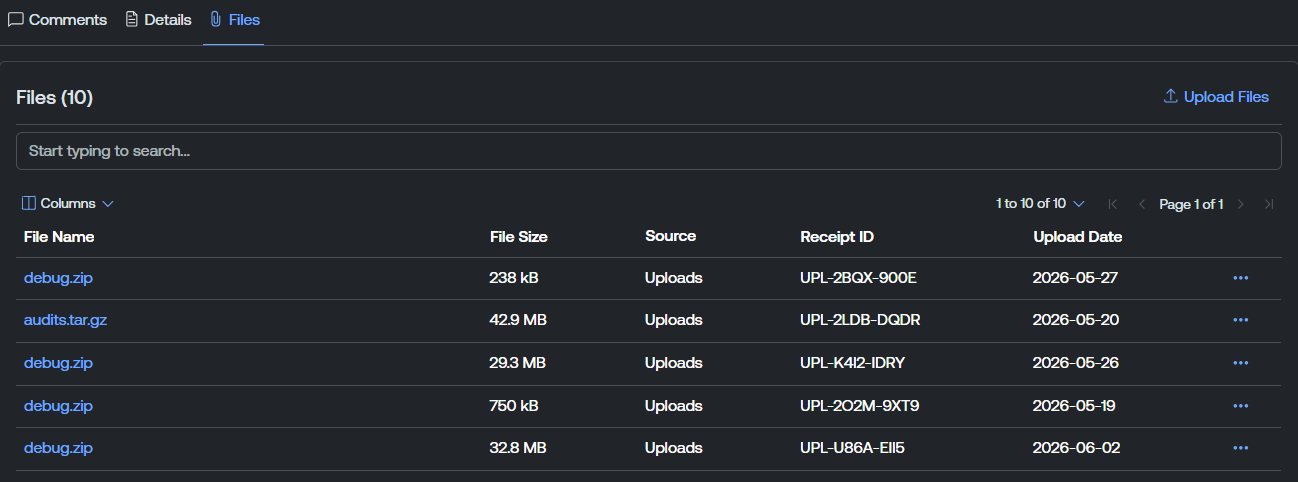
The file list includes the following columns:
-
File Name — The name of the file. Click the file name to navigate directly to the Upload Details page for the file.
-
File Size — The size of the file upload.
-
Source — The source of the file upload.
-
Receipt ID — Where applicable, the support receipt identification number associated with the file upload.
- Upload Date — The date on which you uploaded the file to the portal.
Here, you can manage your file uploads in the following ways:
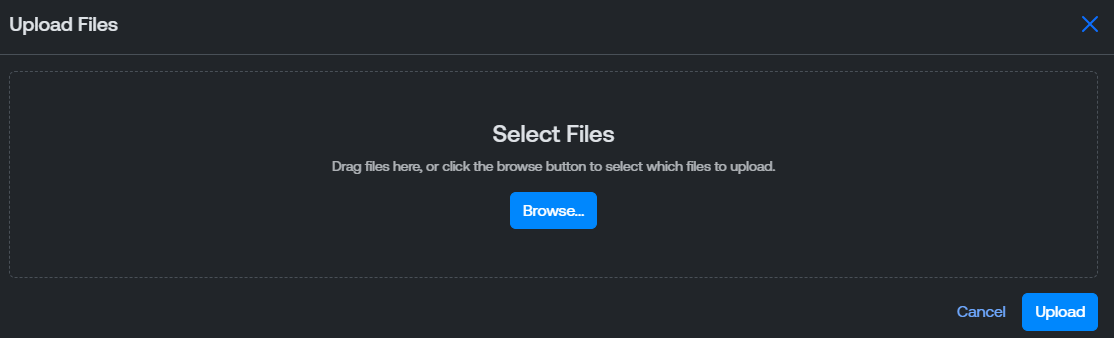
Upload Files
To upload a file to the case:
-
In the upper-right corner of the Files list, click
 Upload Files.
The Upload Files window appears.
-
Do one of the following:
-
Drag and drop files directly into the upload area.
-
Click Browse to locate and select files from your device.
Note: The maximum file size and the maximum number of files per case are governed by your account's permissions. If you exceed a limit, the portal displays a warning message, for example, You have reached the maximum number of files allowed ({maxFiles}). Please delete existing files before uploading new ones. -
-
Click Upload.
Tip: If one or more files fail to upload, the portal does not block the remaining files. It reports an error for each failed file and offers details so you can retry. Click the failed file's row in the upload progress table to open File Upload Error Details where you can view information about why the upload failed.The Tenable Account Management portal uploads your file to the support case and adds it to the Files list.
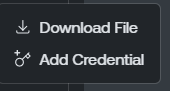
Download a File
To download an uploaded file:
-
In the My Files list, in the row for the file you want to download, click the
 button.
A menu appears.
-
Click
 Download File.
The Tenable Account Management portal downloads the selected file. Depending on your browser settings, your browser may notify you that the download is complete.
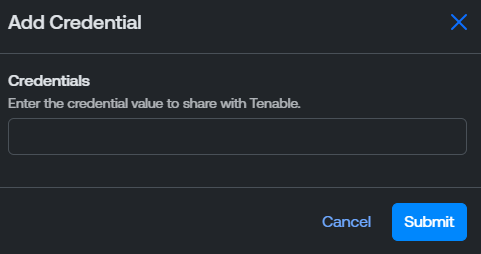
Add a Credential to a File
For files that require a password or other credential to open, you can share the credential with Tenable Support directly from the file detail page. Credentials are encrypted at rest, hidden behind a Show Credentials affordance, and only accessible to authorized Tenable Support staff.
To add a credential to a file:
-
In the Files list, in the row for the file you want to download, click the
button.A menu appears.
-
Click
 Add Credential.
The Add Credential window appears.
-
In the Credentials text box, type the file credential to share with Tenable.
-
Click Submit.
The Tenable Account Management portal stores the credential alongside the uploaded file. You can view additional credential information on the Upload Details page.