My Cases
The My Cases page in the Tenable Account Management portal allows you to view, manage, and respond to existing Tenable Support cases for your account. This includes both Technical Support and Customer Care cases.
To access the My Cases page:
-
Access the Support page.
-
On the Contact Support tile, click Manage My Cases.
The My Cases page appears.
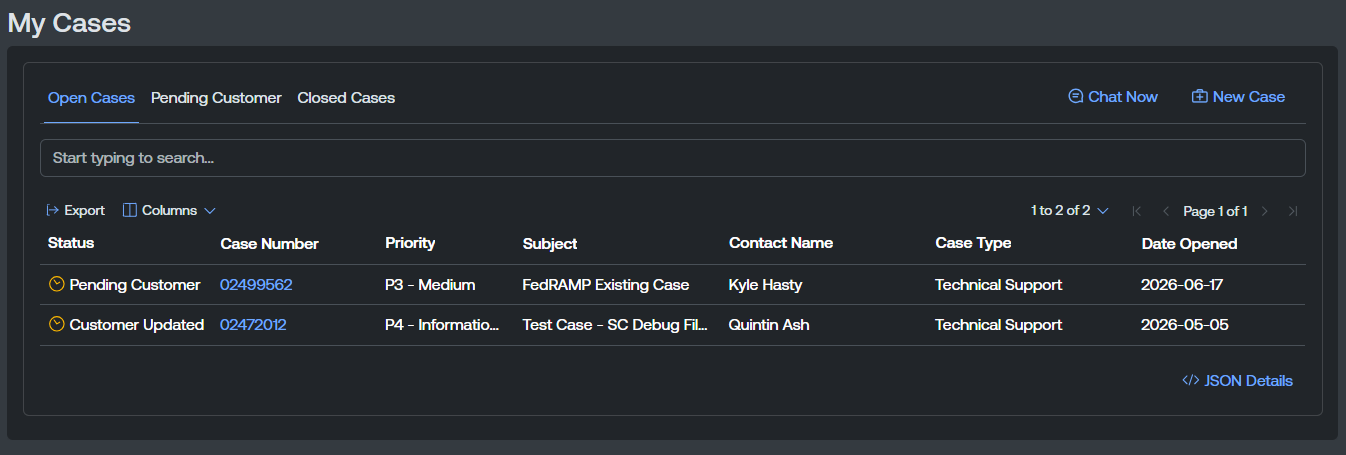
Each tab within the My Cases list includes the following information:
-
Status — The status of the support case.
-
Case Number — The case number assigned to the support case. Click on a case number to navigate directly to the Case Details page for the selected case.
-
Priority — The priority assigned to the support case, for example, P3 - Medium or P4 - Informational.
-
Subject — A brief description of the support case subject.
-
Contact Name — The name of the user that initially opened the support case.
-
Case Type — The support case type, for example Technical Support.
-
Date Opened — The date on which the support case was initially opened.
-
Date Closed (Closed Cases tab only) — The date on which the support case was closed.
The My Cases page is separated into the following tabs:
-
Open Cases — All support cases that are currently open and active.
-
Pending Customer — All support cases that are currently waiting on customer input.
-
Closed Cases — All support cases that have been closed.
Manage Cases
On the My Cases page, you can manage your support cases in the following way:
Create a New Support Case
You can create a new support case directly from the My Cases page.
To create a new support case:
-
In the upper-right corner of the My Cases page, click New Case.
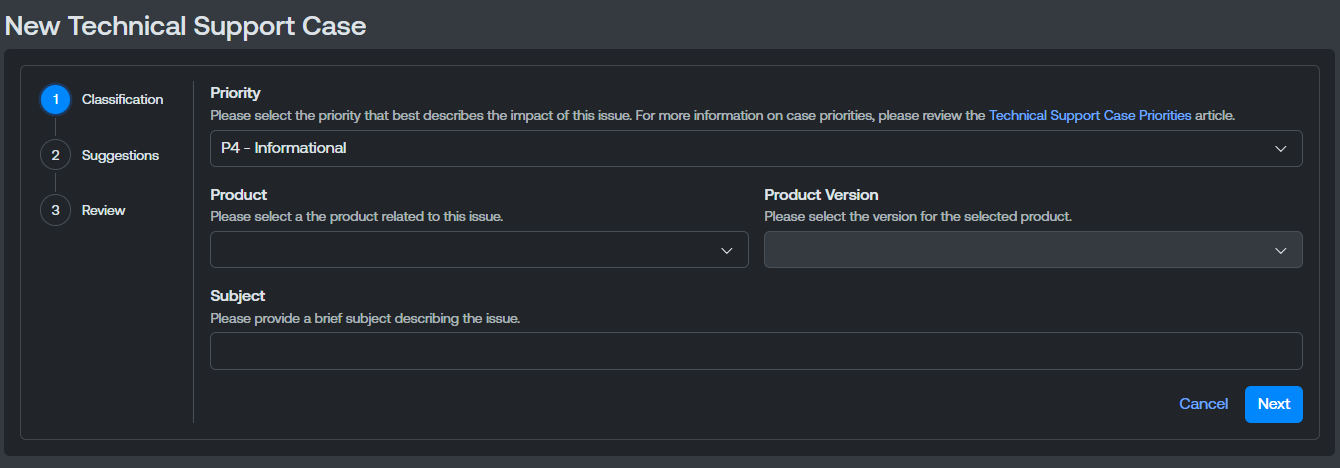
The New Technical Support Case page appears.
-
From the Priority drop-down menu, select the priority you want to assign to the support case.
-
From the Product drop-down menu, select the Tenable product related to your case.
-
If you select a product with a version, from the Product Version drop-down menu, select the appropriate version of the product related to your case.
-
In the Subject text box, type a brief subject of the issue.
-
Click Next.
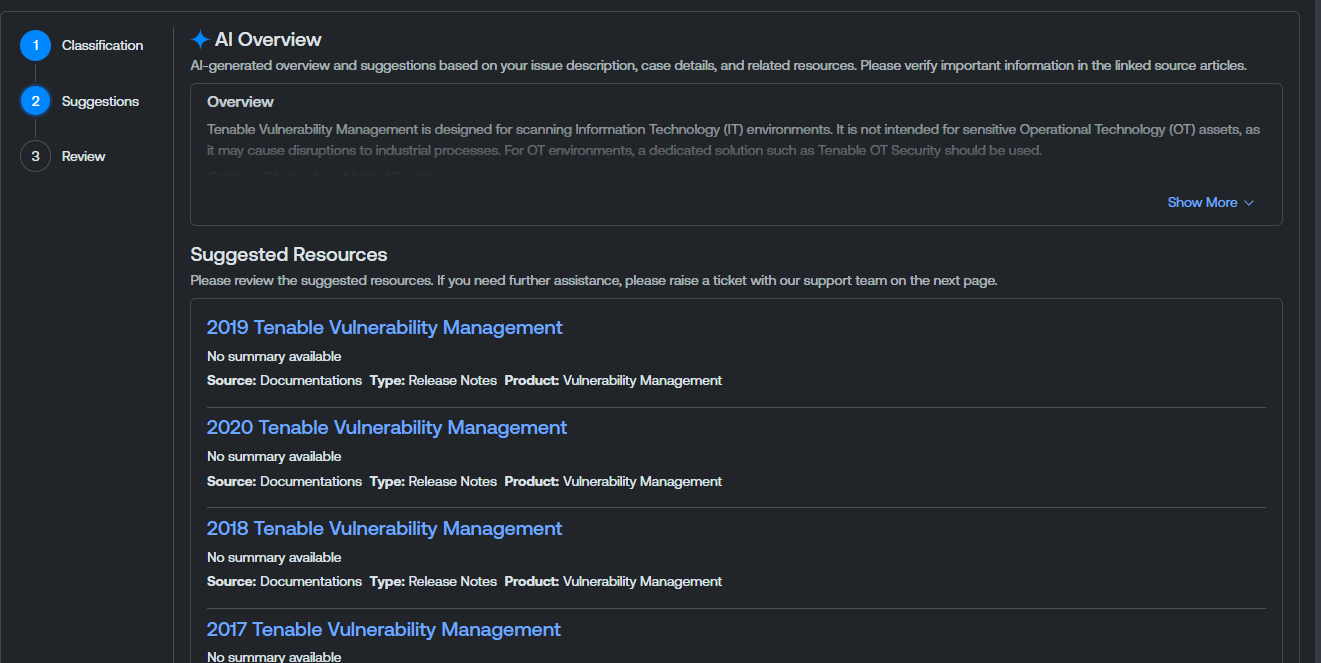
The Suggestions section appears.
-
Review the suggestions and resources provided to determine if you are able to resolve your issue without opening a support case.
-
If you are unable to resolve the issue yourself based on the suggestions, click Continue.
The Review section appears.
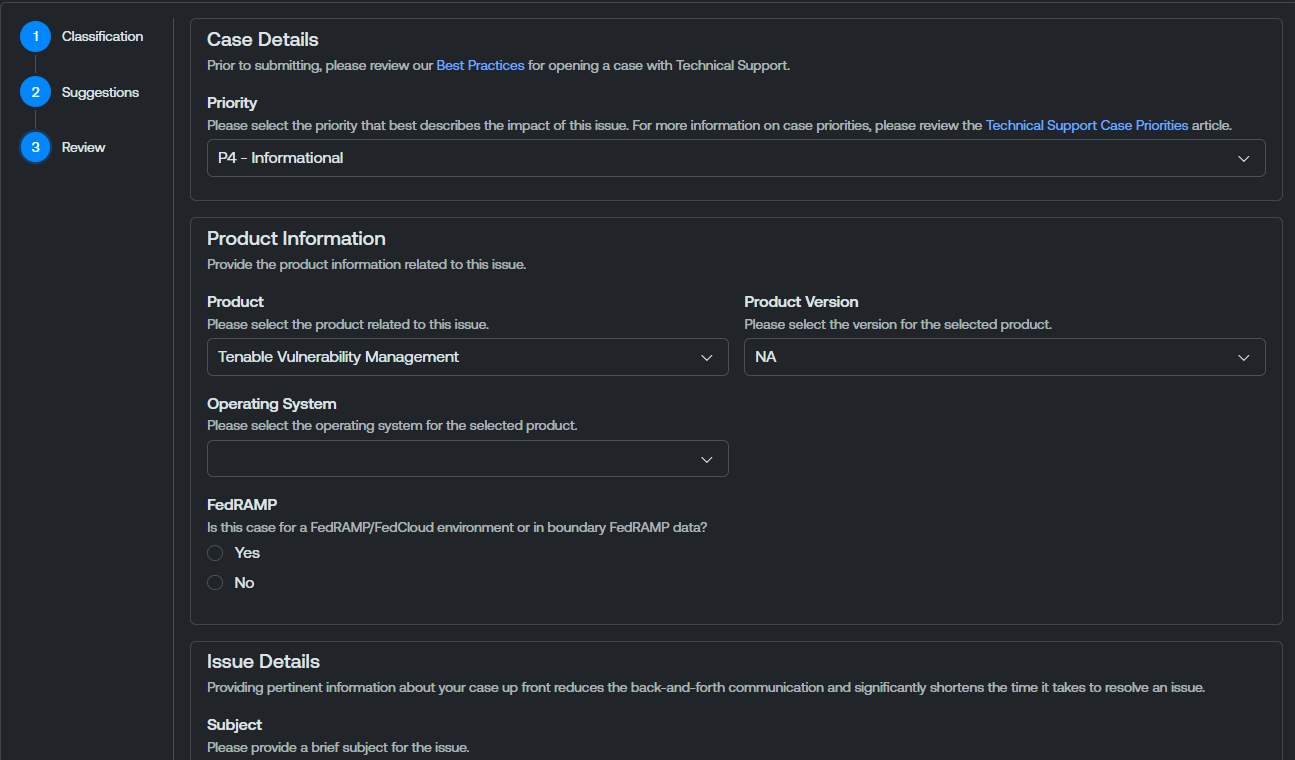
- From the Operating System drop-down menu, select the operating system on which the product is installed.
-
In the FedRAMP section, select the radio button to indicate whether or not the support case includes FedRAMP specific information.
-
In the Issue Details section, in the Description text box, type a detailed description of the issue you are experiencing. Be sure to include any relevant details that may help Tenable resolve it.
-
(Optional) In the Upload Files section, upload any relevant files to help Tenable Support better understand your issue.
Caution: If your account is FedRAMP-authorized, the file upload area displays a This account is FedRAMP authorized. Please do not upload any files containing FedRAMP data warning.Do one of the following:
-
Drag and drop files directly into the upload area.
-
Click Browse to locate and select files from your device.
Note: The maximum file size and the maximum number of files per case are governed by your account's permissions. If you exceed a limit, the portal displays a warning message, for example, You have reached the maximum number of files allowed ({maxFiles}). Please delete existing files before uploading new ones.Tip: If one or more files fail to upload, the portal does not block the remaining files. It reports an error for each failed file and offers details so you can retry. Click the failed file's row in the upload progress table to open File Upload Error Details where you can view information about why the upload failed. -
-
Click Submit.
The Tenable Account Management portal submits the support case to the appropriate Tenable Support channels.