Export Remediation Projects
On the Remediation page, you can export your remediation projects in CSV format.
To export your remediation projects:
-
In the left navigation, click
 Remediation > Remediation Projects.
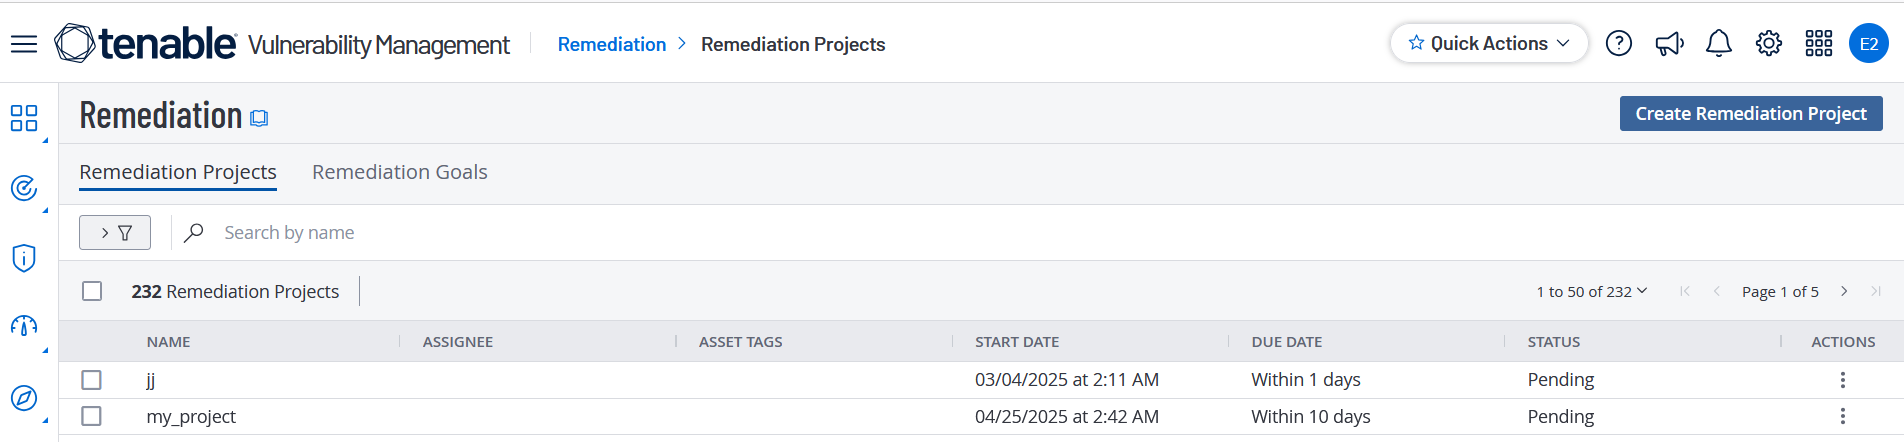
-
Do one of the following:
-
To export a single remediation project, do one of the following:
-
Select a remediation project. An action bar appears.
-
In the action bar, click the
 More button.
 A menu appears.
-
Click
 Export.
-
-
In the row for the remediation project that you want to export, in the Actions column, click the
button. A menu appears.
-
Click
Export.
-
-
Right click on a remediation project that you want to export.
A menu appears.
-
Click
Export.
-
-
-
To export multiple remediation projects:
-
In the remediation projects table, select the check box for each remediation project you want to export.
The action bar appears at the top of the table.
-
Click
 Export.
-
The Export plane appears.
Note: You can individually select and export up to 200 remediation projects. If you want to export more than 200 remediation projects, you must select all the remediation projects on your Tenable Vulnerability Management instance by selecting the check box at the top of the Projects table and then click
Export. -
-
Configure the following export options:
Option Description Name
Type a name for the export. Formats Select an export format:
-
CSV – A CSV file that you can open in a spreadsheet application such as Microsoft Excel.
Note: If your export file contains a field starting with any of the following characters (=, +, -, @), the system adds a single quote (') at the beginning of the field. For more information, see the Knowledge Base.
Configuration Search for and select the fields to include.
Expiration Number of days the generated export file will be retained and displayed in the Export Activities list. Default is 30 days. A custom default value can be set in General Settings.
Schedule Turn on the Schedule toggle and set the following options:
- Choose an export Start Date and Start Time.
- Choose a Time Zone.
- Under Repeat, choose how often you want the export to repeat. Choose one of the following:
- Daily,also set Repeat Ends.
- Weekly on Monday, also set Repeat Ends.
- Monthly on Last Monday, also set Repeat Ends.
- Custom, also set Repeat Every.
- Does not repeat.
- Under Repeat Ends, choose when the exports end. If you choose Never, the export repeats until you modify or delete it.
Email Notifications Turn on the Email Notification toggle and set the following options:
- Under Add Recipients, type the emails to notify.
- Under Password, type a password for the export file which the recipient will need to enter.
-
-
Click Schedule Export.
The system processes the export and the file downloads to your computer. Processing may take several minutes.
Tip: If you close the Export plane before the download completes, you can access the export file in
 Settings > Exports.