Tables in Tenable Vulnerability Management
Required User Role: Basic, Scan Operator, Standard, Scan Manager, or Administrator
Tenable Vulnerability Management Tables
In Tenable Vulnerability Management, tables serve as your primary workspace for analyzing and acting on exposure, security, reporting data and more. Depending on your location in the application, you will encounter two types of table experiences:
Workbench Tables — Standardized, consistent views found in core areas like Scans, Tags, and Remediation. These use a consistent UI that provide the foundation for data management. For more information see Workbench Tables.

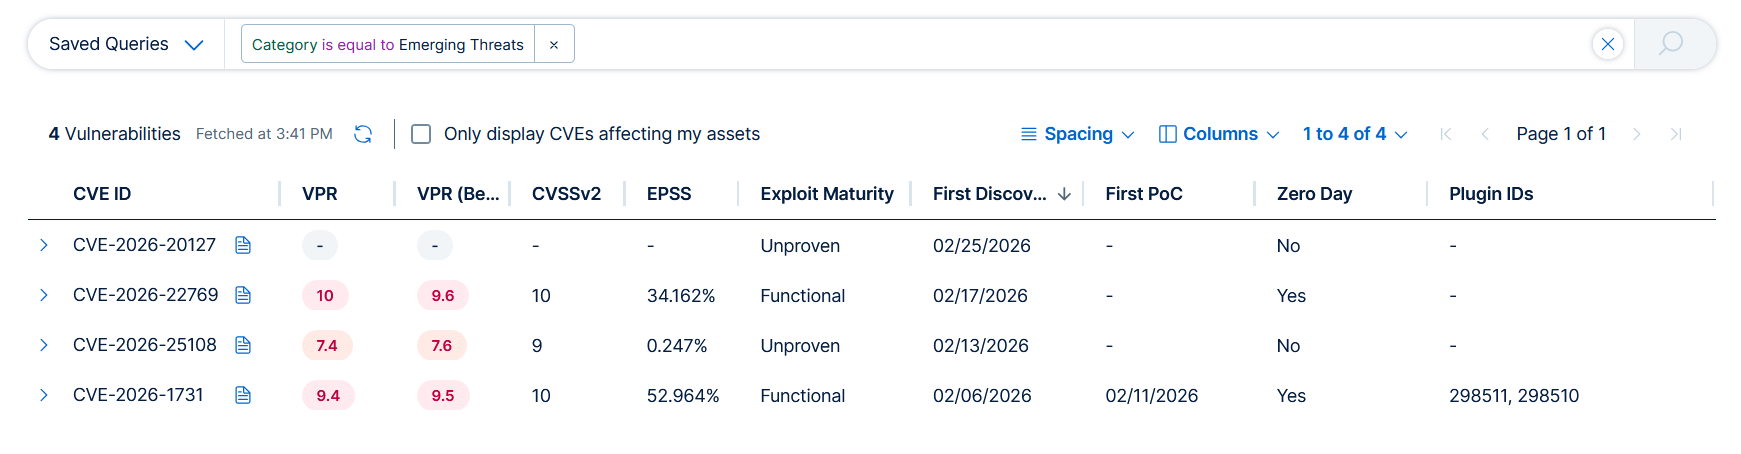
Query Builder-powered Tables — Dynamic analytical views found in areas like Explore or the Recast/Accept Risk workflows. These allow for custom logic and advanced data mining. For more information see Query Builders.
The following table summarizes high-level differences between workbench and query builder-powered tables in Tenable Vulnerability Management:
| Feature | Workbench Tables | Query Builder-Powered Tables |
|---|---|---|
| Filtering | Pre-defined sidebar filters ( |
Dynamic query bar with numerous filter options and complex Boolean logic (AND/OR). Supports saved queries for fast access to custom table views. |
| Item Interaction | Details page or pane, Right-Click, and Action Column ( ). ). |
Details Page or Pane and row-level interactions. |
| Action Triggering | Selection/Action Bar (Single) and Bulk Operations (Multiple). | Header-level menus and context-aware action bars. |
| Layout | Consistent, standardized UI with fixed filtering. | Customizable analytical workspace. |
| Best For | Operational workflows such as scanning, tagging, and sensor management. | Ad-hoc analysis, data mining, and complex reporting. |
For more information, see: