Exposure Overview
Tenable Identity Exposure provides comprehensive visibility into weaknesses and misconfigurations across various identity providers, including Active Directory (AD) and Entra ID.
By continuously scanning and identifying critical weaknesses in privileged accounts, password policies, delegation configurations, and more, Tenable Identity Exposure enables organizations to address security gaps proactively.
This overview allows you to prioritize issues based on severity, impacted assets, and recent detection, ensuring a focused and efficient approach to identity security management.
To access the Exposure Overview page:
-
In Tenable Identity Exposure's left navigation pane, click the Exposure Center icon
 .
. -
From the submenu, click on Exposure Overview.
The Exposure Overview page appears.
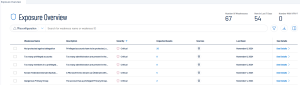
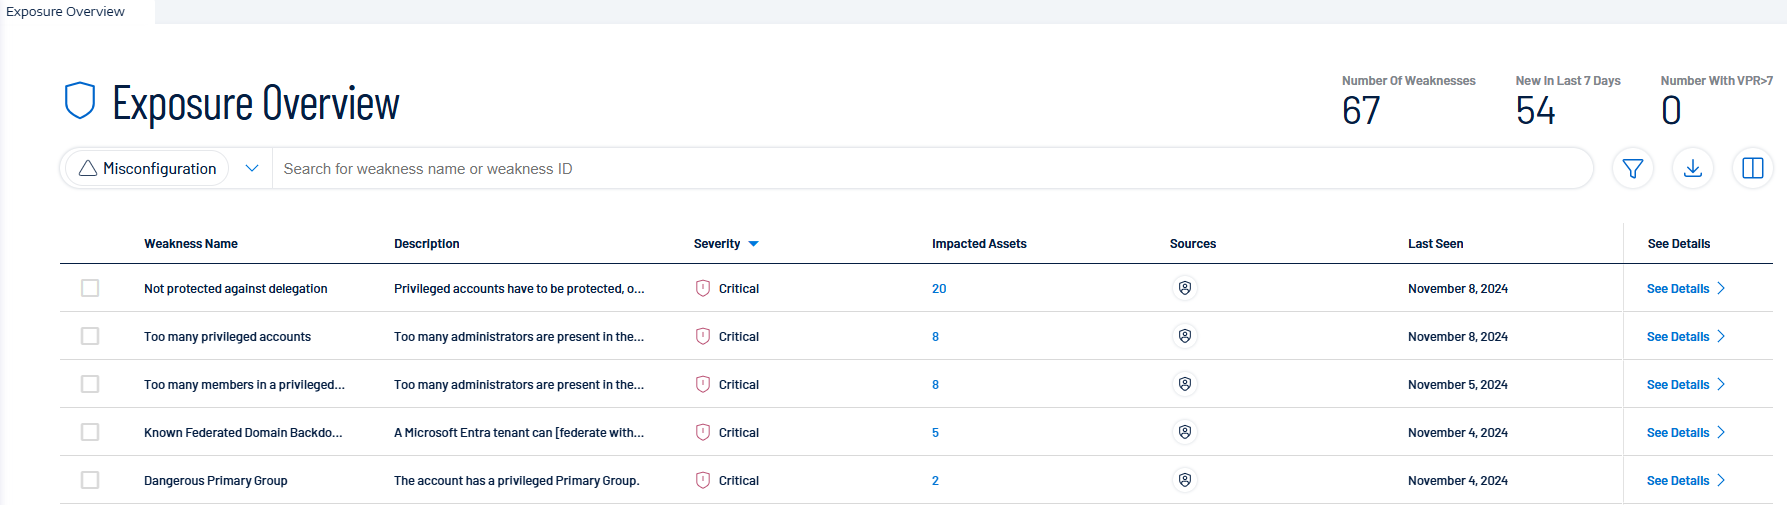
Header Information
-
Number of Weaknesses: Shows a total of weaknesses detected.
-
New in Last 7 Days: Highlights the new weaknesses detected in the past week.
List of Weaknesses
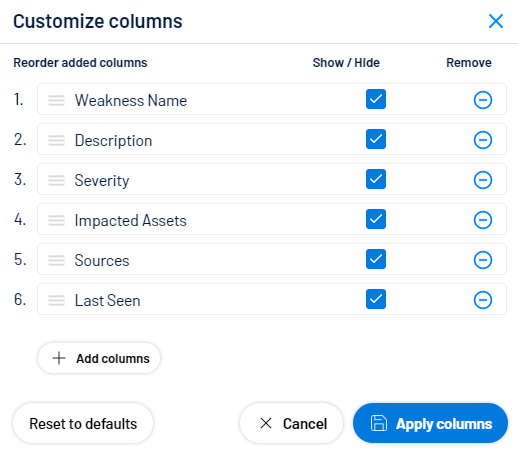
The following columns appear in the list of weaknesses:
-
Weakness Name: Lists specific weaknesses or misconfigurations detected. Example: "Not protected against delegation", "Too many privileged accounts", etc.
-
Description: Provides a brief explanation of the issue. Example: "Privileged accounts have to be protected...", "Too many administrators are present...".
-
Severity: Displays the criticality of each weakness (Critical, High, Medium, Low).
-
Impacted Assets: Shows the number of assets affected by each weakness.
-
Sources: The systems or platforms that detected the data. This data could come from multiple products.
-
Last Seen: Displays the last time each weakness was detected or reported. Example: "September 10, 2024", "September 29, 2024".
-
See Details: Allows you to view more information on each weakness.
Tip: The "See Details" arrow takes you to Tenable Inventory. For more granular details on the specific weakness, see Weaknesses in Tenable Inventory.
Note: The Exposure Overview feature currently displays weakness-related data based on the default Tenable profile and does not automatically reflect the status of deviances on AD objects you whitelisted in other profiles.Therefore:
If you have whitelisted an AD object for a specific Indicator of Exposure (e.g., "Native admin group member"), Exposure Overview will still flag it as a security weakness if the default profile identified it as deviant.
This can create the impression that the issue has not been addressed, even though the object has already been whitelisted under a different profile.
If a remediation action (such as removing group membership) is taken based on the Exposure Overview display, the object will disappear from the view— but this may not have been necessary if the object was already whitelisted elsewhere.
 icon.
icon.
 .
.