Tenable Nessus BYOL Scanner
The following instructions describe how to configure a Tenable Nessus Bring Your Own License (BYOL) Amazon Web Services (AWS) scanner. Each section includes steps for configuring the scanner via the user interface or via the command line.
Note: For more information on advanced settings for Tenable Nessus (for example, security group configuration), see Advanced Settings in the Tenable Nessus User Guide.
Before you begin:
- Ensure that your system meets the hardware requirements described in the Tenable Nessus User Guide.
To configure the Nessus BYOL Scanner in AWS:
- Log in to the AWS Management Console.
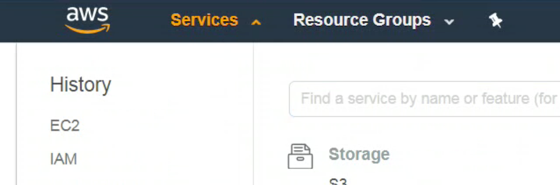
- In the top menu bar, click Services.
The Services page appears.
Note: Amazon is continually updating their service, so screenshots may differ from the AWS interface you see.
- In the Compute section, click EC2.
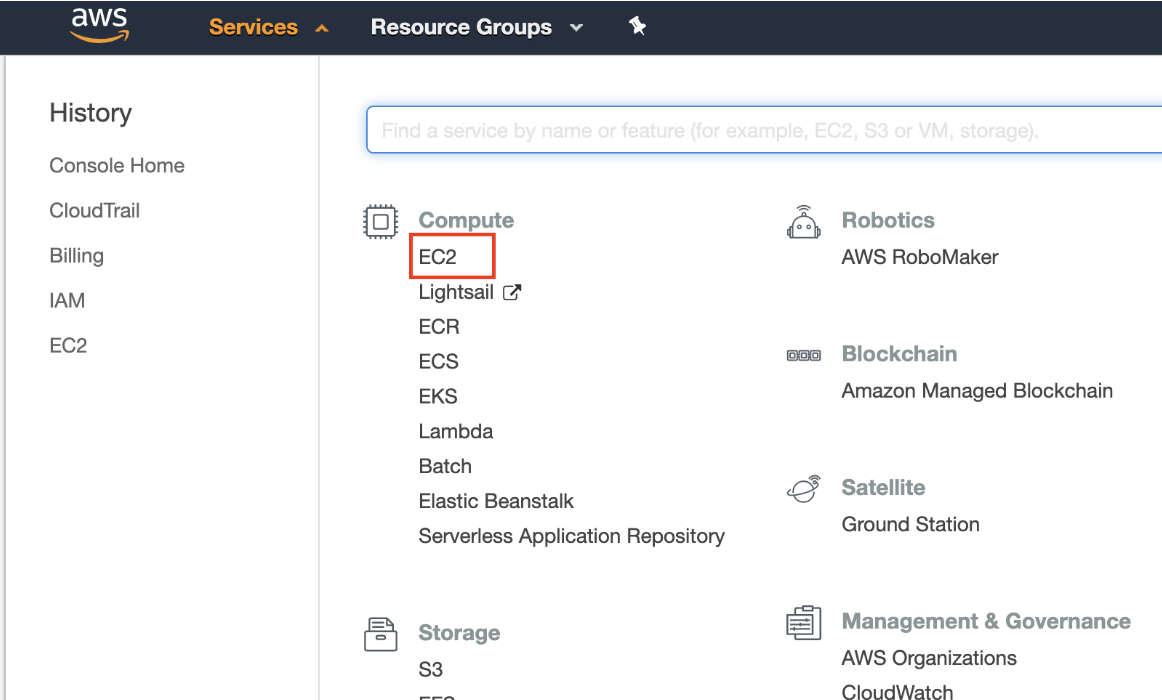
The EC2 Dashboard appears.
- In the Create Instance section, click Launch Instance.
The Choose an Amazon Machine Image (AMI) page appears.
- In the left panel, click AWS Marketplace.
- In the search box, type Nessus.
- On your keyboard, press Enter.
- In the Nessus (BYOL) section, click Select.
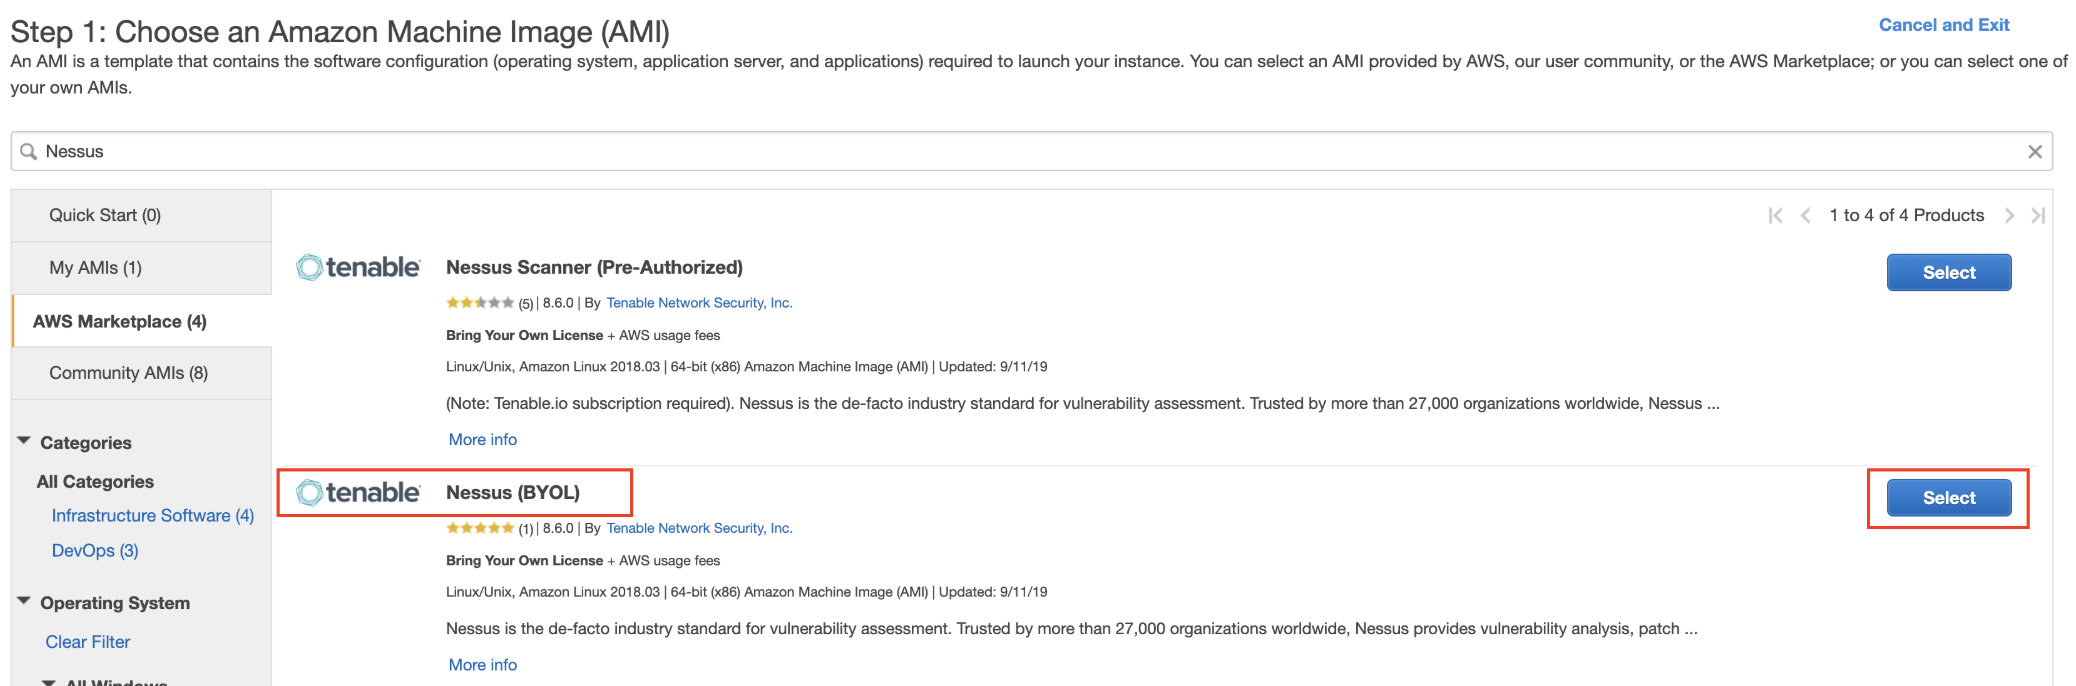
The Nessus (BYOL) review window appears.
- Review the pricing details and instance type details.
- Click Continue.
The Step 2: Choose an Instance Type page appears.
- Click Next: Configure Instance Details.
The Step 3: Configure Instance Details page appears.
- Configure the instance details according to your company-specific preferences.Note: Your system must also:
- Meet the hardware requirements described in the Tenable Nessus User Guide.
- Include an internet connection with which to access Tenable Vulnerability Management.
- Click Next: Add Storage.
The Step 4: Add Storage page appears.
- Configure the storage details according to your company-specific preferences.
- Click Next: Add Tags.
The Step 5: Add Tags page appears.
- (Optional) Configure tags according to your company-specific preferences.
- Click Next: Configure Security Group.
The Step 6: Configure Security Group page appears.
- (Optional) Configure the security group details according to your company-specific preferences.
- Click Review and Launch.
The Review Instance page appears.
- Click Launch.
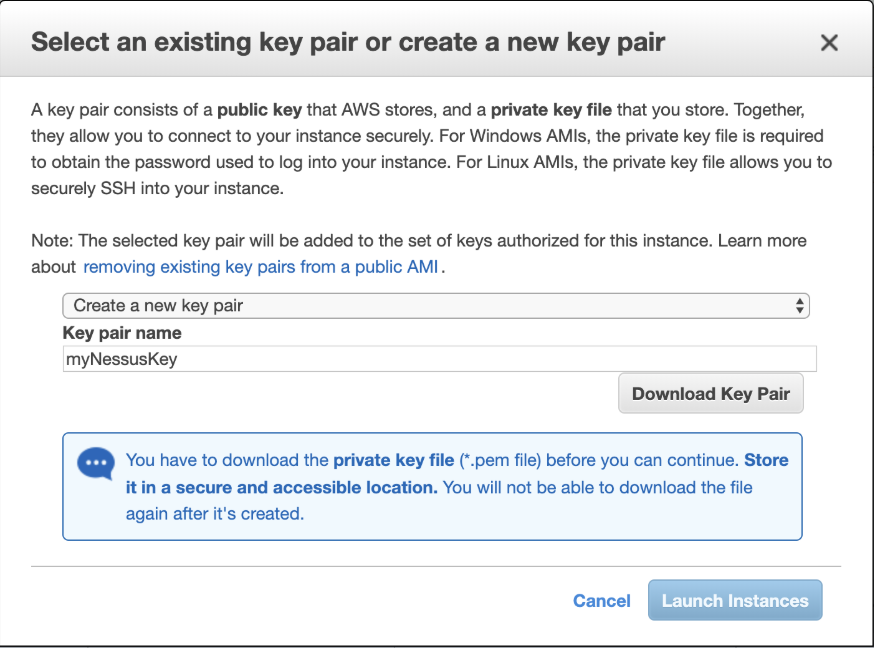
A key pair page appears.
- Do one of the following:
- If you have access to an existing key pair, select Choose an existing key pair.
- In the Select a key pair section, select the key pair you want to use.
- Select the acknowledge checkbox.
- If you do not have access to an existing key pair, select Create a new key pair.
- In the Key pair name box, type a name for the key pair.
- Click Download Key Pair.
Tip: You need this key pair to access the Nessus Professional BYOL scanner from the command line for activation/registration. For more information, see Activate Tenable Nessus BYOL Scanner via the Command Line.
- If you have access to an existing key pair, select Choose an existing key pair.
-
Click Launch Instances.
The Launch Status page appears. AWS begins a validation process for the new Nessus BYOL EC2 Instance and proceeds to pass health checks.
- Click View Instances to confirm the instance appears successfully.
Note: When the status checks are complete, take note of the public IP (if applicable) of the Nessus BYOL instance. Otherwise, you need a Bastion host to access the command line to continue configuration of the Nessus BYOL Scanner.