Assets Configuration and Schedule Import
Note: Tenable for Assets only supports Tenable Security Center versions 5.7 and later.
The asset integration allows ServiceNow to retrieve and accurately match Tenable assets to your existing CIs. OT Security for VR and ITSM both rely on this app for finding the correct asset related to vulnerabilities from Tenable.
Note: It is important that you completely set up and tune this integration to match Tenable Assets to ServiceNow CIs before moving on to OT Security for VR or Tenable for ITSM.
To set up the asset integration configuration, you must:
- Configure the Tenable Connector
- Configure Assets to Sync from Tenable to ServiceNow
- Configure IRE Rules
- Import Operational Technology (OT) Devices
- (Optional) Configure Assets to Sync from ServiceNow to Tenable Vulnerability Management
- (Optional) Configure Assets to Sync from ServiceNow to Tenable Security Center
- Log in to ServiceNow.
- Go to the Tenable Connector Application.
- In the left-hand menu, click Tenable Connector.
-
In the sub-menu, click Connectors.
The Tenable Connectors page appears.
-
Click the Tenable connector you want to use: Tenable Vulnerability Management, Tenable Security Center, or Tenable.ot.
The Tenable Connector page appears.
- In the Scheduled Jobs section, click New.
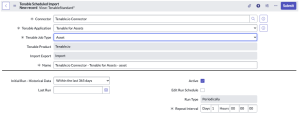
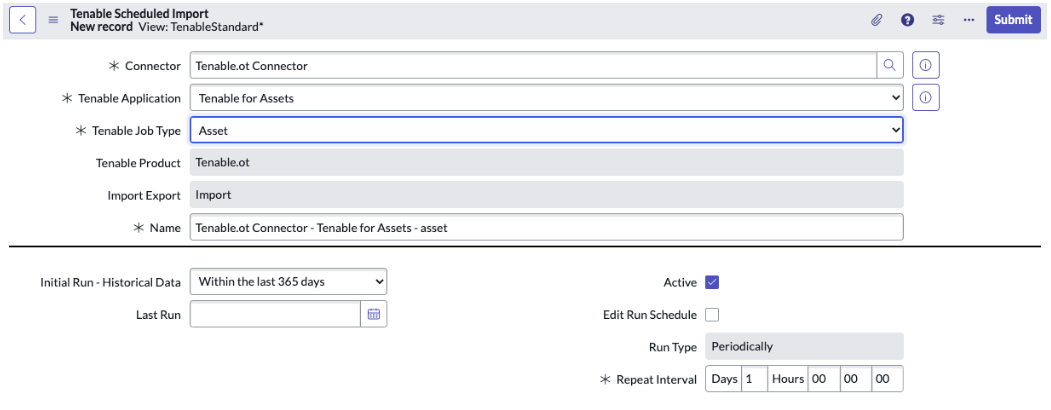
The Tenable Scheduled Import page appears. By default, the Tenable Product and Connector fields populate with the Tenable application/connector you selected in step 5.
-
From the Tenable Application drop-down box, select Service Graph Connector for Tenable for Assets.
Tenable Vulnerability Management
Tenable Security Center
Tenable.ot
-
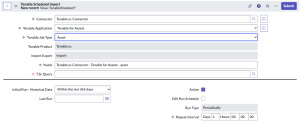
From the Tenable Job Type drop-down box, select the Asset job type.
Note: If you are in a domain-separated environment, the Domain is set to the same value that is on the Connector record. If this is not correct, create a new Connector record in the correct Domain.
- From the Import Export drop-down box, select Import. Import is selected by default.
- In the Name text box, type a unique name for this scheduled job.
-
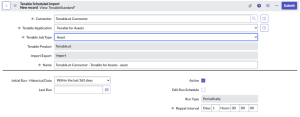
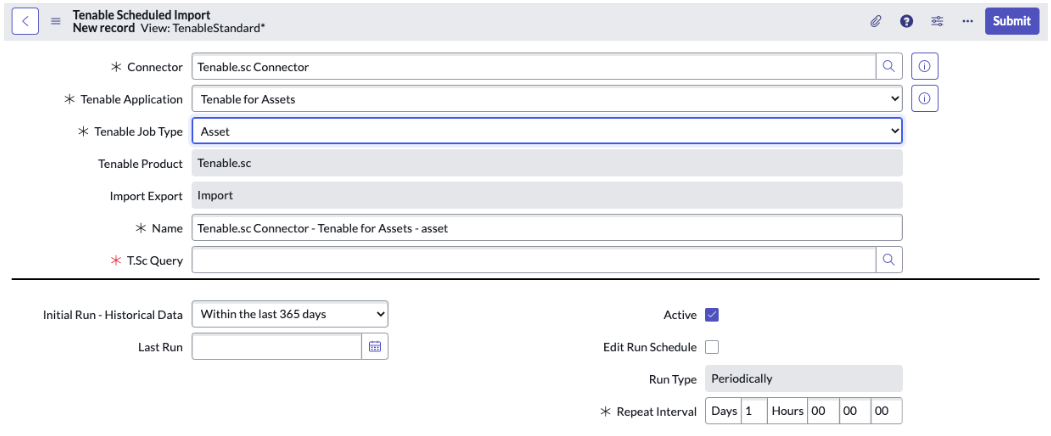
Configure the options for your import.
Option Description T.sc Query (Only for Tenable Security Center) Select the query to use for the import. Note: If no queries are available, see Queries in the Tenable Security Center documentation to add a new query. Then, execute the Queries Scheduled Import to pull it into ServiceNow. Once that is complete, then you can select the new query here
Initial Run - Historical Data The amount of time (in days) of historical data you would like to pull for your first import.
Last Run The date and time that the import was last run. Active If selected, the scheduled job runs on the configured schedule. If Run Type = Periodically and Active = true, then an asset sync is automatically executed when you submit the import or export. By default, this setting is selected. Schedule Edit Run Schedule Select this box if you want to edit the Run Type and Repeat Interval / Time.
Run Type The frequency that you want the import to run.
Repeat Interval / Time The set time (hh/mm/ss) to run the import.
- Click Submit.

Note: Ensure that you accurately configure the assets. Asset configuration is key in making the integration work properly. Errors in these configuration steps affect all future configurations.
The Identification and Reconciliation Engine (IRE) is ServiceNow’s system for identifying matches in the CMDB and determining if CIs can be created and what CI fields can be updated by different sources. Refer to ServiceNow’s documentation to ensure IRE is configured correctly for your environment before importing assets from Tenable.
Note: By default, Tenable data updates CI fields on each import. If you are using ServiceNow Paris or later you can use reconciliation rules to control what asset data updates. You can use data source rules to prevent Tenable from creating new CIs.
Note: ServiceNow provides some general Identification Rules out-of-the-box. However, you may need to customize these rules for your specific environment. By default, CI fields are updated with Tenable data on each import. You can use reconciliation rules to control what CI fields can be updated by Tenable. By default, Tenable is able to create new CIs in your CMDB. You can use Data Source Rules to prevent Tenable from creating new CIs. By default, your CIs will not be automatically reclassified if a match is found in a different CI class. Read more about CI reclassification here. To change this behavior, modify the x_tsirm_tio_cmdb.updateWithoutDowngrade and x_tsirm_tio_cmdb.updateWithoutSwitch system properties.
- Log in to ServiceNow.
- In the left panel, in the Filter navigator, type "CI Class Manager."
- Click CI Class Manager.
The CI Class Manager page opens.
- Click Open Hierarchy.
The CI Classes panel opens.
- In the CI Classes panel, click Hardware (2032).
The Hardware page appears.
- In the Class Info section, click Identification Rule.
The Identification Rule page appears.
- Clone or edit the Serial Number rule.
The Edit Identifier Entry window appears.
- Click Advanced Options.
- In the Advanced Options section, deselect the Enforce exact count match check box.
- Click Save.
You return to the Identification Rule page.
- Clone or edit the Network Adapter rule.
The Edit Identifier Entry window appears.
- Repeat steps 8-10 for the Network Adapter rule.
What to do next:
Ensure IRE rule changes are applied on the next import and clean the correlation data.
The following background scripts are examples that you can run to clean direct correlations between Tenable data, the CMDB, and IRE data. When you change the IRE rules to improve the match with third-party data to your existing ServiceNow CIs, you must apply the updated rules and clean up old relationships.
var assetInfo = new GlideMultipleDelete('x_tsirm_tio_cmdb_asset_attributes');
assetInfo.execute();
// Cleanup source uniqueness This will force IRE matching
var assetSysSource = new GlideMultipleDelete(“sys_object_source”);
assetSysSource.addQuery(“name”, “STARTSWITH”, “Tenable”);
assetSysSource.execute();
Note: You must have a license from ServiceNow to import OT devices from OT Security. Refer to the OT Subscription Unit Overview in the ServiceNow documentation and contact your ServiceNow account team for details.
Before you begin:
- Submit a request to ServiceNow support to install the com.snc.itom.license plugin on your production instance. This allows ServiceNow to report on your OT assets.
- Run the fix script included in Tenable assets to register Tenable as an asset source with ServiceNow.
To run the fix script for OT devices in the ServiceNow user interface:
- In the Filter navigator, type Fix Scripts.
- In the left-side navigation pane, click Fix Scripts.
The page populates with available fix scripts.
-
In the search box, search by name for Add Tenable.ot to ITOM License.
-
In the search results, click Add Tenable.ot to ITOM License.
-
In the upper-right, click Run Fix Script.
The fix script runs.