Configure Tenable Vulnerability Management or Tenable Web App Scanning
Required User Role: Administrator
Connect to Tenable Vulnerability Management or Tenable Web App Scanning by creating the account configuration.
Before you begin:
-
Generate an API key in Tenable Vulnerability Management to complete the configuration. See the Tenable Vulnerability Management user guide for instructions on how to generate an API key. Do not use this API key for any other third-party or custom-built application or integration. It must be unique for each installed instance of the integration.
Note: Asset and vulnerabilities in Splunk might differ from individual scan results since the Splunk integration synchronizes cumulative vulnerability and asset data from the Tenable API endpoints.
To configure your account for Tenable Vulnerability Management(TVM) or Tenable Web App Scanning(TWAS):
- Log in to the heavy forwarder where you installed the Tenable Add-on for Splunk.
-
In the left navigation bar, click Tenable Add-on for Splunk.
-
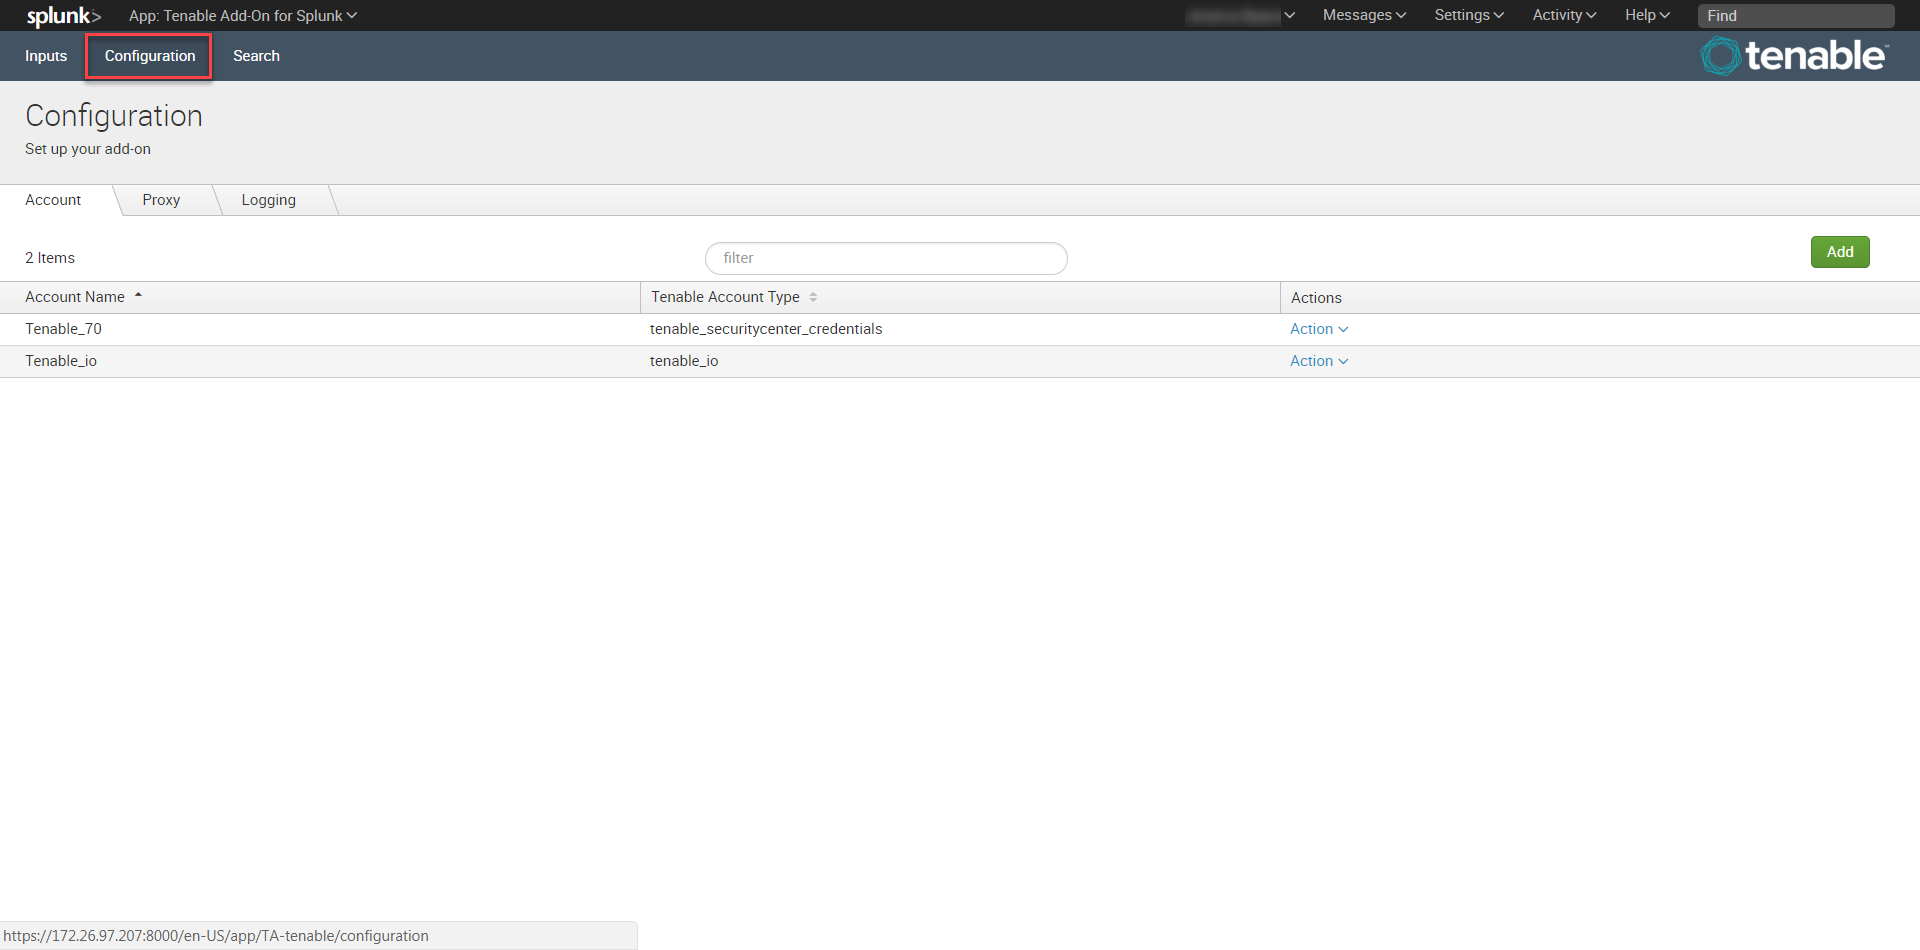
Click the Configuration tab.
-
Click the Add button.
The Add Account window appears:
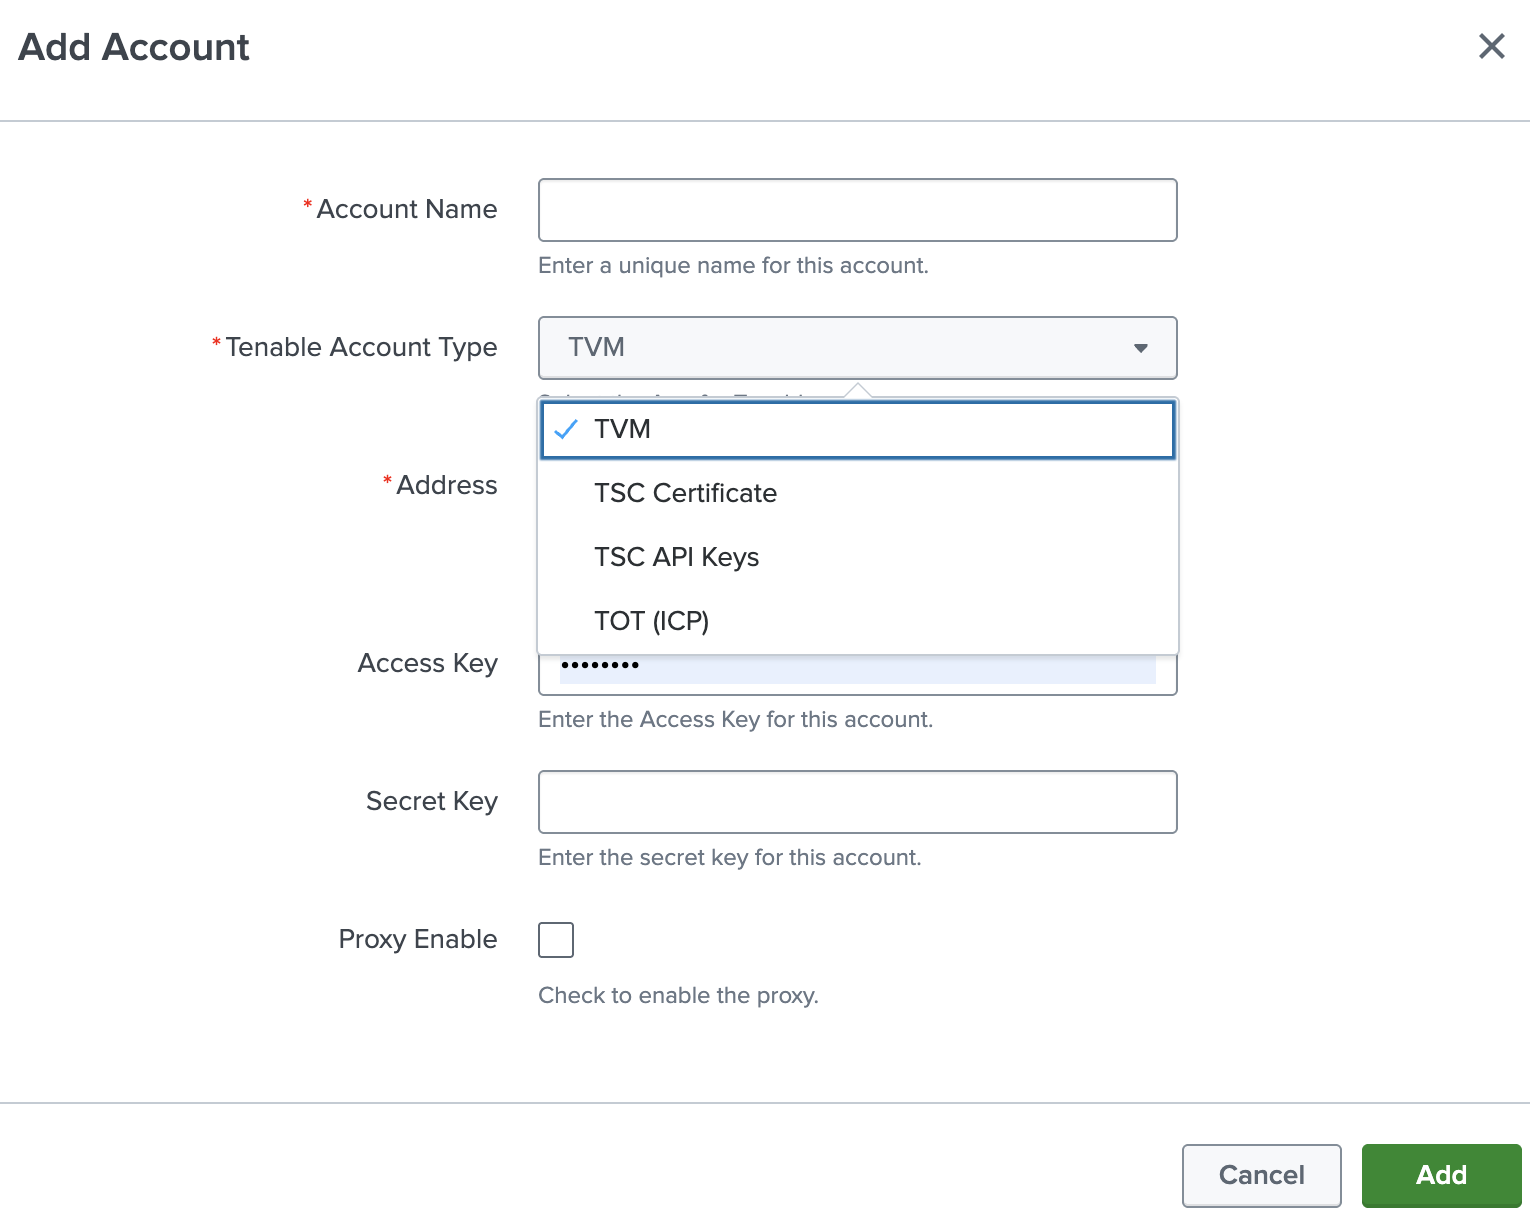
- In the Tenable Account Type box, select TVM.
-
Enter the necessary information for each field. The following table describes the available options.
Input Parameters Description Account Name (Required) The unique name for each Tenable data input. Tenable Account Type (Required) The type of Tenable account. Select TVM or TWAS. Address (Required) The hostname or IP address for Tenable Vulnerability Management or Tenable Web App Scanning. (For example, cloud.tenable.com or fedcloud.tenable.com) Verify SSL Certificate Enabled by default, Splunk verifies the certificate in Tenable Vulnerability Management or Tenable Web App Scanning. To disable, set one or more of the following to ‘False’ based upon your use case:
-
verify_ssl_for_sc_cert = True
-
verify_ssl_for_sc_api_key = True
-
verify_ssl_for_sc_creds = True
Access Key (Required) Tenable Vulnerability Management API access key. Secret Key (Required) Your Tenable Vulnerability Management API secret key. Proxy Enable Enables the plugin to collect Tenable Vulnerability Management or Tenable Web App Scanning data via a proxy server. If you select this option, the plug- in prompts you to enter the following:
- Proxy Type - the type of proxy used.
- Proxy Host - the hostname or IP address of the proxy server.
- Proxy Port - the port number of the proxy server.
- Proxy Username - the username for an account that has permissions to access and use the proxy server.
- Proxy Password - the password associated with the username you provided.
-
- To complete the configuration, click Add.
Next steps
- Create an Input for the Tenable Add-On for Splunk.