QRadar
Integrate with IBM QRadar (version 7.3.2 and above) to send Tenable One AI Exposure findings to your QRadar server/s.
What to do next:
-
To start sending data for findings, you need to also configure automation rules or manually trigger an action after you add the integration. Successfully completing all integration steps doesn't trigger the sending of any data on its own.
Add a QRadar Server
This integration supports both internet-facing and network-isolated servers. See Connect Network-Isolated Servers for more information about working with network-isolated servers.
To add a QRadar server:
- In the AI Exposure Console, navigate to Settings > Integrations.
- (Options) Select a scope in the Organization dropdown.
- Click Add Integration.
- In the Integrations Library click QRadar. The QRadar wizard opens.
-
Add the Tenable extension in QRadar (Step 1 in wizard):
- Download the Tenable QRadar extension using the link in the wizard.
- In the IBM QRadar Console, navigate to the Admin page, and then click on Extensions Management.
- Click Add, and then browse to the location where you saved the Tenable QRadar extension.
- Click Add.
-
Add the Tenable Log Source (Step 2 in wizard):
- From the QRadar Admin page, click on Log Sources (in the Data Sources > Events section). A new window is displayed, requiring you to use the QRadar Log Source Management app.
- Click Launch.
- From the IBM QRadar Log Source Management page, click Log Sources.
- Click + New Log Source. A page asking you how many log sources you will be adding is displayed.
- Click Single Log Source.
- Search for and select Ermetic as the log source, and then click Step 2: Select Protocol Type.
- Select TLS Syslog and then click Step 3: Configure Log Source Parameters.
-
Add the Tenable Log Source (Step 3 in wizard), by configuring the Log Source parameters, as follows:
- Enter Ermetic as the Name for the log source.
- For the Extension, select ErmeticCustom_ext.
- Clear the Coalescing Events radio button.
- Click Step 4: Configure Protocol Parameters.
- Enter Ermetic as the Log Source Identifier.
- (Optional) Change the TLS Listen Port or Certificate Type, if needed.
- Enter 30000 as the Max Payload Length.
- Click Step 5: Test Protocol Parameters.
- (Optional) Click Start Test to test the protocol parameters.
-
Enter the following QRadar server parameters in AI Exposure (Step 4 in wizard):
- Display name — A display name for the QRadar integration in AI Exposure.
-
Select how Tenable connects to your server. If your server is network-isolated, use a Tenable Endpoint Connector to establish connection.
- Endpoint (internet-facing):
- Enter the hostname or IP address of the IBM QRadar Console, without the https:// protocol prefix.
- Enter the QRadar TLS port. By default 6514, unless changed.
- Endpoint Connector (network-isolated) — Select the relevant connector from the dropdown. If this option is disabled, it means you haven't yet added a connector. See Connect Network-Isolated Servers for information about how to add one.
- Endpoint (internet-facing):
- Check Accept any server SSL certificates if SSL is enabled for the server.
- Click Finish.
View Tenable Findings in QRadar
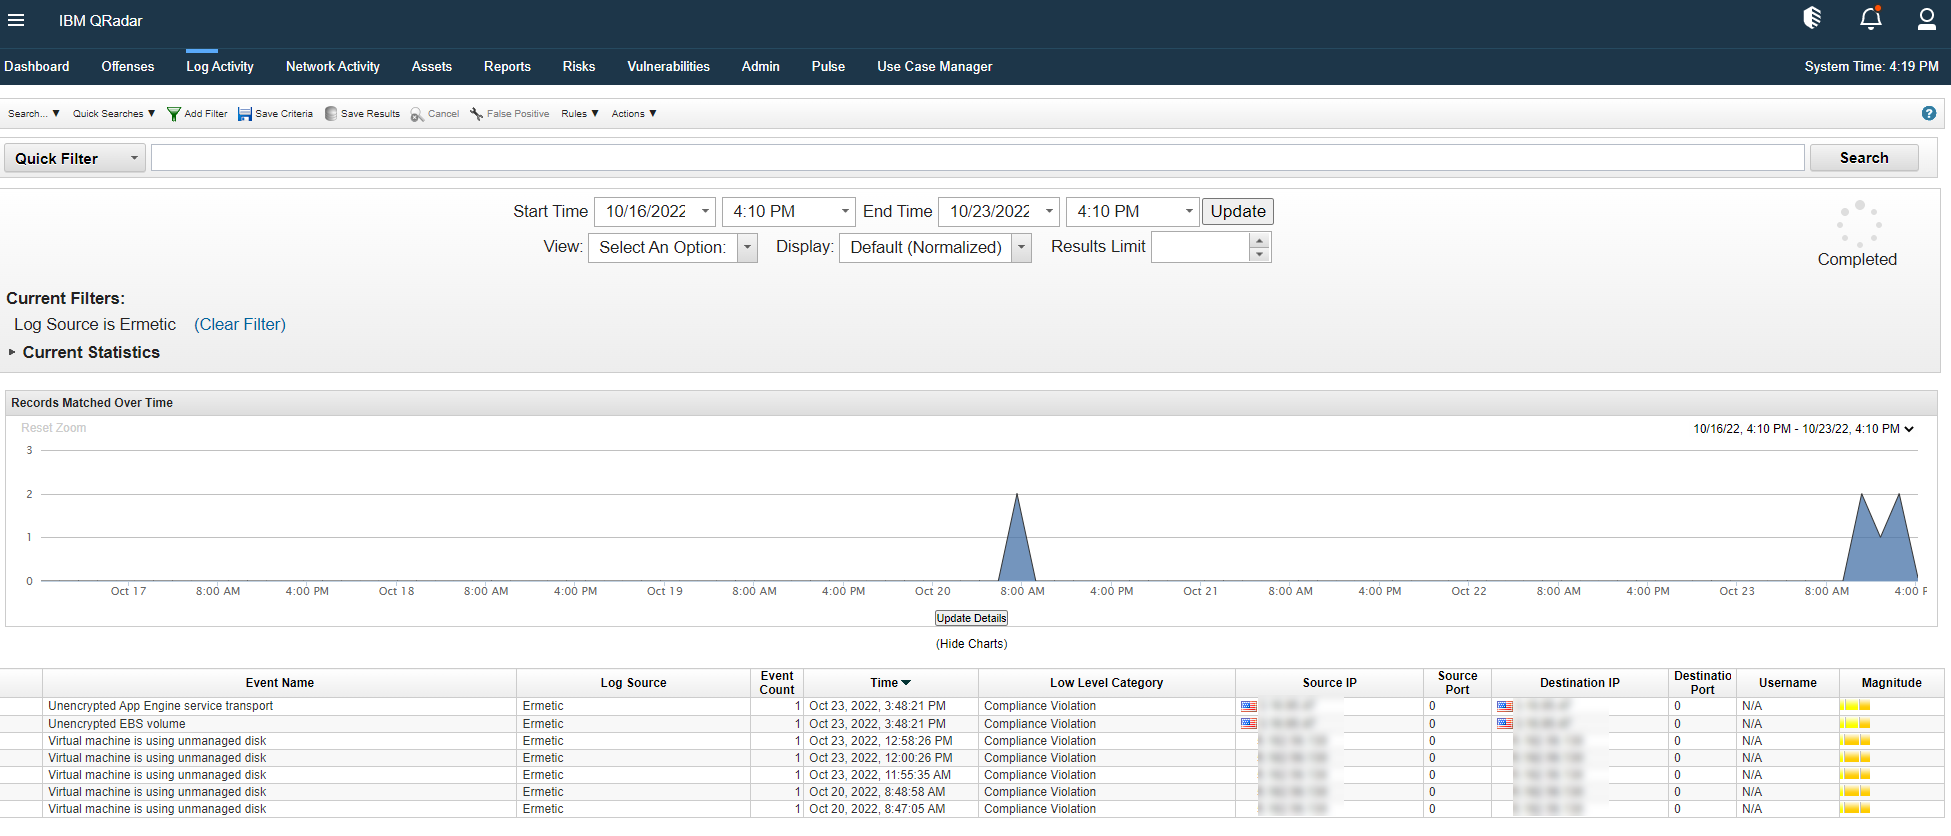
- In the IBM QRadar Console, navigate to the Log Activity page.
-
Click Add Filter and define the filter as follows:
- Parameter: Log Source [Indexed]
- Operator: Equals
- Log Source Filter: Ermetic
-
Click Add Filter.
-
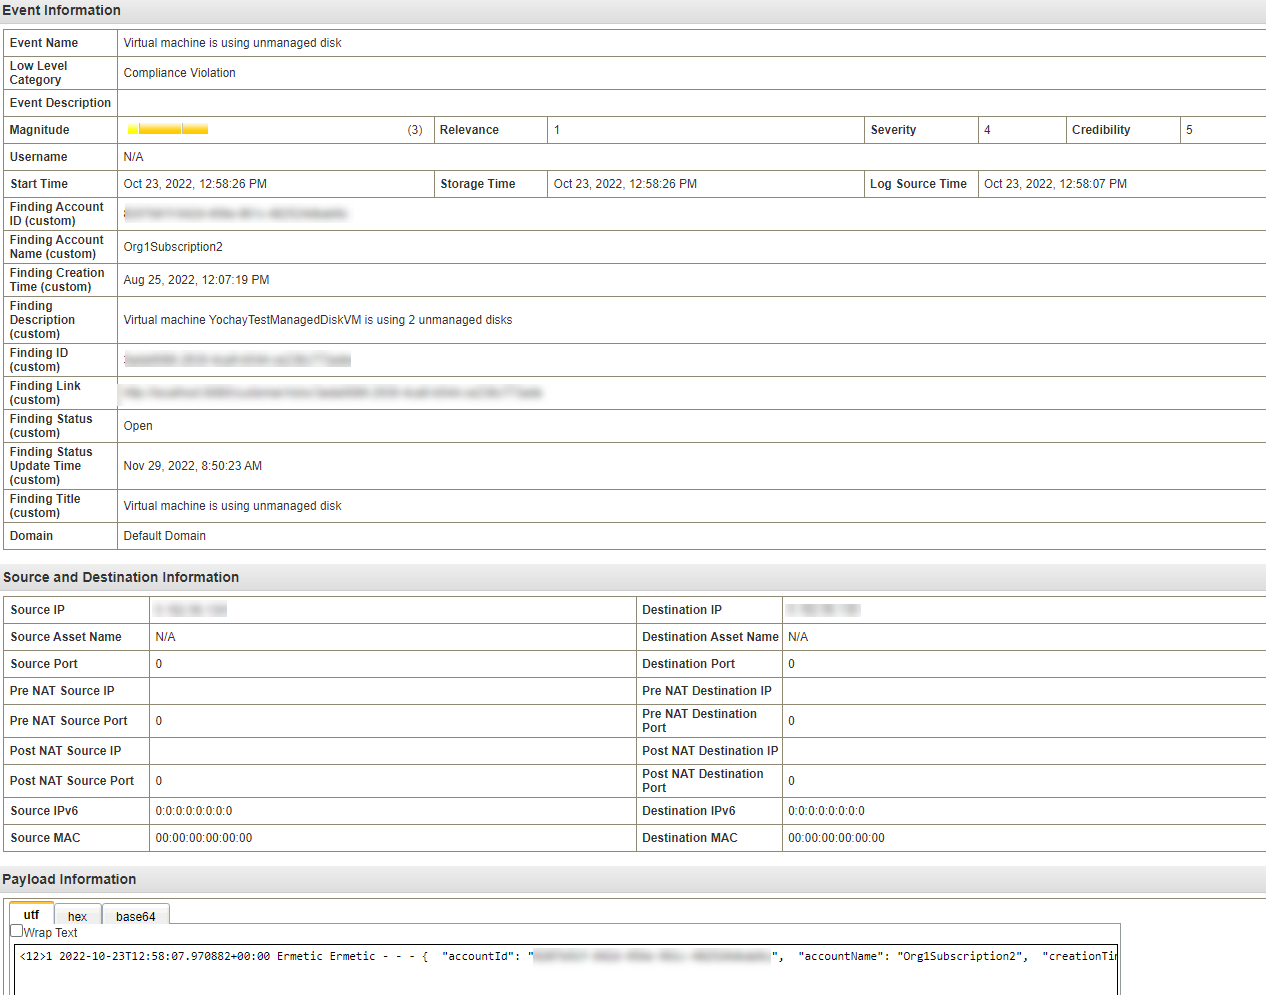
Double-click on an event to view a detailed view of the event.
Sample JSON
JSON
{
  "accountId": "*****project",
  "accountName": "*****Project",
  "creationTime": "2022-10-23T10:31:54.446Z",
  "description": "App Engine Service default has 1 version not enforcing HTTPS connections",
  "id": "********-****-****-****-************",
  "link": "https://****.***.app.ermetic.com/customer/risks/ca6978eb-****-****-****-68241bedc38f",
  "labels": [
  ],
  "resource": [
    "apps/*****project/services/default"
  ],
  "severity": "Medium",
  "status": "Open",
  "statusUpdateTime": "2022-10-23T18:50:23.321Z",
  "policyName": "Unencrypted App Engine service transport",
  "type": "Finding",
  "ticketLinks": [
    "https://tenableccustomer1.atlassian.net/browse/DAV-24140",
    "https://tenablecustomer1.atlassian.net/browse/DAV-24144",
    "https://tenablecustomer1.atlassian.net/browse/DAV-24148",
    "https://tenablecustomer1.atlassian.net/browse/DAV-24152"
  ],
  "comments": [
    {
      "message": "created a ServiceNow incident for this threat story",
      "time": "2026-07-29T09:00:13.124307Z",
      "userName": "Tenable"
    },
    {
      "message": "created a Jira ticket for this threat story",
      "time": "2026-07-29T09:00:05.609867Z",
      "userName": "Tenable"
    }
  ]
}