Reduce and Prioritize Critical Risk
Objective
Identify and isolate the top 1% of vulnerabilities that pose an immediate threat to your organization, filtering out "noise" and low-priority findings. For example, not all "Critical" (CVSS 10) vulnerabilities carry the same risk. A vulnerability on a test server behind a firewall requires less urgency than an actively exploited vulnerability on a public-facing web server.
Prerequisites
-
Ensure you have Scan Results populated within the Tenable Exposure Management interface.
-
Ensure you have the appropriate permissions to view the data.
Step 1: View your Findings
-
Log in to Tenable Exposure Management.
-
In the left navigation menu, click Inventory > Findings.
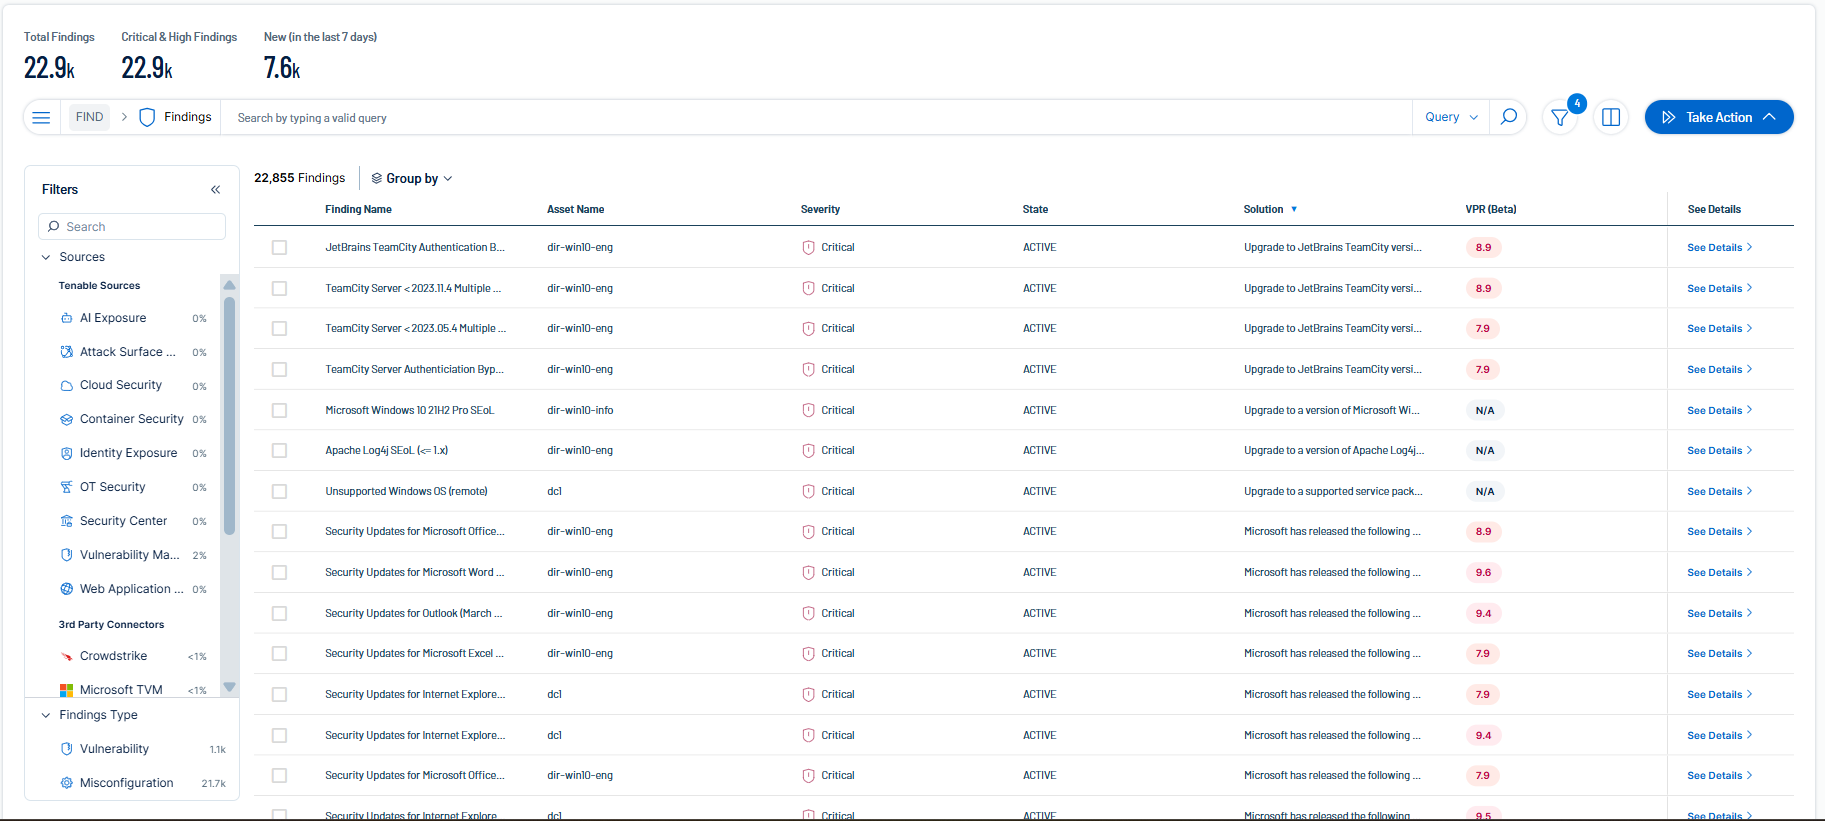
The Findings page appears, including a list of all your findings.
Step 2: Apply Contextual Filters
To reduce the finding count from thousands to a manageable list, filter the findings list using the following criteria:
-
Filter by Threat (VPR):
Why: This isolates vulnerabilities with active exploits or high threat potential.
-
Select Property > VPR Score.
-
Select the Greater Than or Equal operator.
-
In the text box, type a value of 9 (Critical).
-
-
Filter by Critical Assets:
Why: This ensures you are prioritizing business-critical assets (e.g., Domain Controllers, Database Servers).
-
Select Property > ACR.
-
Select the is greater than or equal operator.
-
In the text box, type a value of 7 (High).
Tip: For a more granular approach, create and apply a tag specifically to the assets that are critical to your environment. Then, filter the list for assets with that tag. -
-
Filter by Public Exposure:
Why: External assets are the most accessible entry points for attackers.
-
Using the global search bar, type the following query:
WITH Asset HAS Is Public IP exists
-
Step 3: Analyze and Export
-
Review the filtered list. These are your "Immediate Action" items.
-
(Optional) Click See Details for any vulnerability to view additional details, including to understand why a specific vulnerability has a high score.
-
Select the checkboxes next to the top findings whose data you want to export.
-
In the upper-right corner, click Take Action and select one of the following options:

-
Export — Export the list of findings as a CSV or JSON file to share with your IT operations team.
-
Create Jira Ticket — Create a Jira ticket based off of the selected findings that you can assign to the person responsible for the work. You navigate directly to the Open a Jira Ticket page.
-
Create ServiceNow Ticket — Create a ServiceNow ticket based off of the selected findings that you can assign to the person responsible for the work. You navigate directly to the Open a ServiceNow Ticket page.
-