View Your AI Asset Inventory
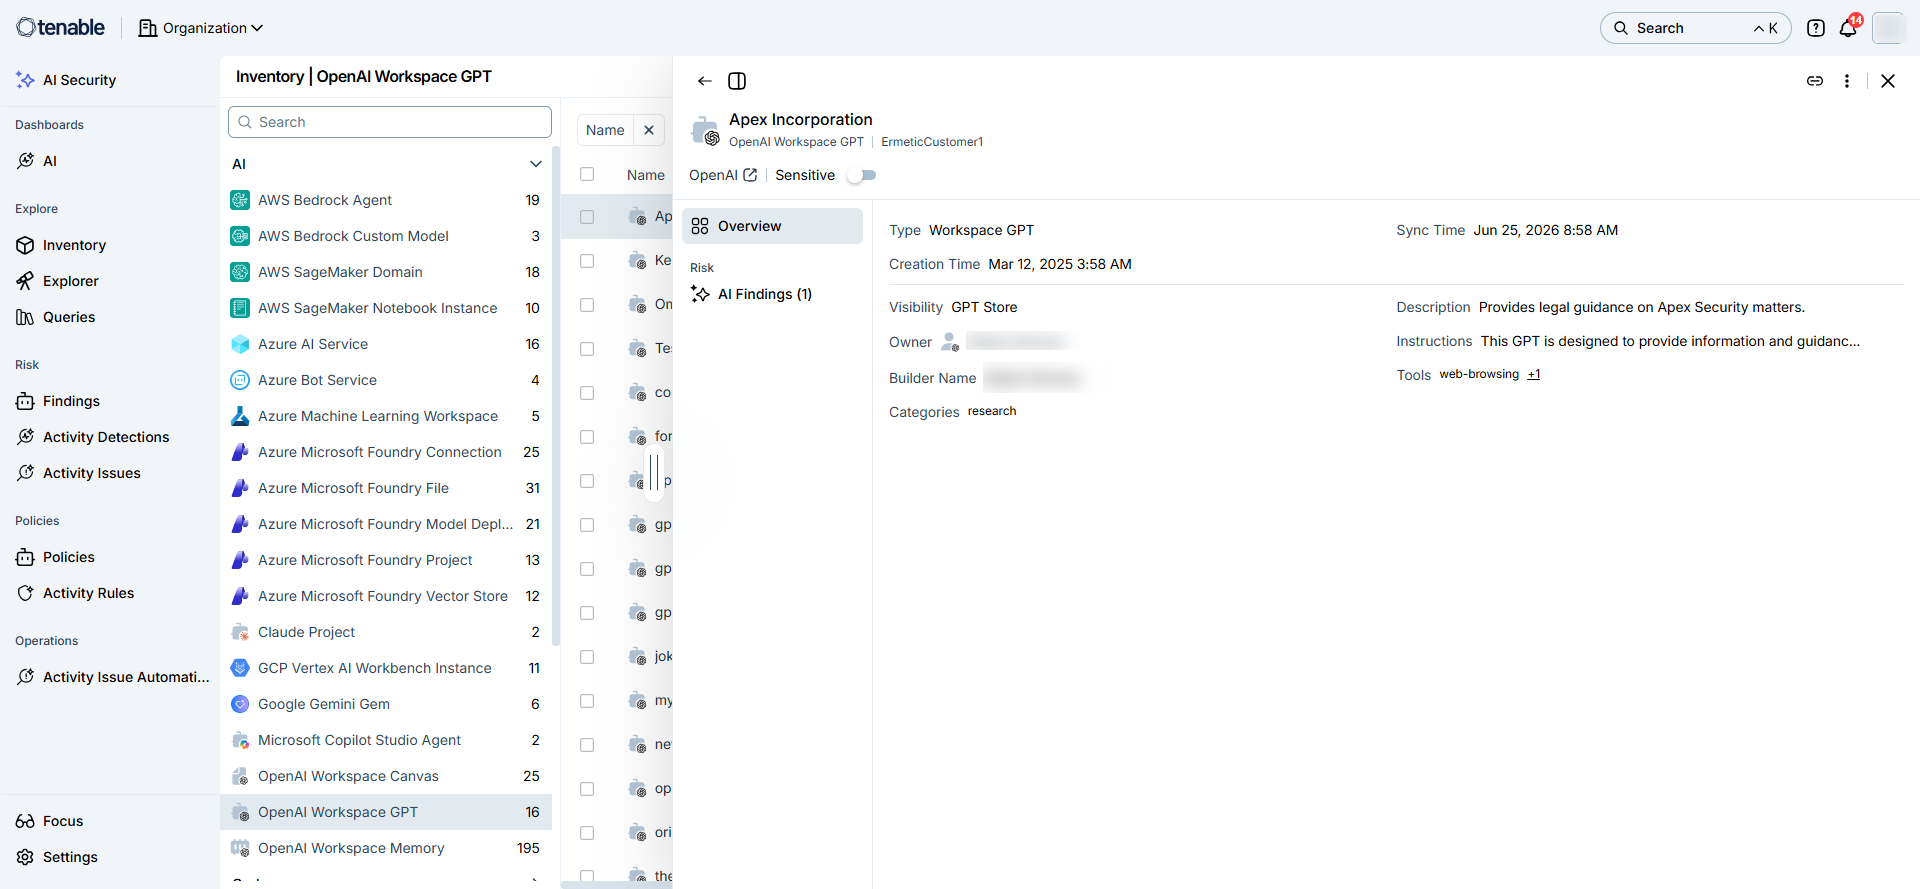
You can use the Inventory view to analyze the operational characteristics of your AI services. For example, you can perform the following tasks:
- Identify all AWS Bedrock Agents in your environment running with high-privilege IAM execution roles.
- Review all OpenAI Workspace GPTs configured with public or "Anyone with link" visibility that may expose sensitive instructions or tools.
- Monitor all Azure Microsoft Foundry model deployments across your organization and the accounts they belong to.
- Track all GCP Vertex AI Workbench instances and identify configurations that have not synchronized recently.
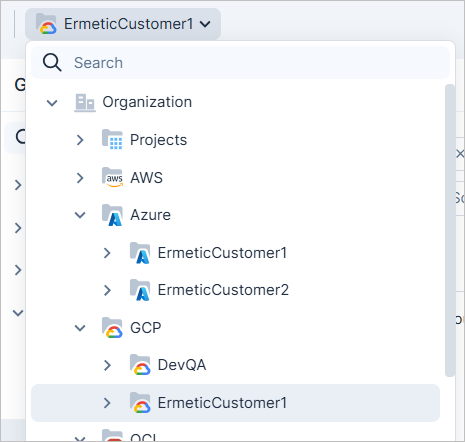
The Inventory view lists all AI resource types collectively across cloud and SaaS providers, without separating by provider. To view resources for a specific provider, use the Organization selector at the top of the Console.
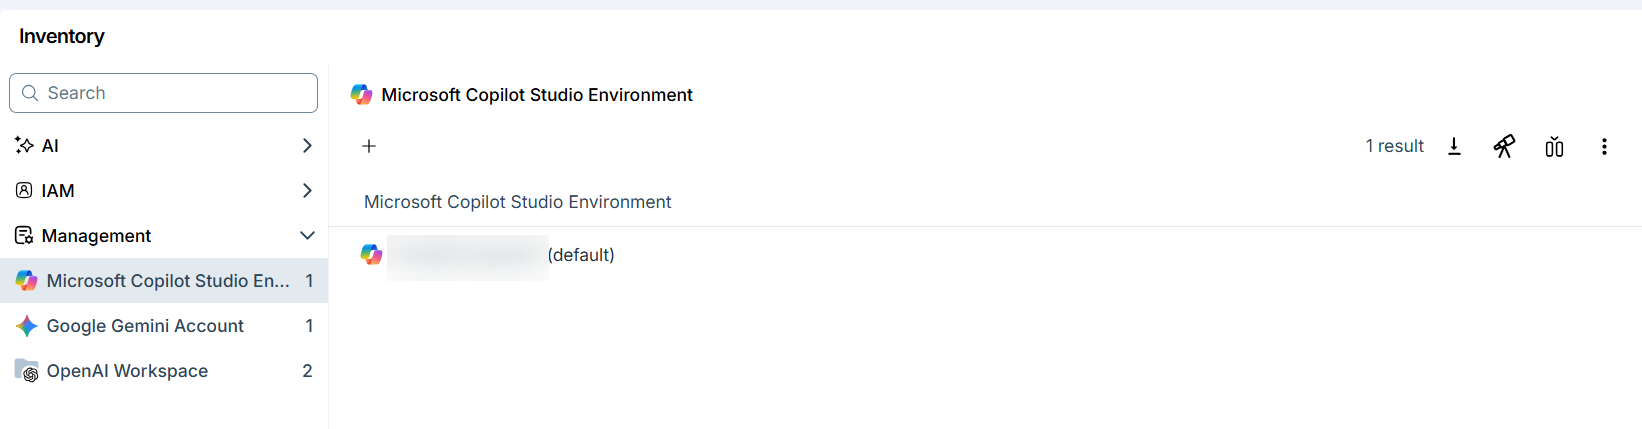
The left pane of the Inventory page includes three main navigation categories:
- AI — A catalog of AI resources and services across cloud providers, including models, agents, and workspaces.
- IAM — An inventory of identity and access management entities that interact with AI services, including users, roles, and groups.
-
Management — The top-level accounts and workspaces that govern AI service configurations, providing organizational context for the resources tracked under AI and IAM.
Each resource type displays columns specific to that type. For example:
- AWS Bedrock Agent shows: Name, Account, Creation Time, Status (Prepared/NotPrepared/Failed), Role, Encryption, Encryption Key.
- OpenAI Workspace GPT shows: Name, Account, Visibility (GPT Store / Workspace / Invite only / Anyone with link), Owner, Creation Time.
To view your asset inventory:
- In the Tenable One AI Exposure Console, go to Explore > Inventory.
- From the Inventory view, search for and select the relevant AI category and resource type that you want to view. For example, AI > AWS Bedrock Agent.
- Use the Column Picker button on the top right of the table to choose which columns to display.
- Filter the asset inventory to modify the scope of the visible data. Available default filters include Name, Account, Region, and Labels. Additional filters vary by resource type.
- Review detailed resource metrics by clicking any row in the table. A detail panel opens displaying the following options:
- Overview tab — Displays resource properties such as Type, Creation Time, Sync Time, Visibility, Owner, Builder Name, Categories, Description, Instructions, and Tools.
- AI Findings — Displays the number of AI-specific findings associated with the resource, with links to investigate further.
Filter the Asset Inventory
Use the filters at the top of the table to narrow the scope of the visible data (for more information, see Filter Data):
- Click the Add Filter (+) button to add a filter.
- To filter the table by a specific search term, click Select matches.
- Some resources may not have a value for a particular filter/column. To filter the table by all resources that have any value for the filter, click Select all.
You can also filter by organization or account at the top of the Inventory page to see only resources for a specific account or a group of accounts. For more information, see Account Hierarchy and Folders.
The following global filters apply to all resource types:
-
Labels — Displays all labels applied to the resource, applied by one of the following methods:
- Manually (via Settings > Inventory > Labels).
- Automatically based on tag, or tag key and value (via Settings > Inventory > Labels). Labels created in this way have a flag icon
 next to them.
- Automatically by the system.
Hover over a label tag for more information. If a resource has multiple labels, click the icon to view them.
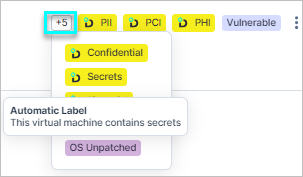
See Apply Labels to Resources for more information.
- Findings — Displays all findings associated with resources of the specified type.
-
Finding Severity — Indicates the severity of any findings associated with the resource:
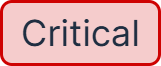




If there are multiple findings for the resource, the highest-severity finding is displayed. For example, if the resource has two associated findings, one with Critical severity and one with Medium severity, the Findings column will display Critical.
Export Inventory Data
Export all data for any AI inventory view by resource type. The data exports according to the current filters applied to the table. The output file uses the CSV format and includes all relevant resource data, including the URL of each resource page in the Console.
Alternatively, you can create/schedule an Inventory report for all resource types within a given account scope.
To export inventory data:
- In the AI Exposure Console, go to Explore > Inventory.
- From the Inventory view, select the relevant category and resource type.
- Apply any relevant filters.
- From the top-right corner of the table, click Export.
Search across Your Inventory
Use the global search to find AI resources across your entire multi-cloud environment. Searches filter data by the organization or account scope you select.
The search supports resource properties including resource name, account, and provider-specific identifiers.
The search bar appears at the top of the AI Exposure Console, regardless of which page you view.
To search across your inventory:
- (Optional) Select a scope in the organization selector to limit the search to a subset of accounts.
-
Enter a search term in the Search box at the top of the Console.
As you type, a list of matching results appears along with the total count. Results break down by resource type, allowing you to review matching results by type. You can scroll across the full list of results.
- Click the relevant resource to view its details.