Sample End-to-End Finding Workflow
The following sample workflow describes one possible approach you can take to analyze and remediate findings in your environment. This example walks you step-by-step through the lifecycle of a finding. In this case, we will focus on an Overprivileged IAM User (DemoMaker) finding with Critical severity in an AWS production environment, These steps can be tweaked and extrapolated to other finding types/scenarios.
- In the Tenable One Cloud Exposure Console, click on Risks > Cloud Findings to see a list of all cloud findings in your environment. In the default view, findings are ordered by severity level.
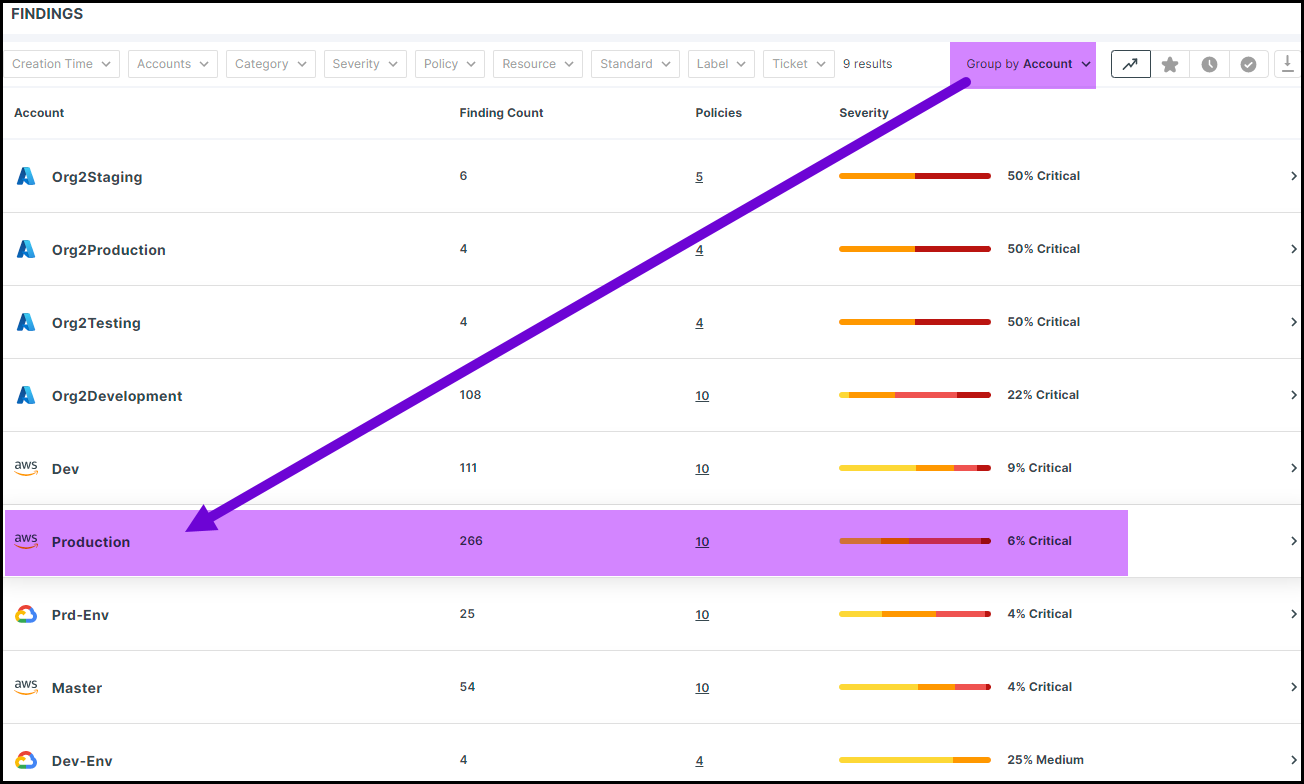
- Since we are looking for a resource in our AWS production environment, we can choose to display findings in such a way that allows us to see a breakdown of findings by account. To do this, click the Group by dropdown, and then click Account.
-
From this view, we can easily find our AWS Production account. However, we can also see that there are over 200 findings associated with this account, making it difficult to identify the specific finding we are looking for.
-
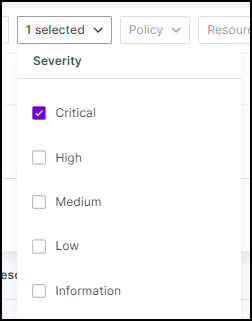
Since we are looking for a finding with Critical severity, we can use the Severity filter at the top of the table to narrow down the results to Critical only. This reduces the finding count significantly.
-
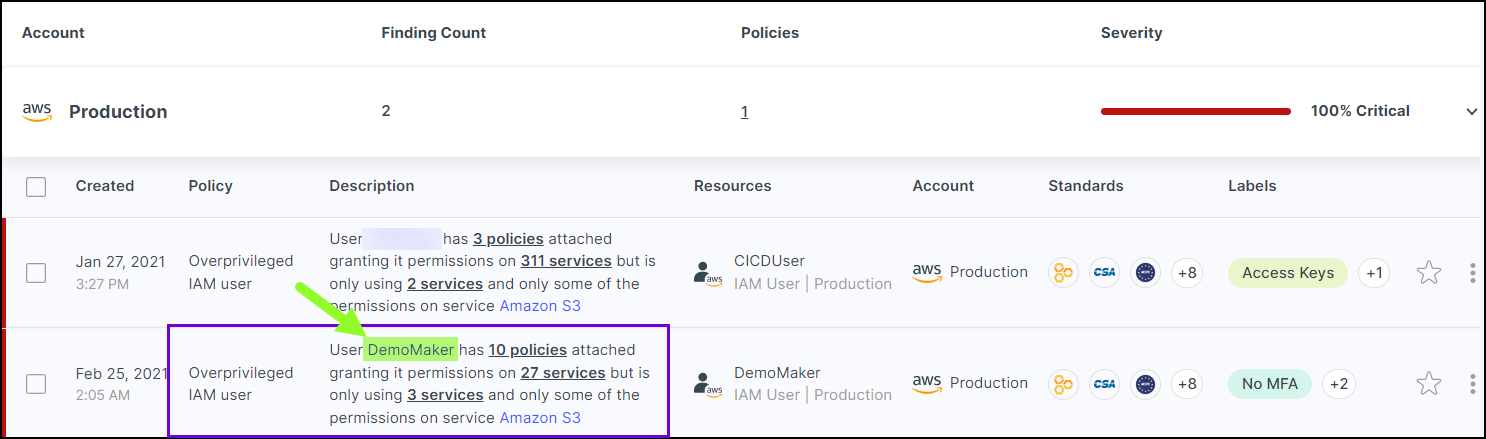
We can then use the Policy filter to further narrow down the results according to the finding type that we’re looking for (Overprivileged IAM User). When we do this, we see only a couple results, one of which is the DemoMaker user that we’re looking for.
-
Click on the finding to see more information about it in a dedicated finding view.
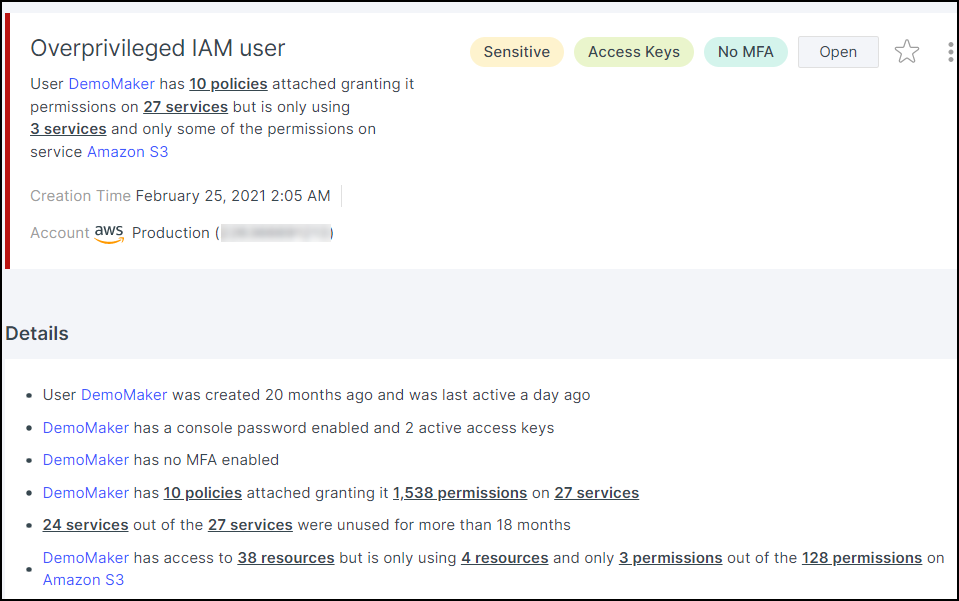
- We can see that this IAM identity is only using 3 out of the 27 services that policies grant it permissions to. We can click on these services (both used and unused) or policies to see a complete list, allowing us to better understand the specific privileges that are excessive.
- We can see in the Details section that the IAM identity doesn’t have MFA enabled (and also via the No MFA label), adding an additional layer of risk to the finding.
- In the Permissions and usage section, we can visualize the permission mapping for this IAM identity, and better understand how the identity is able to assume roles and access other resources in the environment. For example, we can filter the map to view excessive permissions with critical severity. See Visualize Permission Mapping for more information about this feature.
-
Next, we can navigate to the Remediation steps section and review the recommended action items.
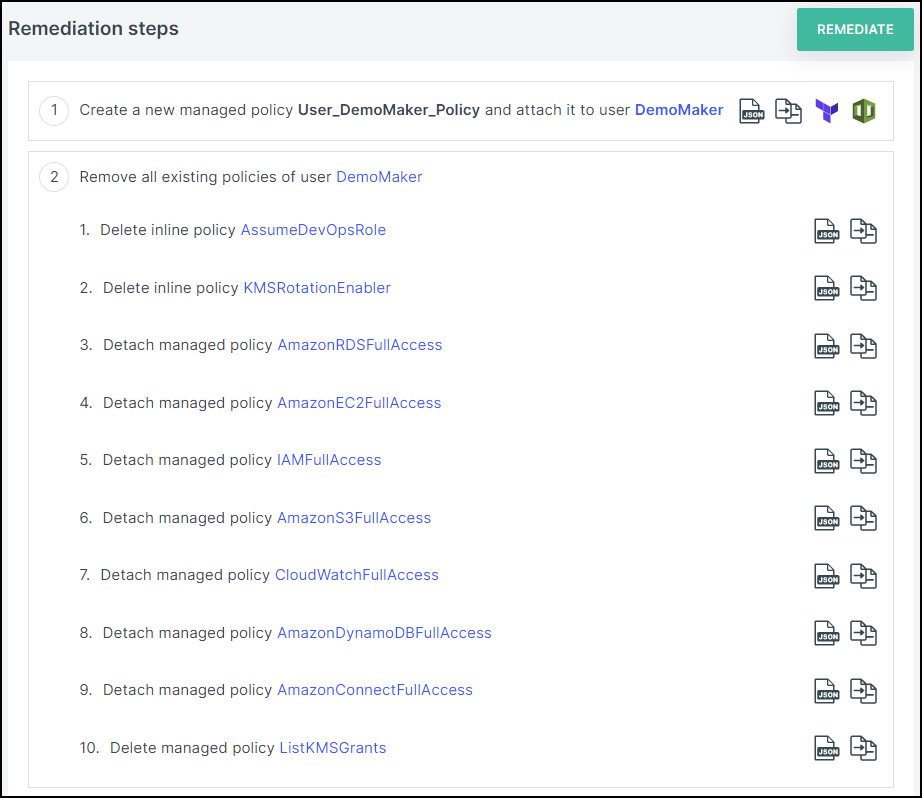
- We can see that Cloud Exposure recommends that we create a single managed policy to replace the 10 policies that are currently attached to it.
- We can see that Cloud Exposure recommends to delete or detach the excessive policies. While inline policies can be easily deleted, managed policies, which may be applied to other identities, should be detached. If the managed policy is not in use elsewhere, Tenable will suggest to delete it, but you can choose to override that by selecting the Detach only radio button on the relevant step detail page.
-
Click on the Diff
 button next to the first remediation step to see a side-by-side comparison of the old policies next to the new policy. In the Old Policies area, click on the dropdown to select the specific policy that you want to view.
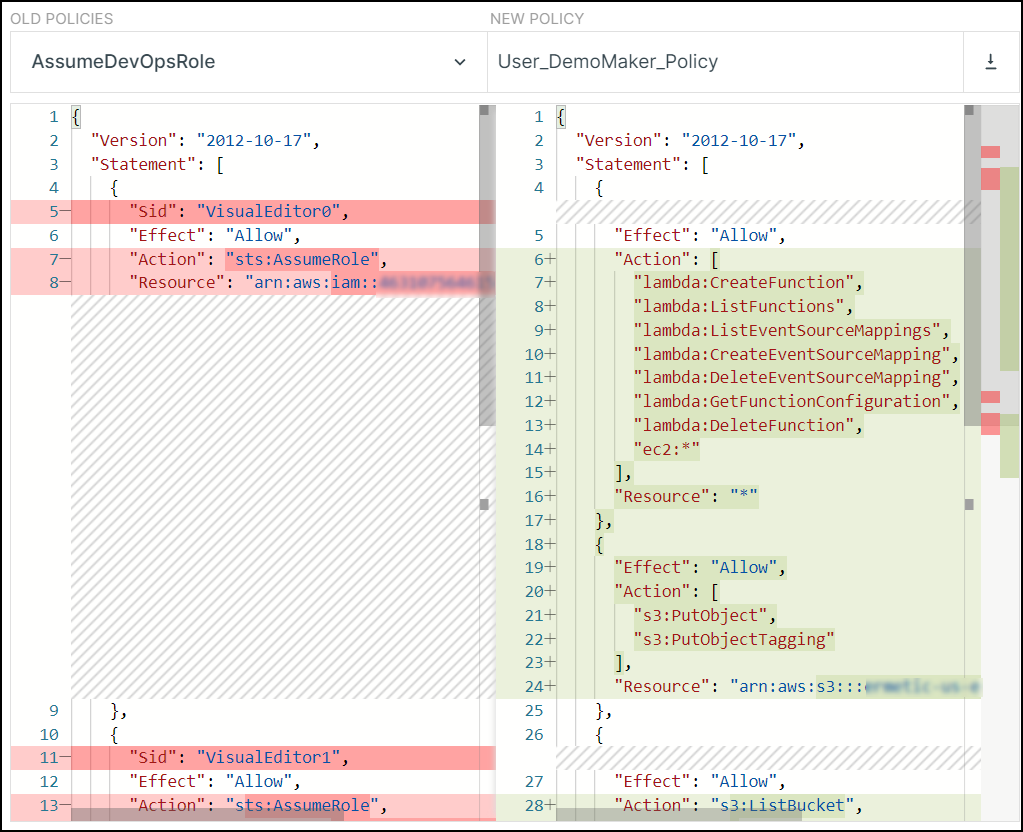
Cloud Exposure builds the new policy according to a standard convention, collecting all the permissions that the user actually needs and putting them into a single policy.
- After carefully reviewing the steps, we decide that it makes sense to automatically remediate this finding. Although manual remediation is also an option, and may make sense in certain situations, automating the process for this specific type of finding greatly simplifies the mitigation process, removing the need to perform lots of different, and often complicated, actions in the relevant cloud provider console.
-
Click the REMEDIATE
 button to start the automatic remediation process.
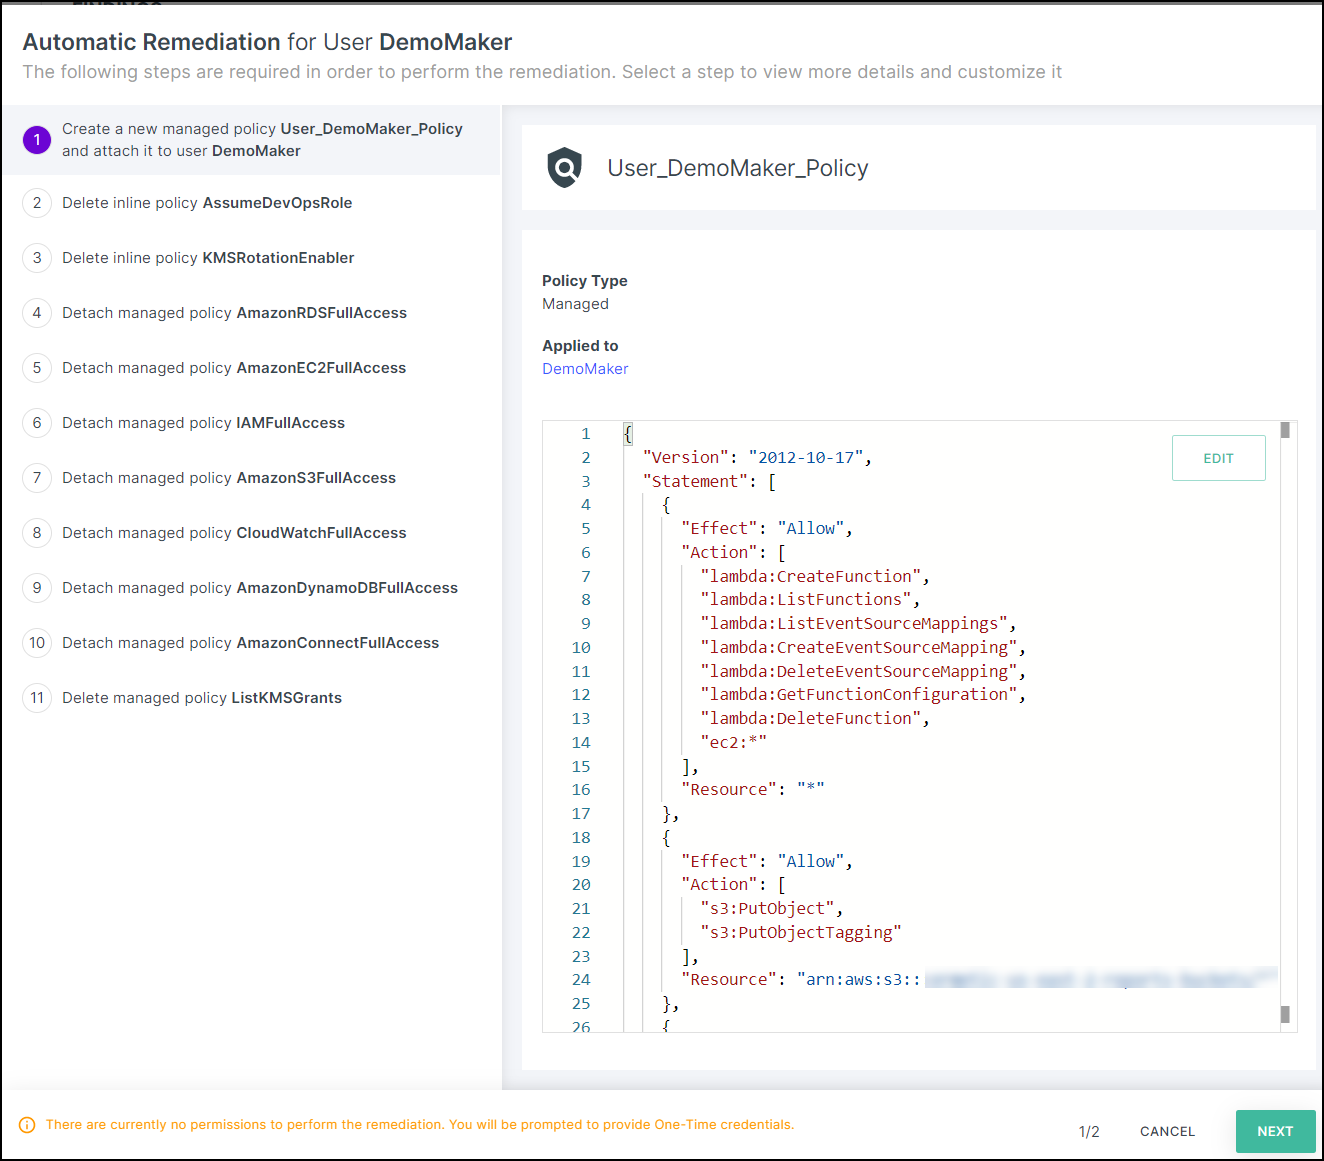 Note: If you only granted Tenable read-only permissions during account onboarding, you will see a note at the bottom of the page indicating that you will be prompted to Remediate with One-Time Credentials to complete the remediation.
- We can click on the various steps on the left of the page to view detailed information about the resources in question.
- For the first step, which involves creating a new managed policy, we can review the policy and edit it if we want (click EDIT, make any relevant changes, and then click SAVE). For example, we may want to change the order, or remove certain permissions.
- Once we’ve reviewed the steps, click NEXT.
- On the Action summary page, review the actions once again, and, when ready, click APPLY.