Visualize Permission Mapping
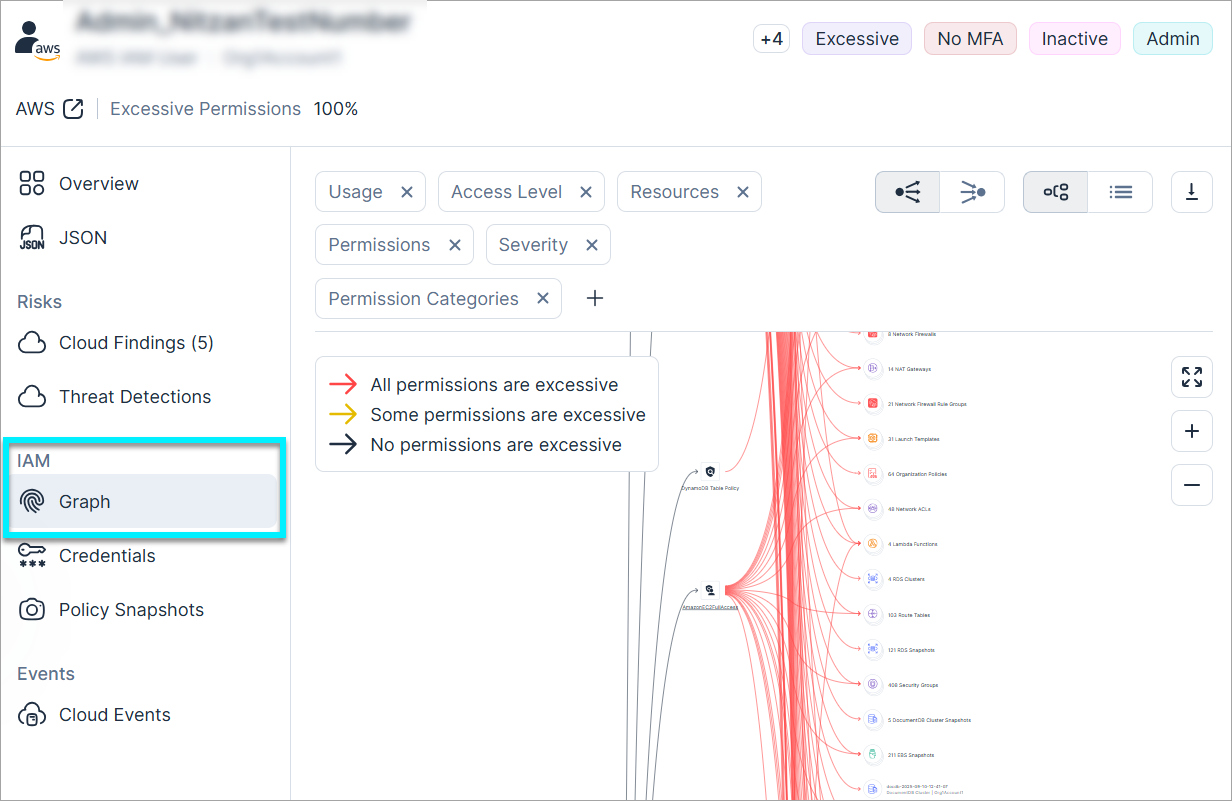
In the resource profile view, click on IAM > Graph tab to see the permission mapping that exists for a given resource. This can help you better understand how the resource, acting as an originator or an identity, is able to assume roles and access other resources in your environment (via permissions granted in policies).
For example, use permission mapping to:
- Visualize all resources accessible by an Azure AD user in AWS
- Identify Admin permissions (Critical severity filter) granted to a specific resource
- Find identities with permissions to read/write data (Data Read/Write categories)
Excessive/Used Permissions
Permissions that grant access to resources can be either:
- Excessive — For service/machine identities, this is any permission that wasn’t used in the last 90 days, and for human identities, 180 days.
- Used — Any permission that was used to perform an action on a specific resource.
Permissions That Are Not Audited
You may notice that, in the permissions map, identities in Azure typically display yellow connecting lines between permissions and accessible resources, indicating that "Some permissions are excessive".
In Azure, read permissions aren't audited. As a result, unless there is implicit evidence to the contrary, Cloud Exposure has to assume that the read permission is used. This means that, even if some other permissions (for example, read or delete) associated with the resource are excessive, the existence of the read permissions translates into an overall relationship of "Some permissions are excessive". This typically occurs for permissions in the Data Read and Infrastructure Read categories.
This is also true for some specific permissions in AWS, which aren't logged by AWS CloudTrail. For example, the IAM PassRole permission (read our blog post to learn more about auditing this permission).
Map Layout and Example
The map is divided into three general areas:
- The originator/identity. The cloud identity that is either directly granted permissions, or that assumes another identity and acts using the assumed identity’s permissions.
- Granted permissions — The policies/roles/permissions used by the originator/identity to perform specific activities.
- Accessible resources — The resource that can be accessed by the originator/identity. The permissions that grant access to the resource can be either excessive or used.
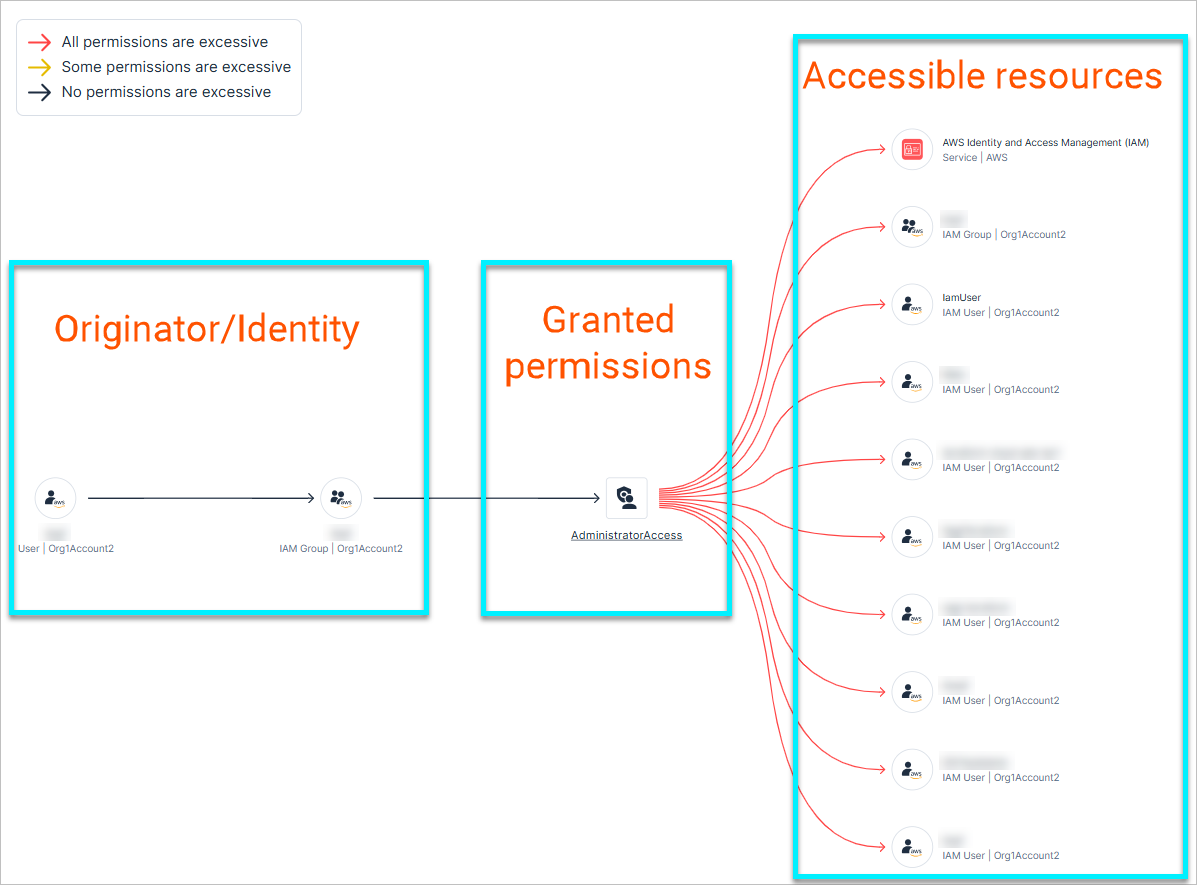
In the example above, you can see that:
- An AWS user (the originator) assumed an IAM group.
- This group has 1 policy that grants it permissions.
- The policy grants the user permission to access 10 resources.
- All granted permissions are excessive.
Navigate and Use the Map
To navigate the map and learn more information about permissions/resources:
- To move around the map, click and drag the mouse .
- To zoom in and out of the map, hold down the [Ctrl] key while scrolling the mouse wheel (or double click in the map to zoom in). Click
 to zoom out and view the entire map.
- By default, the map shows excessive permission mapping for all resources in the map. Click on a specific permission or resource icon to focus on the excessive permission mapping for that resource only.
-
To learn more about a resource on the graph, or to filter the graph based on the resource, right click the resource icon. The action items available depend on the resource type, and whether the resource is a granted permission or an accessible resource.
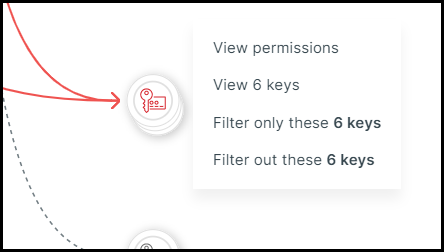
- For most granted permissions, you can go to its resource inventory page, view the permissions in JSON format, or filter the map based on the resource.
- For most accessible resources, you can go to its resource inventory page, view a full list of permissions, or filter the map based on the resource.
-
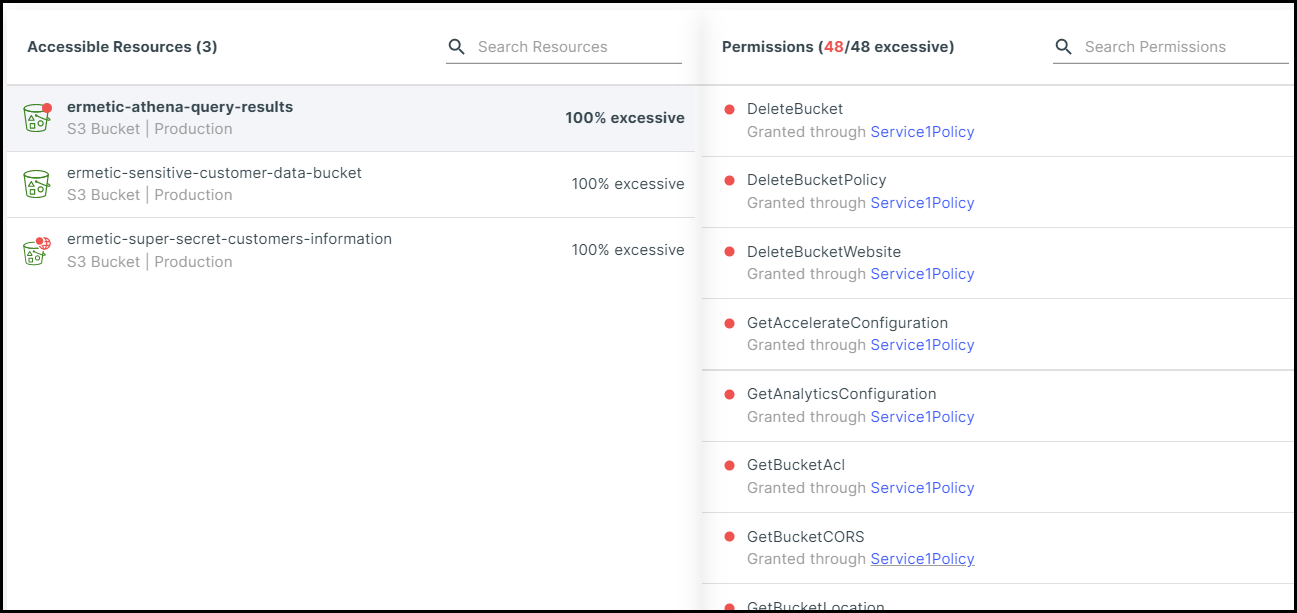
To view a full list of permissions for an accessible resource, right click on the resource icon and then click View permissions. From the dialog box that appears, click or search for an accessible resource to see all permissions that grant access to the resource. Underneath each permission, you can see and access the policy that grants the permission.
-
To filter the map, use the filters available at the top of the map. The filters available differ according to the specific resource, but include the following filters that appear for all resources:
- Usage — By default, the map shows all permission mappings, but you can filter to view only excessive permissions, or only used permissions.
- Access Level — Defines the scope of access granted to a resource or identity. You can filter permissions based on the access scope between the identity and resources. For example, you can display only ‘cross-account’ permissions. For more information, see Access Level.
- Resources — Filter for specific resources monitored by Cloud Exposure.
- Severity — For example, use this filter to identify Admin permissions (Critical severity) granted to a specific resource.
- Risk Categories — For example, use this filter to identify resources with permission to transmit data without authorization (Data Read/Write).
-
A range of map options and additional filters are available via the filters and at the top right of the map:
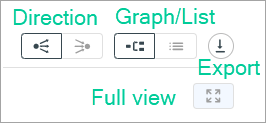
Map Option Description Additional filters One or more of the following filters may appear here, depending on the resource type:
- Cross Account — (AWS) Filter for resources from one account that are assuming roles in a different account.
This can help you identify and maintain a secure separation of environments (if needed), for example, between
development and production environments. You can also use the Destination Accounts filter to narrow the view
down to a specific destination account. - 3rd party — Filter for third party resources.
- External — (GCP) Filter for external Google groups and users that aren't defined locally in Workspace.
Full view Zoom out to view the entire map. Direction By default, the map shows which resources the selected resource can access. You can also pivot backwards, and reverse the mapping to show all resources that can access the selected resource (if relevant). Graph/list toggle Toggle the map between the graph view (default) and a text-based list view. Export Export the map data to a CSV for processing by an external tool. - Cross Account — (AWS) Filter for resources from one account that are assuming roles in a different account.
Mechanisms That Grant Permissions
The following table lists the mechanisms/policies that grant permissions to resources in Cloud Exposure.
| CSP | Mechanism |
|---|---|
| AWS | Identity-based policies, Service control policies (SCPs), Resource control policies (RCPs) Permissions boundaries, Resource-based policies, Conditions |
| Azure | RBAC, Privileged Identity Management (PIM), Key Vault access policies, Storage account access keys |
| GCP | RBAC, ACLs, legacy mechanisms (for BigQuery, Storage Buckets, etc) |