Proxy Server
Required user role when using Tenable Nessus Manager: System Administrator
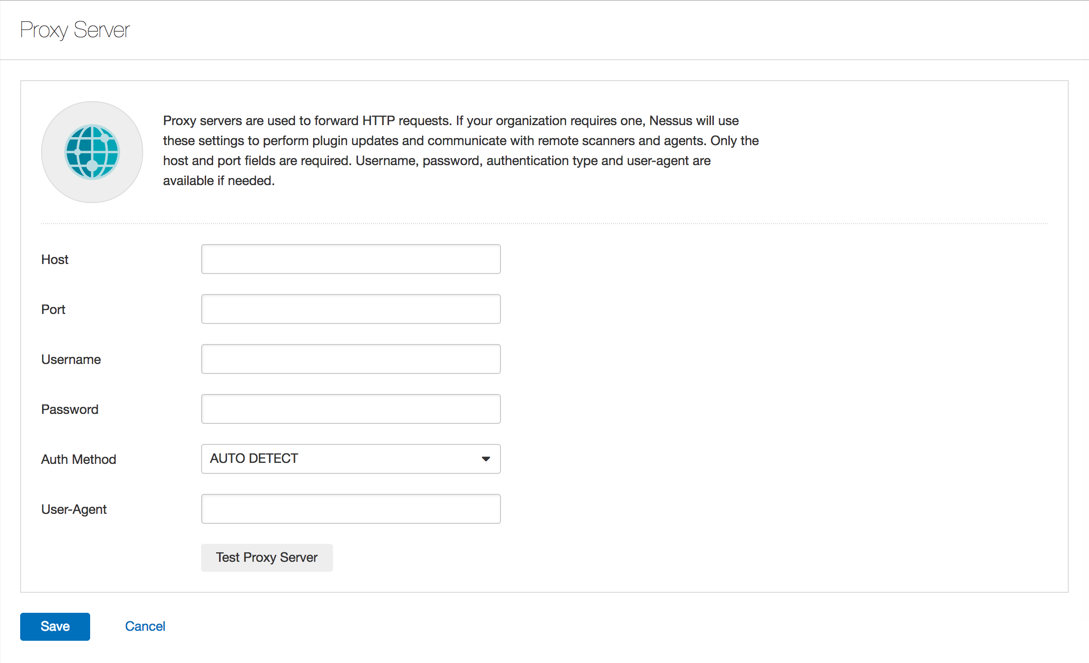
The Proxy Server page allows you to configure a proxy server. If the proxy you use filters specific HTTP user agents, you can type a custom user-agent string in the User-Agent box.
To configure a proxy server:
-
In Tenable Nessus, in the top navigation bar, click Settings.
The About page appears.
-
In the left navigation bar, click Proxy Server.
The Proxy Server page appears.
- Configure the settings as necessary:
-
AUTO DETECT — Tenable Nessus secures the connection with authentication based on what you entered for the previous settings. Tenable recommends selecting this option if you do not know what to select.
-
NONE — Tenable Nessus does not authenticate.
-
BASIC — Tenable Nessus secures the connection with basic authentication.
-
DIGEST — Tenable Nessus secures the connection with digest authentication.
-
NTLM — Tenable Nessus secures the connection with NTLM authentication.
Note: Tenable Nessus only supports NTLMv2.
-
Click the Save button.
Tenable Nessus saves the proxy server.
| Setting | Description |
|---|---|
| Host | The proxy server host. |
| Port | The proxy server port. |
| Username |
The username for an account on the proxy server with credentials to search for user data. Format the username as provided by the proxy server. |
| Password | The password for an account on the proxy server with credentials to search for user data. |
| Auth Method |
The authentication method Nessus uses to connect to the proxy server: |
| User-Agent | The user agent for the proxy server, if your proxy requires a preset user agent. |
